
TESCON PROFIL
Installation steps

1. Preparation
Subsurfaces must have sufficient stability and be dry, level and free of dust, silicone and grease. Brush off subsurfaces; if necessary, clean with a vacuum cleaner and wipe down.
1. Preparation
Subsurfaces must have sufficient stability and be dry, level and free of dust, silicone and grease. Brush off subsurfaces; if necessary, clean with a vacuum cleaner and wipe down.
2. Choose the appropriate split
Corner joints can be taped using pro clima TESCON PROFIL corner adhesive tape. Choose the 12 / 48 mm (1/2" and 1 7/8") split if sealing to plasterwork or if panelling is to be covered. Alternatively, a 25 / 35 mm (1" and 1 3/8") split is also possible.
2. Choose the appropriate split
Corner joints can be taped using pro clima TESCON PROFIL corner adhesive tape. Choose the 12 / 48 mm (1/2" and 1 7/8") split if sealing to plasterwork or if panelling is to be covered. Alternatively, a 25 / 35 mm (1" and 1 3/8") split is also possible.
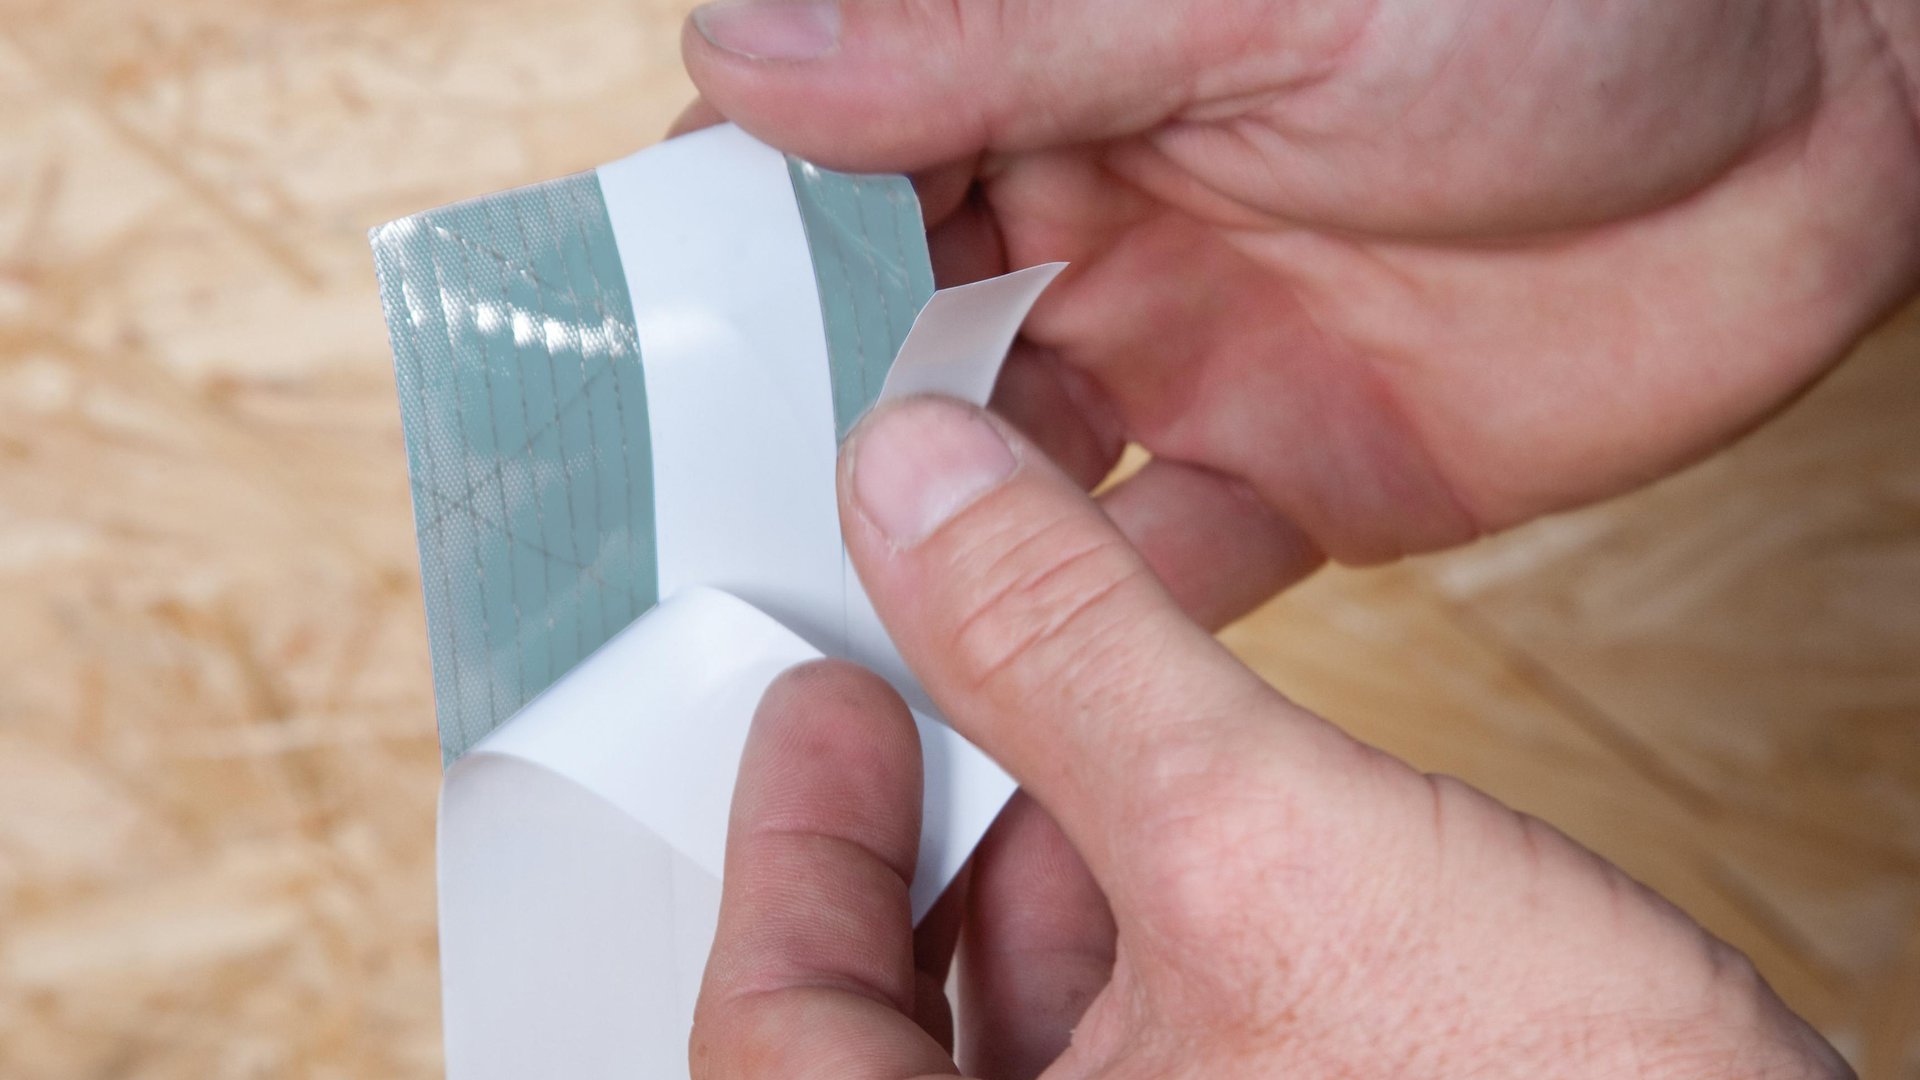
3. Window, interior: First side
Fold the tape into an L-shape. Remove the release film on one side. Guide the adhesive tape along the remaining release film into the corner to be taped and stick the first side of the tape in place.
3. Window, interior: First side
Fold the tape into an L-shape. Remove the release film on one side. Guide the adhesive tape along the remaining release film into the corner to be taped and stick the first side of the tape in place.

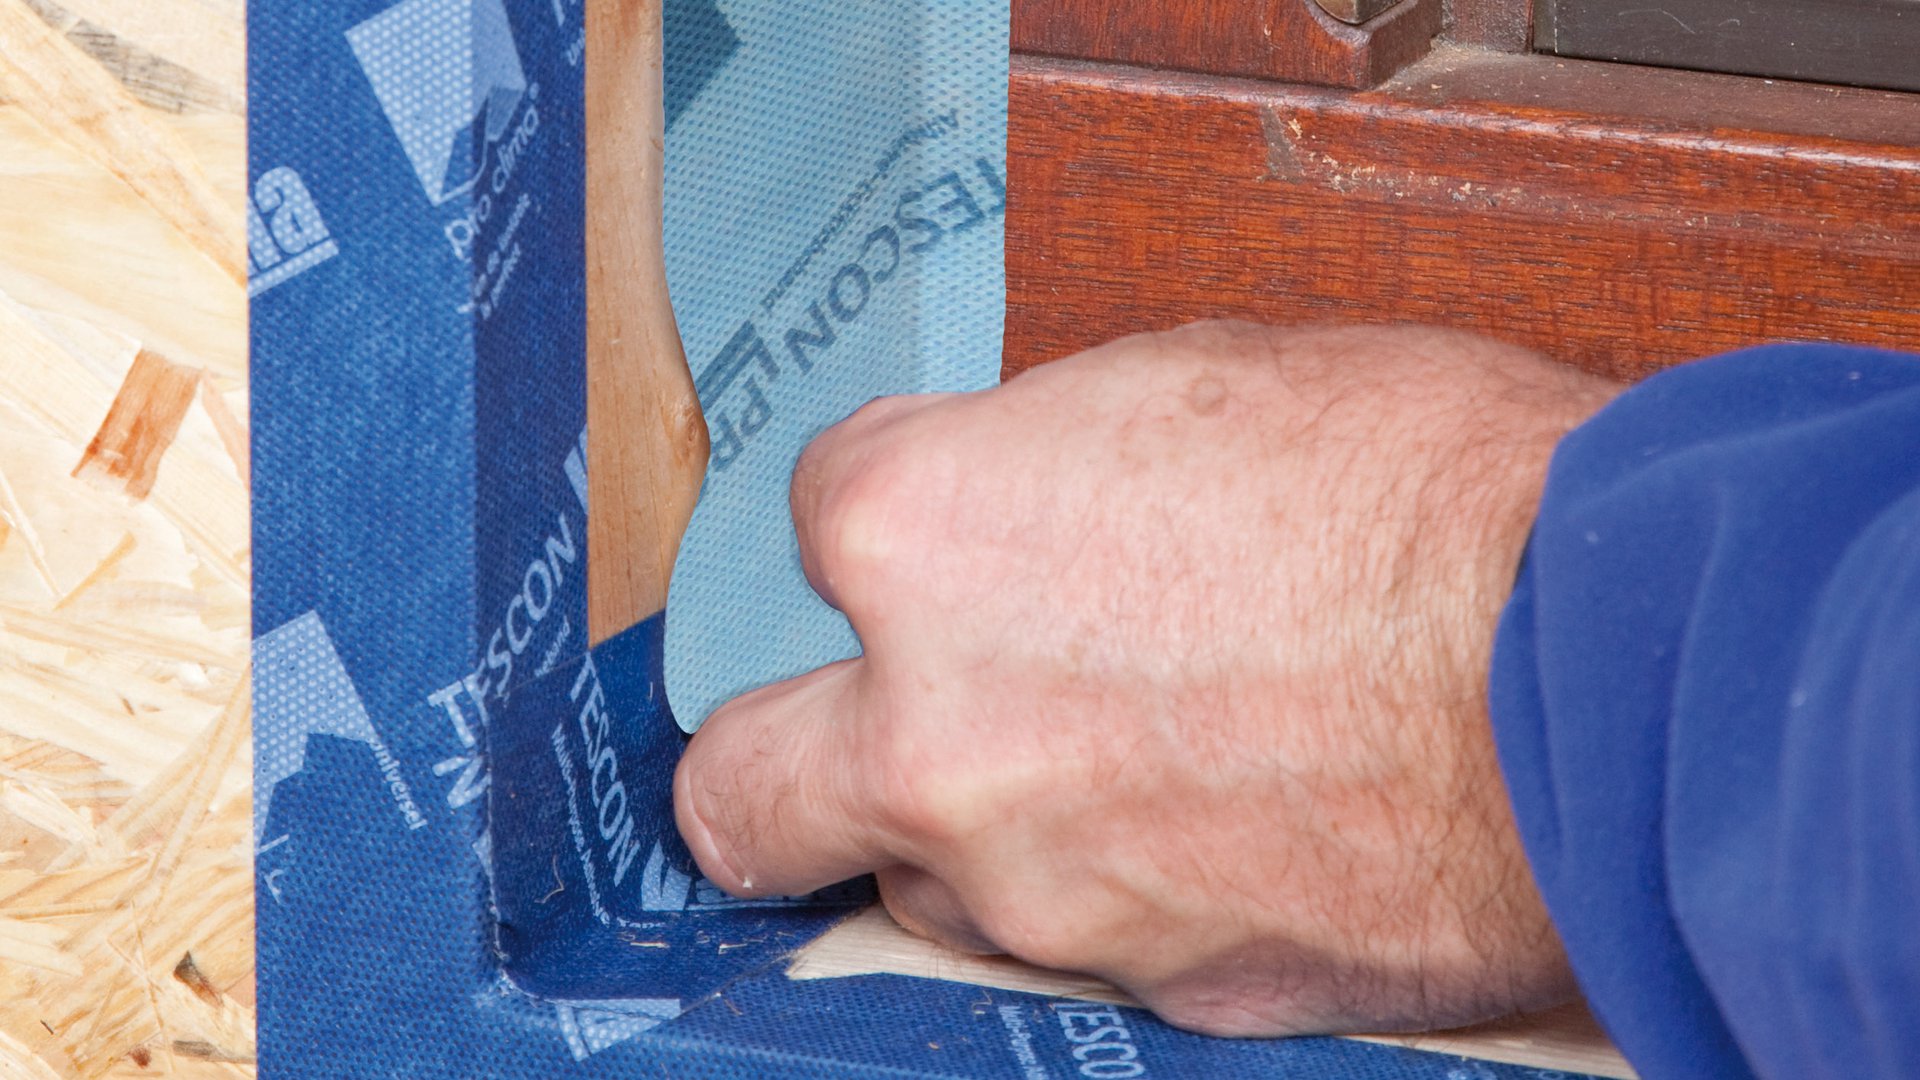
4. Window, interior: Second side / Rub tape in place
Then remove the remaining backing strips and stick the second side. Rub the tape firmly to secure the adhesive bond on both sides. Ensure that there is sufficient resistance pressure. This step can be carried out more efficiently and in a manner that is kinder to the hands by using the PRESSFIX application tool.
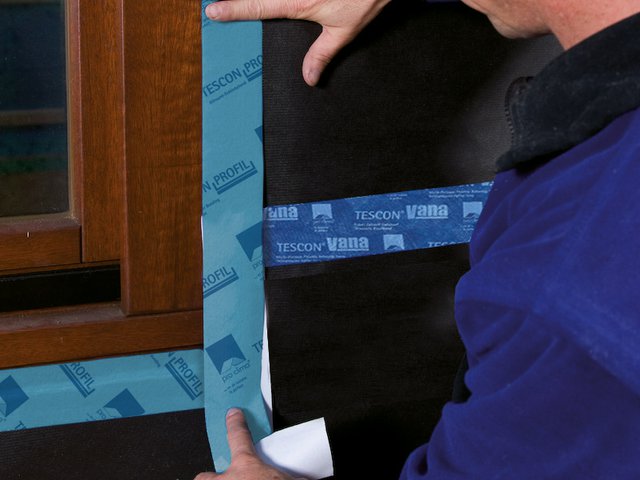
5. Window, exterior
Stick the membrane to the window frame in a windproof and waterproof manner using TESCON PROFIL. Thanks to the split release film, the tape can be first stuck onto the membrane and then onto the window.
5. Window, exterior
Stick the membrane to the window frame in a windproof and waterproof manner using TESCON PROFIL. Thanks to the split release film, the tape can be first stuck onto the membrane and then onto the window.
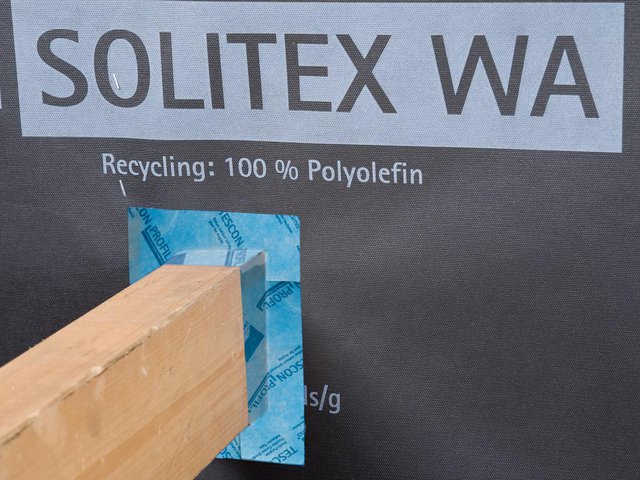
8. Detail solution for planed beam
Windproof and waterproof joints with (planed) beams can be achieved using TESCON PROFIL. Sticking sequence: 1. Bottom, 2. Left and right, 3. Top. Implement airtight joints on the inside in an analogous manner.
8. Detail solution for planed beam
Windproof and waterproof joints with (planed) beams can be achieved using TESCON PROFIL. Sticking sequence: 1. Bottom, 2. Left and right, 3. Top. Implement airtight joints on the inside in an analogous manner.