Installation steps
1. Preparation
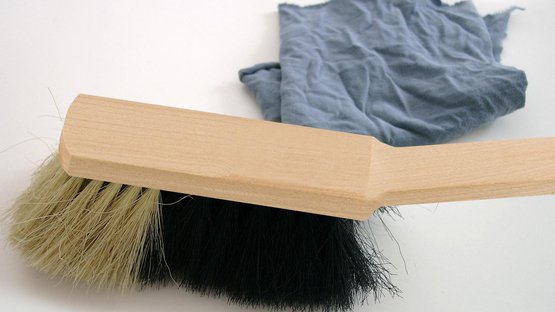
Subsurfaces must have sufficient stability and be dry, level and free of dust, silicone and grease. Brush off subsurfaces; if necessary, clean with a vacuum cleaner and wipe down.
If necessary, apply a primer in the case of crumbling plaster or very fine dust. This can lead to a significant increase in the drying time.
2. Sealing to a plastered gable wall
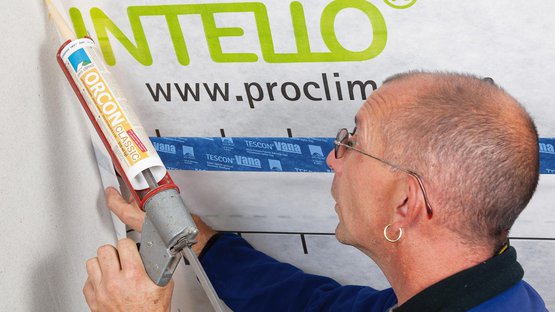
Apply a line of adhesive that is at least 5 mm (3/16") thick (more in the case of rough subsurfaces, if necessary). Apply the strip, leaving slack to allow for expansion. Do not press the adhesive completely flat so as to allow for relative motion between components.
3. Sealing to plastered knee walls
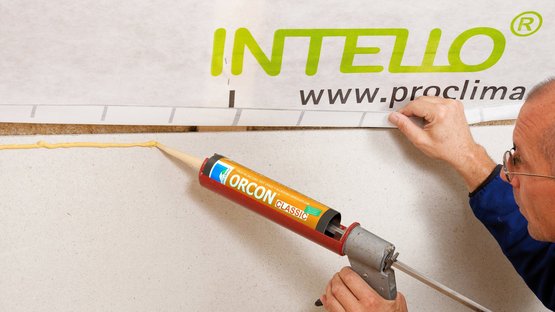
Sticking procedure is the same as for a gable wall. Provide slack to allow for expansion. Do not press the adhesive completely flat.
In general, pressure battens are generally not required on stable subsurfaces.
3. Sealing to plastered knee walls
Sticking procedure is the same as for a gable wall. Provide slack to allow for expansion. Do not press the adhesive completely flat.
In general, pressure battens are generally not required on stable subsurfaces.
4. Sealing to timber
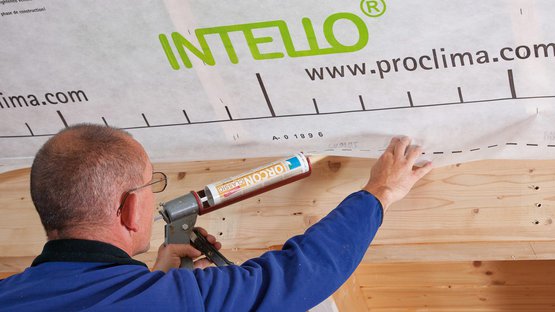
For sealing to rafters or purlins, apply a line of ORCON CLASSIC that is at least 5 mm (3/16") thick (more in the case of roughly sawn subsurfaces, if necessary); provide slack to allow for expansion where possible. Do not press the adhesive completely flat.
4. Sealing to timber
For sealing to rafters or purlins, apply a line of ORCON CLASSIC that is at least 5 mm (3/16") thick (more in the case of roughly sawn subsurfaces, if necessary); provide slack to allow for expansion where possible. Do not press the adhesive completely flat.
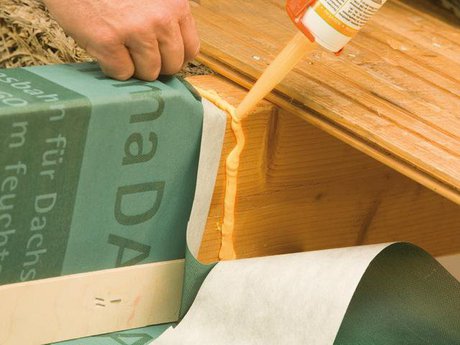
5. Sealing of sub-and-top membrane strips
Bond refurbishment vapour checks (e.g. pro clima DASATOP) to rough or mineral subsurfaces using a line of adhesive that is approx. 5 mm (3/16") thick (or thicker on rough subsurfaces, if necessary); provide slack to allow for expansion where possible. Do not press the adhesive completely flat. Carefully guide the membrane strip into the corners.
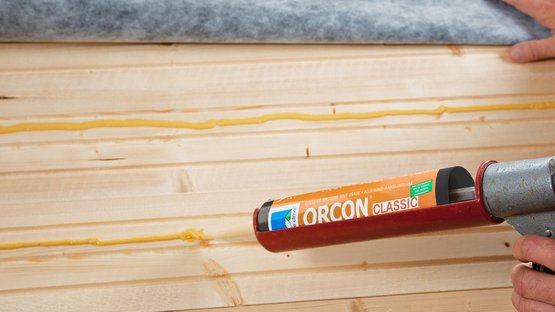
6. Sealing of exterior air sealing
In the case of external roof insulation with continuous rafters, bond the vapour check (e.g. pro clima DA) to two wooden boards in the area above the purlin using two parallel lines of ORCON CLASSIC. Also bond the two boards to the rafter using two lines of adhesive.
