

CONTEGA SL
Masonry/concrete: Pre-installation before window mounting
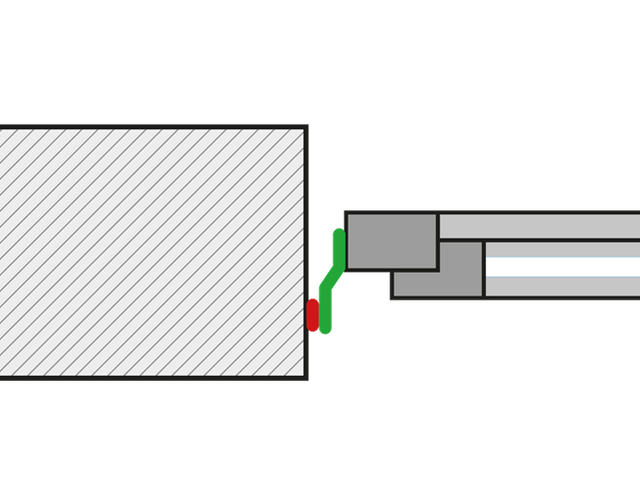
Schematic diagram
CONTEGA SL has already been applied to the side of the window frame – for example, by the window installation technician.
Schematic diagram
CONTEGA SL has already been applied to the side of the window frame – for example, by the window installation technician.
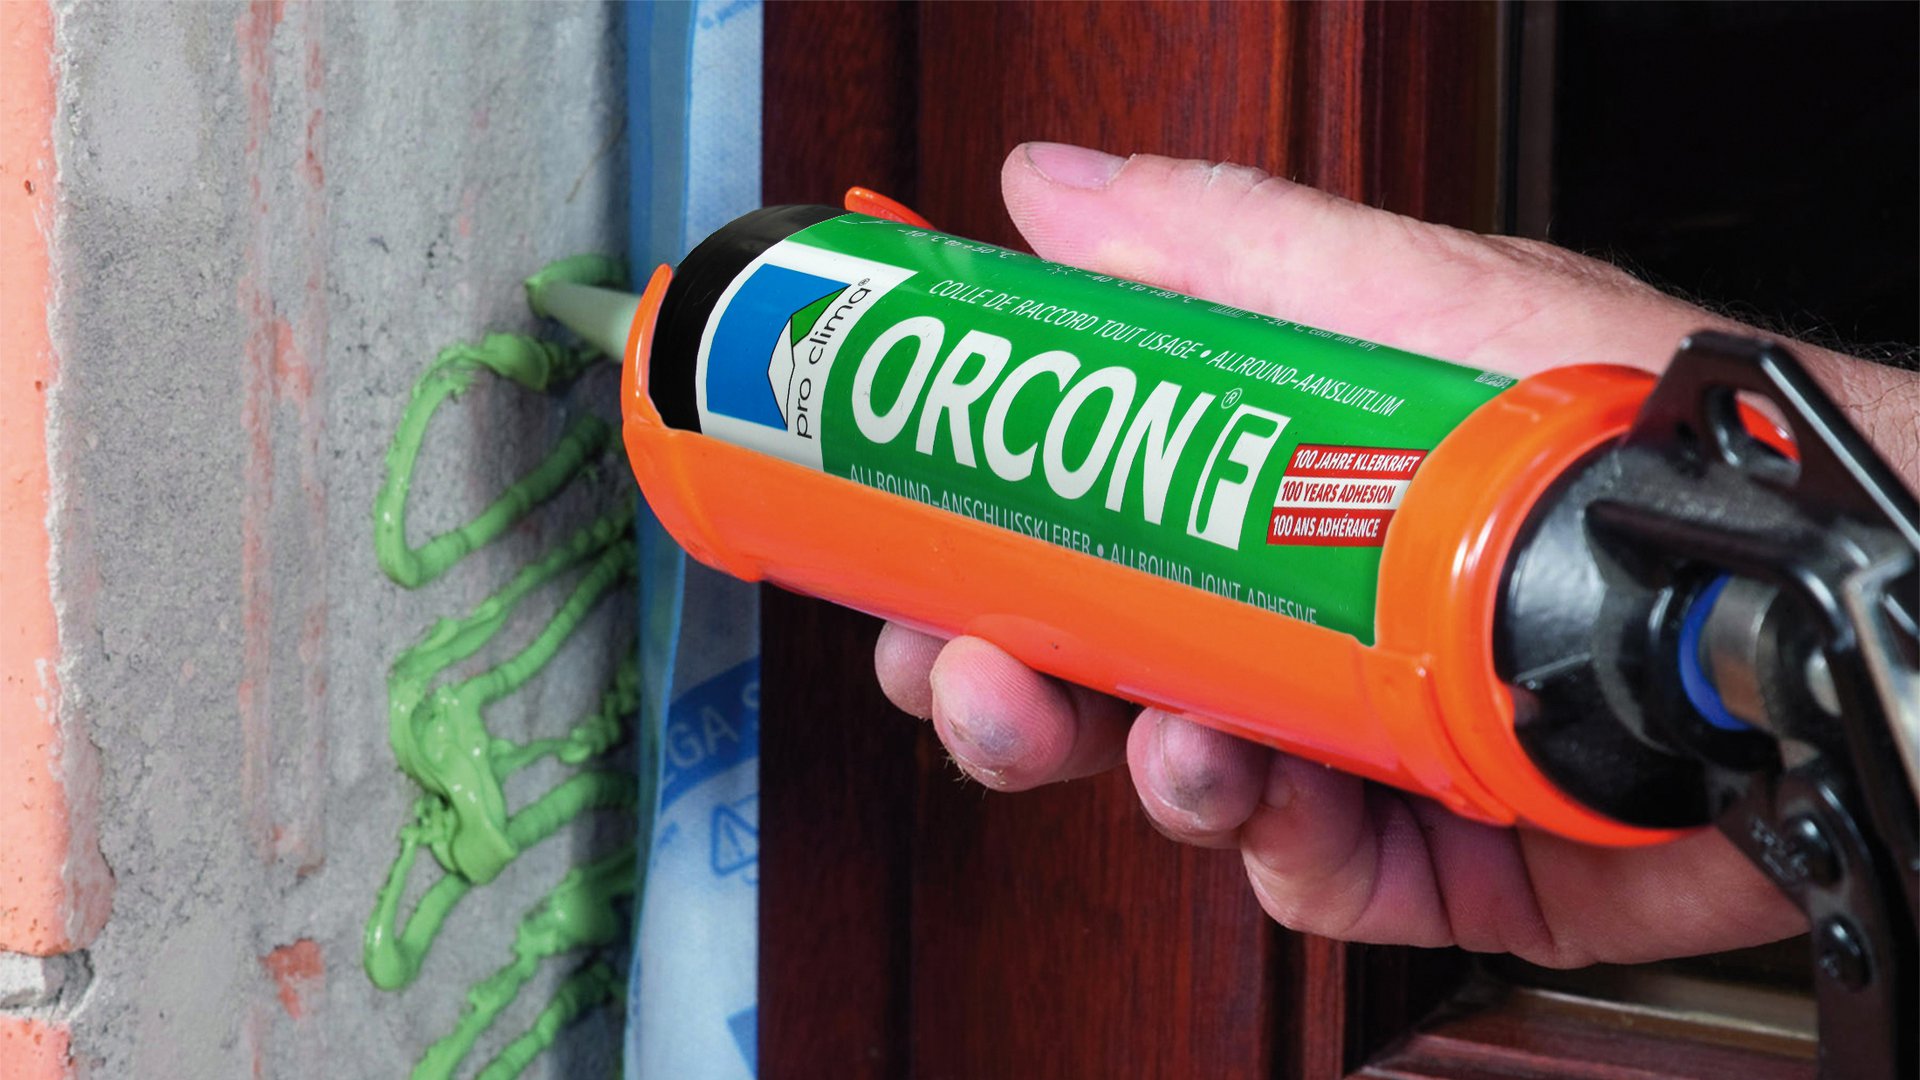
4a. Remove the inner release film
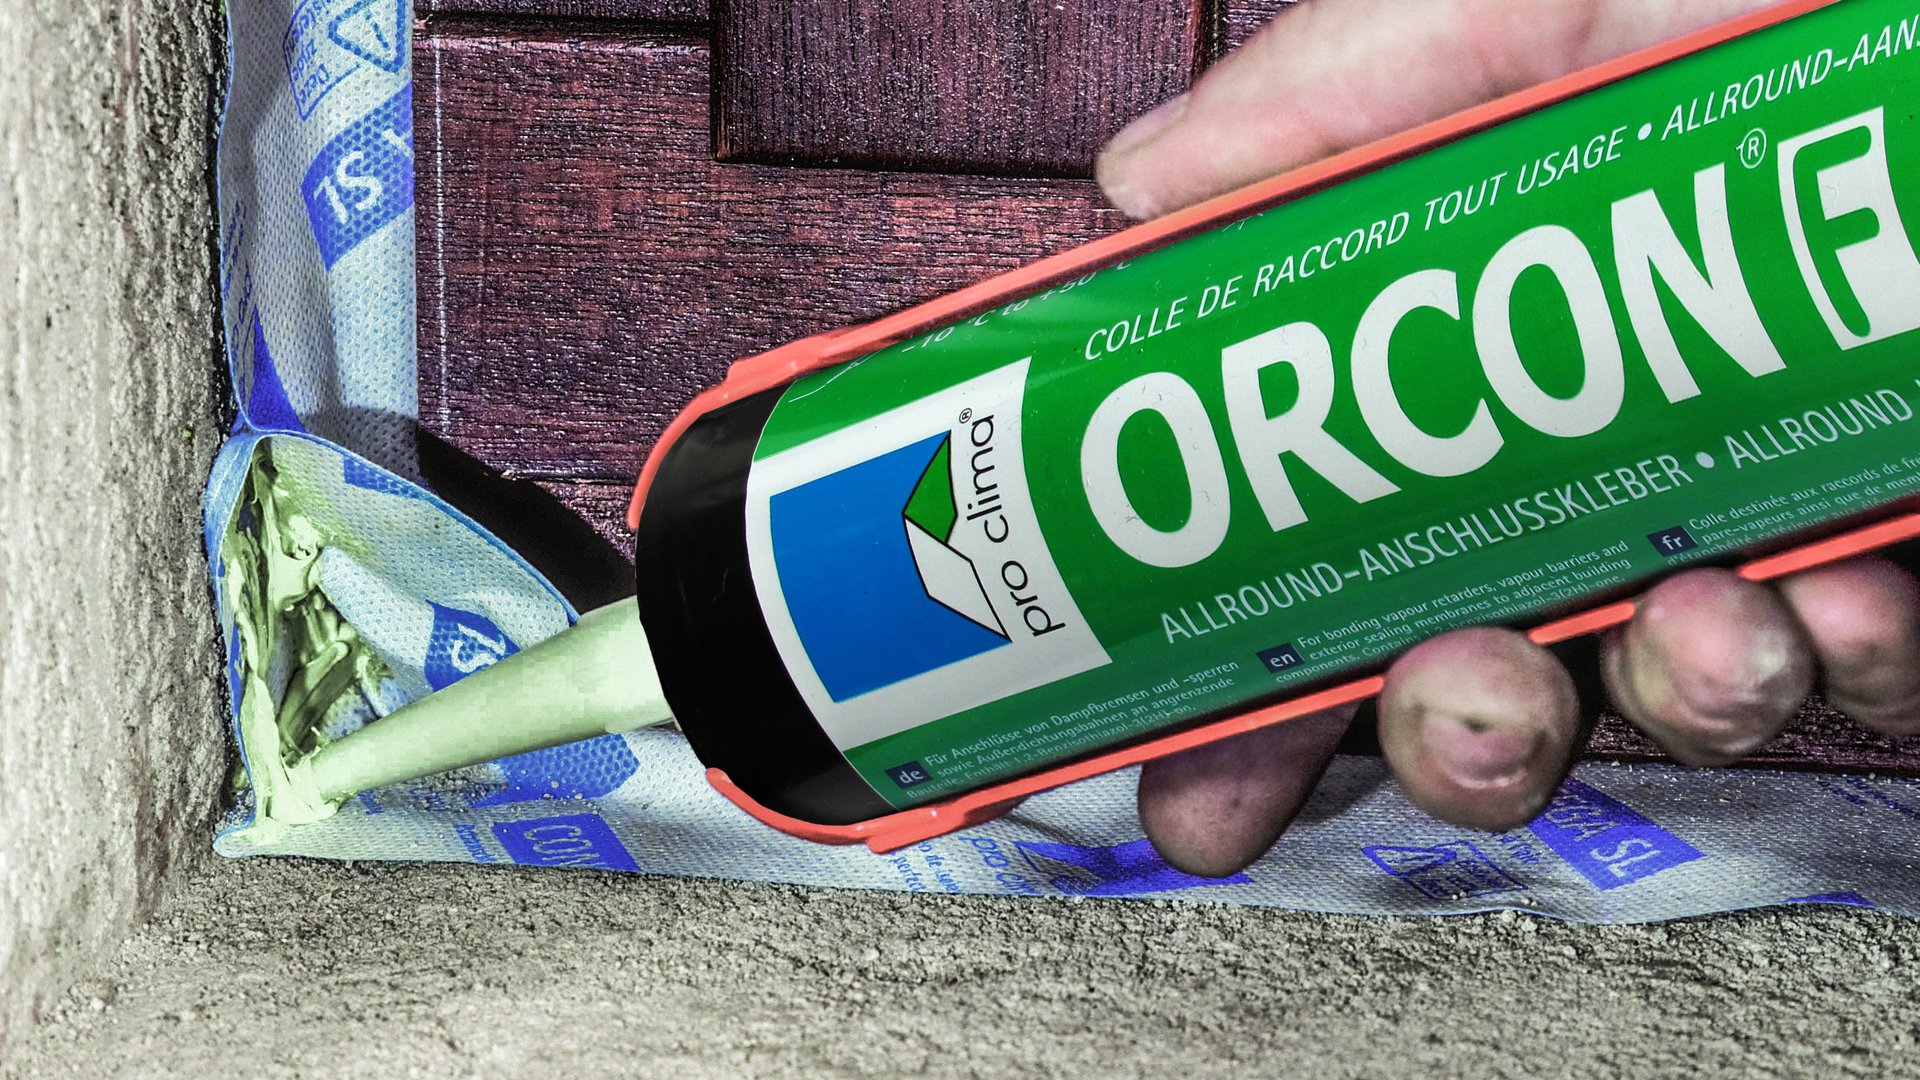
Apply an approx. 5 mm thick line (more in the case of very rough subsurfaces, if necessary) of ORCON F adhesive sealant to the reveal in a zig-zag pattern.
4a. Remove the inner release film
Apply an approx. 5 mm thick line (more in the case of very rough subsurfaces, if necessary) of ORCON F adhesive sealant to the reveal in a zig-zag pattern.

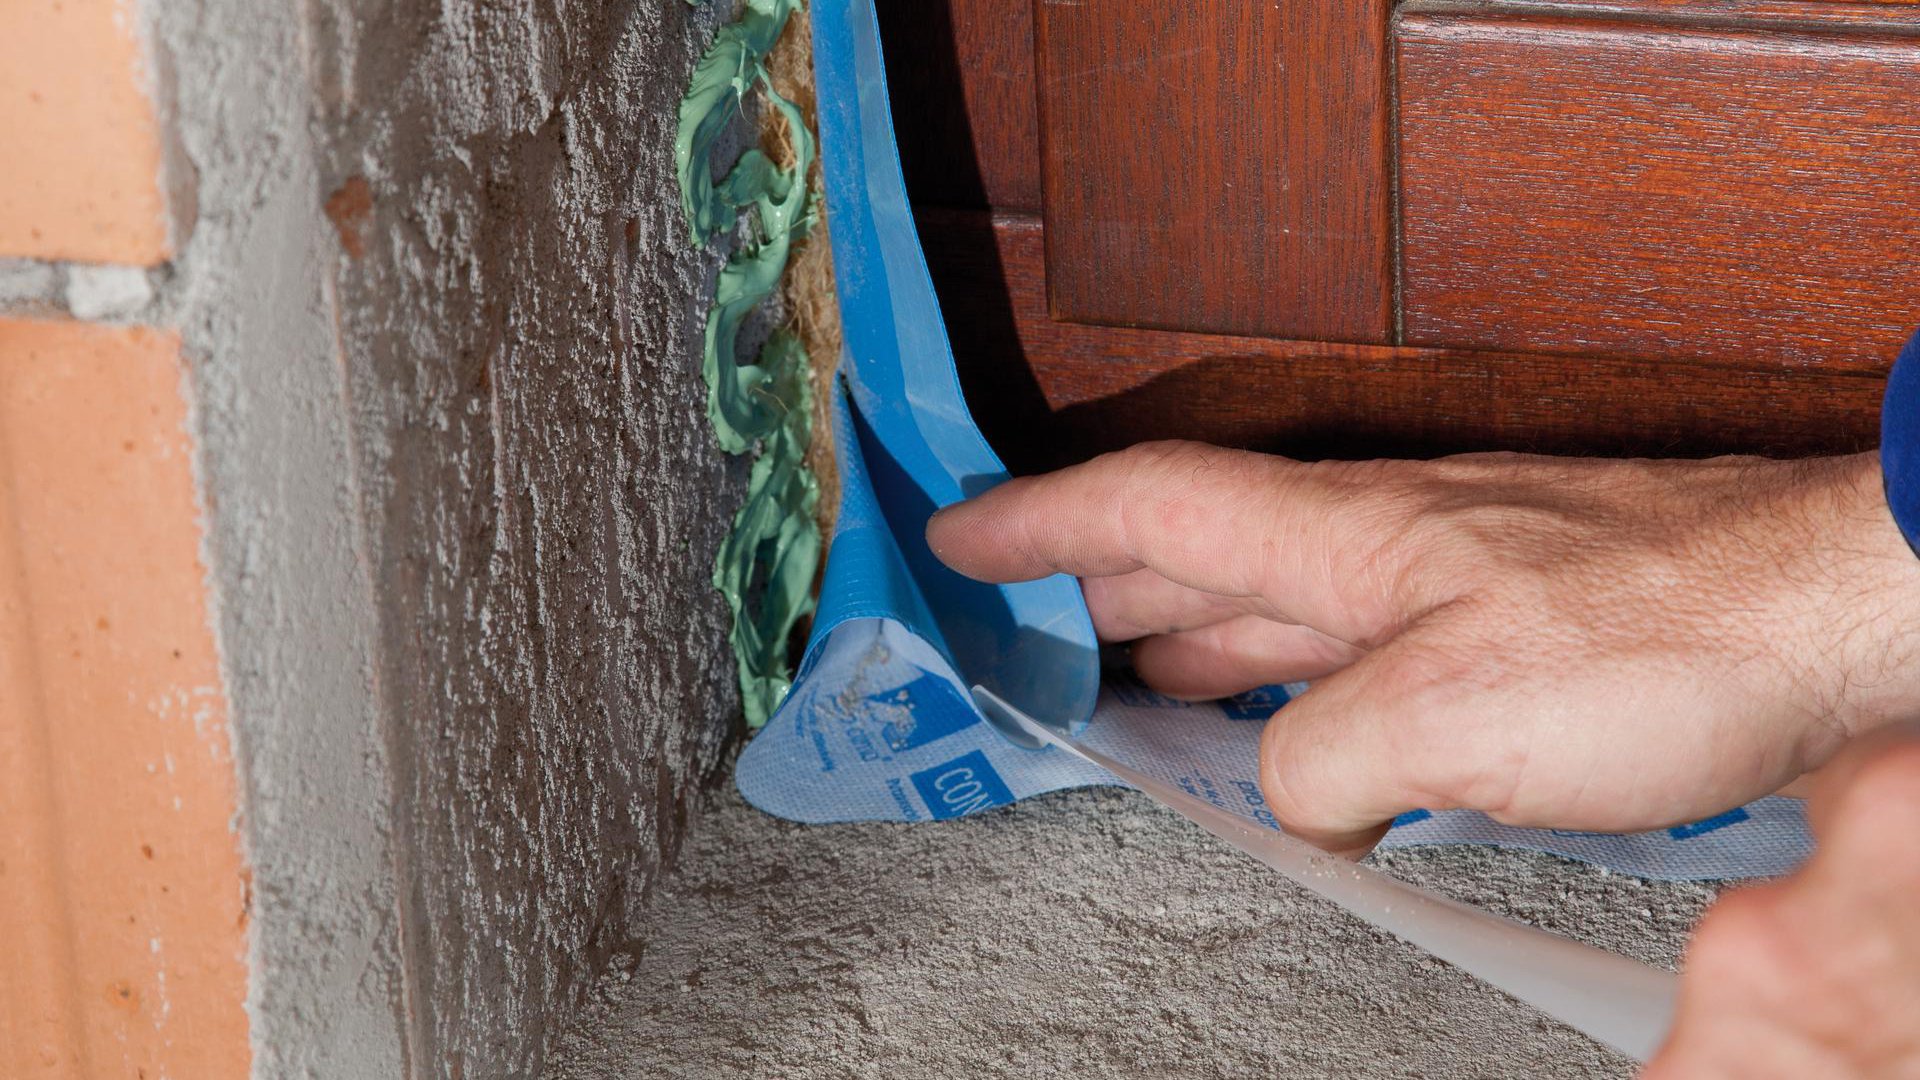
4b. Remove the inner release film
Remove the release film from the non-printed side of the membrane and place the tape onto the adhesive. Note: ORCON F will not stick to the release paper. Do not press the adhesive completely flat so as to allow for relative motion between components.
4b. Remove the inner release film
Remove the release film from the non-printed side of the membrane and place the tape onto the adhesive. Note: ORCON F will not stick to the release paper. Do not press the adhesive completely flat so as to allow for relative motion between components.
4c. Create corner folds
Fold the tape in the corner area. Remove the release film in the corner area and stick the tapes to one another. Ensure that there is uninterrupted airtightness at the joint between the tapes.
4c. Create corner folds
Fold the tape in the corner area. Remove the release film in the corner area and stick the tapes to one another. Ensure that there is uninterrupted airtightness at the joint between the tapes.

4d. Place the tape onto the adhesive
Place the tape onto the adhesive. Do not press the adhesive completely flat so as to allow for relative motion between components.
4d. Place the tape onto the adhesive
Place the tape onto the adhesive. Do not press the adhesive completely flat so as to allow for relative motion between components.
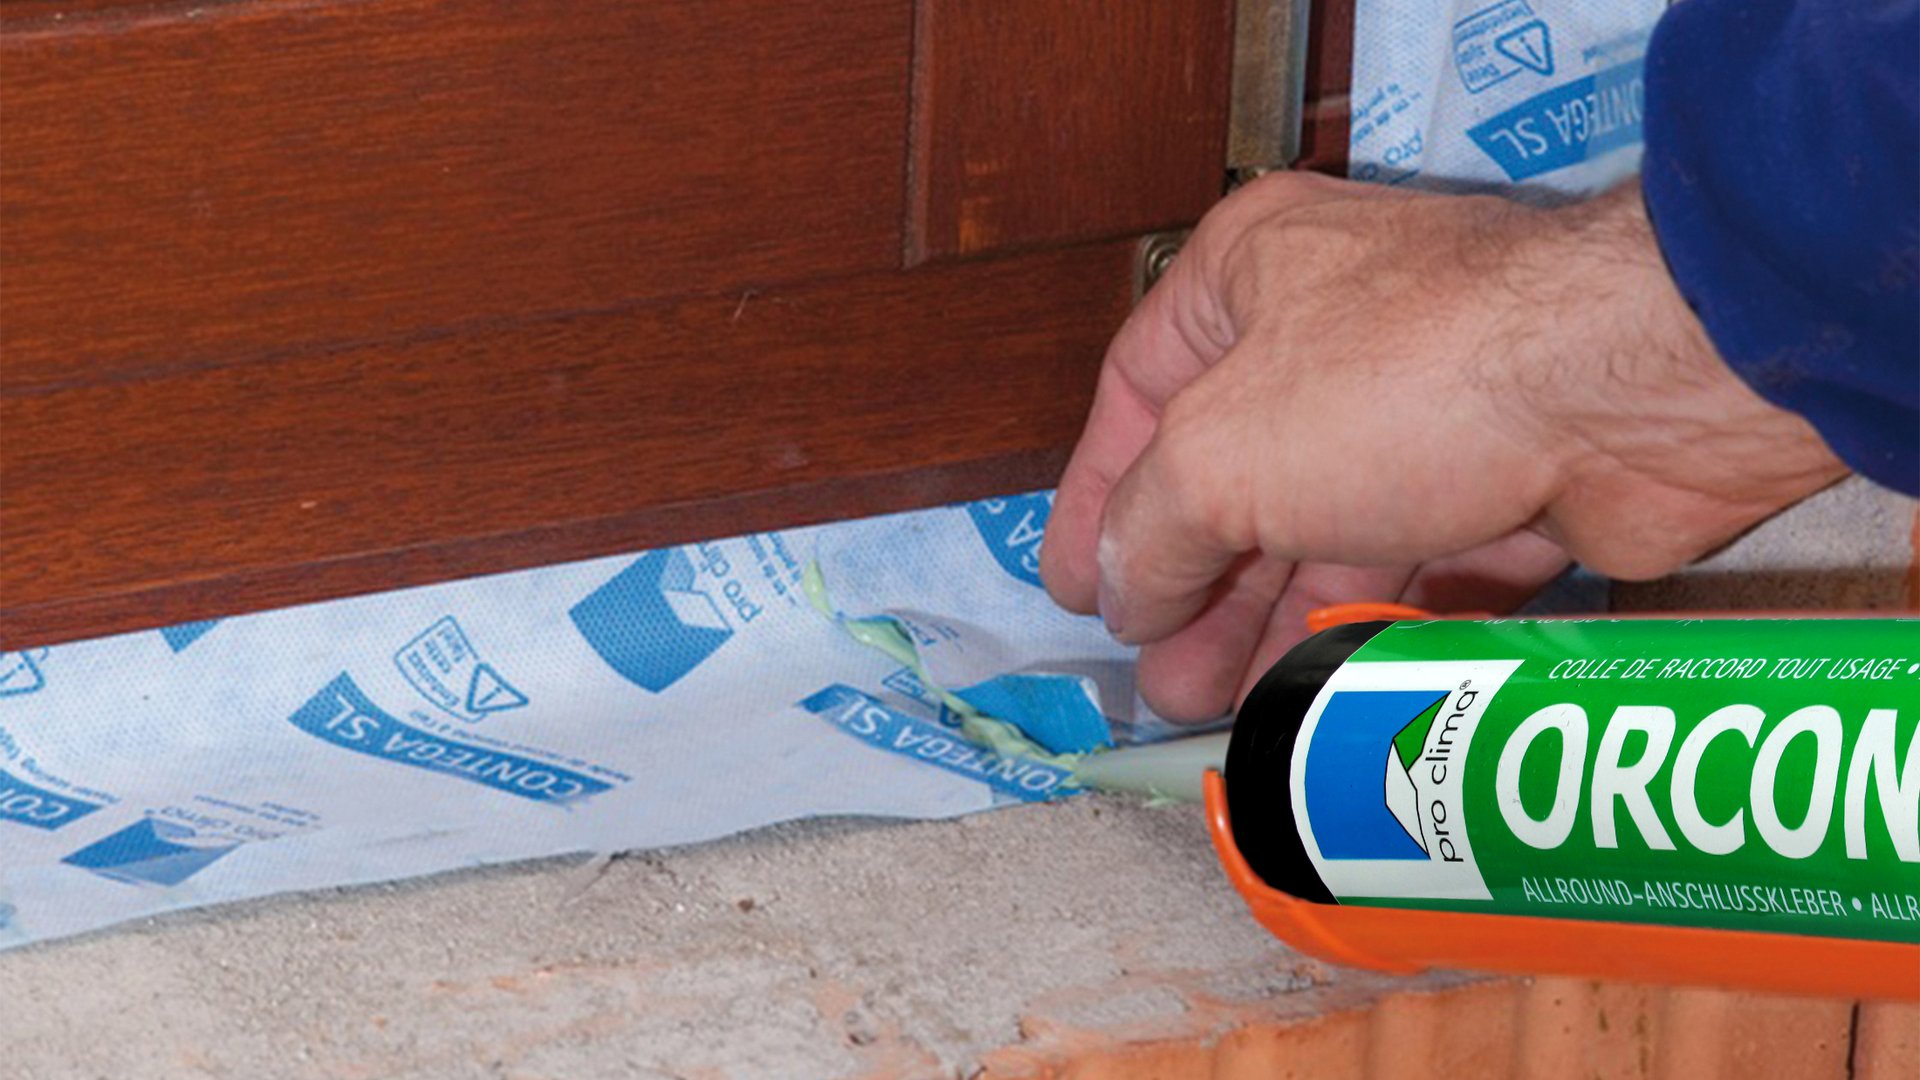
4e. Stick the ends together
Apply an approx. 5 mm thick line of ORCON F adhesive sealant between the overlapping ends of the tape. Place the tape onto the adhesive. Do not press the adhesive completely flat so as to allow for relative motion between components.
4e. Stick the ends together
Apply an approx. 5 mm thick line of ORCON F adhesive sealant between the overlapping ends of the tape. Place the tape onto the adhesive. Do not press the adhesive completely flat so as to allow for relative motion between components.
4f. Stick the corners
Stick the tape strips to one another in the corner area. Apply ORCON F to the reveal in a tight zig-zag pattern. Place the tape onto the adhesive. You’re now ready for plastering!
4f. Stick the corners
Stick the tape strips to one another in the corner area. Apply ORCON F to the reveal in a tight zig-zag pattern. Place the tape onto the adhesive. You’re now ready for plastering!