Transparent protection of floors during the construction period

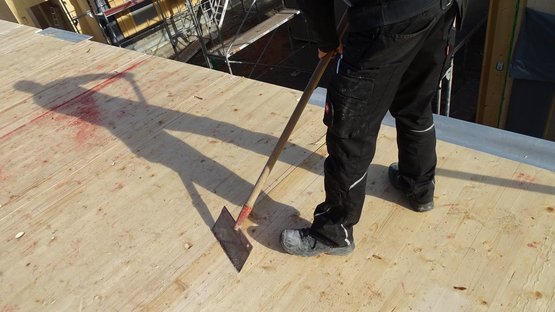
1. Check the subsurface
Clean coarse dirt from the subsurface and remove any protruding elements (e.g. wood splinters or screws) so that the membrane will not be damaged during installation.
1. Check the subsurface
Clean coarse dirt from the subsurface and remove any protruding elements (e.g. wood splinters or screws) so that the membrane will not be damaged during installation.

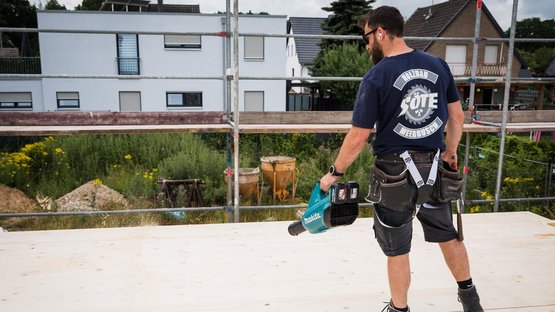
2. Remove loose material
Remove any loose material.
2. Remove loose material
Remove any loose material.

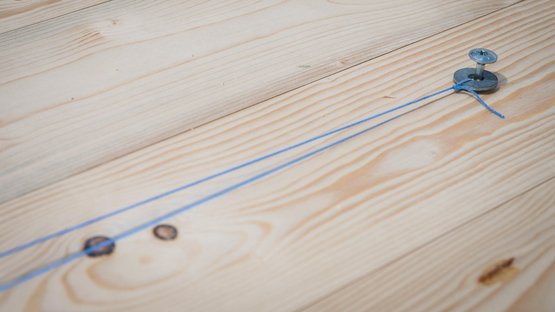
3.1 Create marking
Mark the position of the first membrane on the subsurface.
3.1 Create marking
Mark the position of the first membrane on the subsurface.

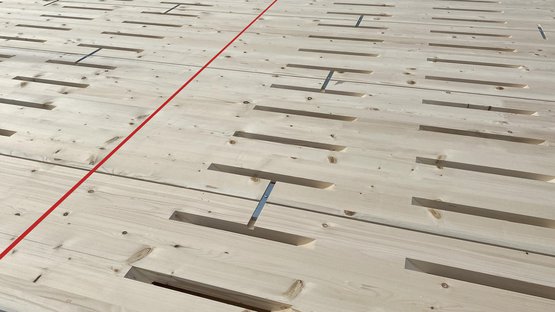
3.2 Create marking
Plan the marking and installation in such a way that there is continuous adhesion with the flat surface.
3.2 Create marking
Plan the marking and installation in such a way that there is continuous adhesion with the flat surface.

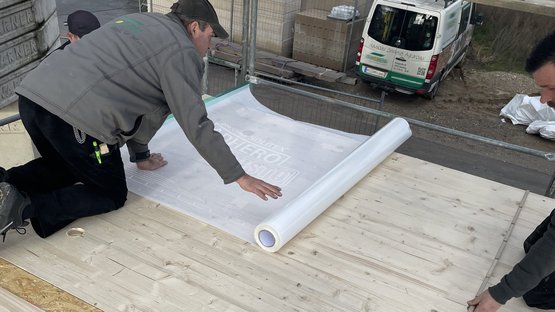
4.1 Install the membranes, making use of the release film splits
Place SOLITEX ADHERO VISTO in position at this marking, align it exactly in the longitudinal direction and stick the first 25 cm (10″) to the subsurface.
4.1 Install the membranes, making use of the release film splits
Place SOLITEX ADHERO VISTO in position at this marking, align it exactly in the longitudinal direction and stick the first 25 cm (10″) to the subsurface.

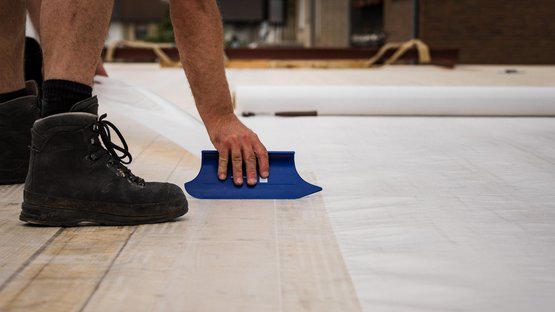
4.2 Install the membranes, making use of the release film splits
Rub the membranes firmly into place – e.g. using a sweeping brush or PRESSFIX XL.
4.2 Install the membranes, making use of the release film splits
Rub the membranes firmly into place – e.g. using a sweeping brush or PRESSFIX XL.

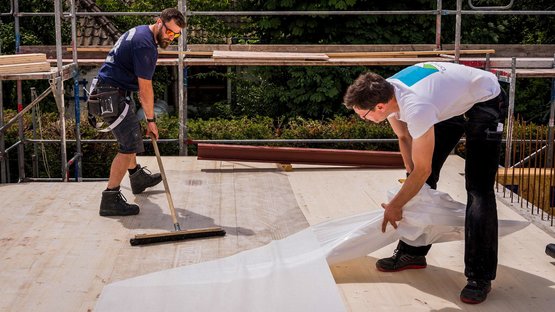
4.3 Install the membranes, making use of the release film splits
Stick the next membrane onto the previous membrane with 10 cm (4″) of an overlap. Rub the membrane overlap with PRESSFIX XL.
4.3 Install the membranes, making use of the release film splits
Stick the next membrane onto the previous membrane with 10 cm (4″) of an overlap. Rub the membrane overlap with PRESSFIX XL.

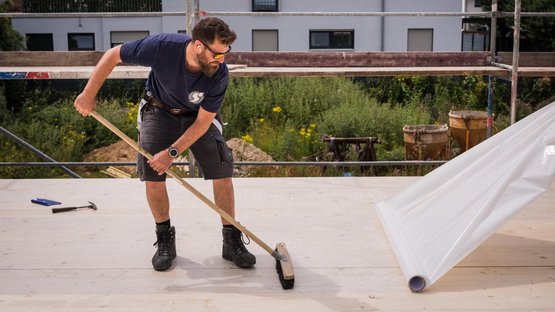
5. Alternative: Stick the membrane to the subsurface in a single step
Only for experienced installers: Roll out the membrane along the marking and gradually stick it to the subsurface.
5. Alternative: Stick the membrane to the subsurface in a single step
Only for experienced installers: Roll out the membrane along the marking and gradually stick it to the subsurface.

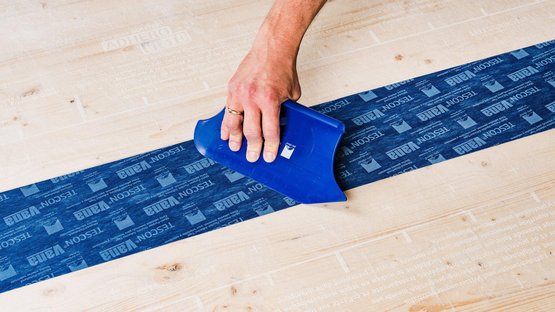
6. Alternative method of sticking membranes to each other
As an alternative method, the membranes can be taped to one another using TESCON VANA. Position the tape centrally and gradually stick it in place with no folds or creases. Rub the tape firmly to secure the adhesive bond.
6. Alternative method of sticking membranes to each other
As an alternative method, the membranes can be taped to one another using TESCON VANA. Position the tape centrally and gradually stick it in place with no folds or creases. Rub the tape firmly to secure the adhesive bond.

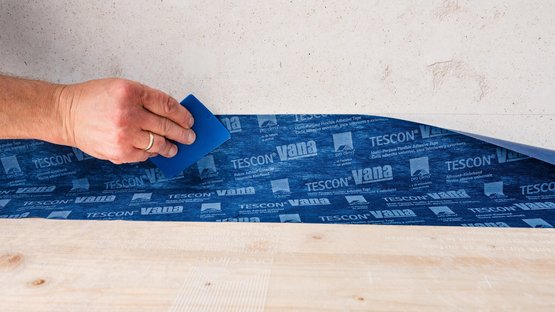
7. Joints to concrete walls
Joints are to be sealed using the system adhesive tape, which is to cover at least 50 mm (2″) of the membrane. Sealed joints with vertical building structures should cover a height of approx. 10 cm (4″) (upper edge of subsequent covering layer of component). Areas to be sealed are to be checked beforehand and, if necessary, pre-treated using TESCON PRIMER RP or TESCON SPRIMER.
Before any product from the AEROSANA VISCONN series is applied to create a sealed connection, the membrane is also to be pre-treated with primer

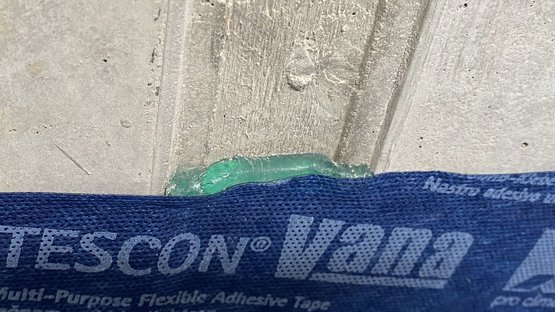
8. Protection against seepage
A water-resistant adhesive bond is to be created across the entire joint area. Any gaps or defects are to be covered with TESCON VANA in a waterproof manner or, if necessary, filled with ORCON MULTIBOND, for example.
8. Protection against seepage
A water-resistant adhesive bond is to be created across the entire joint area. Any gaps or defects are to be covered with TESCON VANA in a waterproof manner or, if necessary, filled with ORCON MULTIBOND, for example.

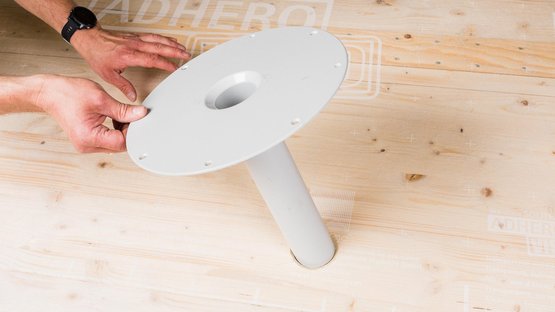
9. Drainage: Installation of ADHERO Floor Drain
Insert the ADHERO Floor Drain into the drillhole and, if necessary, secure with countersunk screws.
9. Drainage: Installation of ADHERO Floor Drain
Insert the ADHERO Floor Drain into the drillhole and, if necessary, secure with countersunk screws.

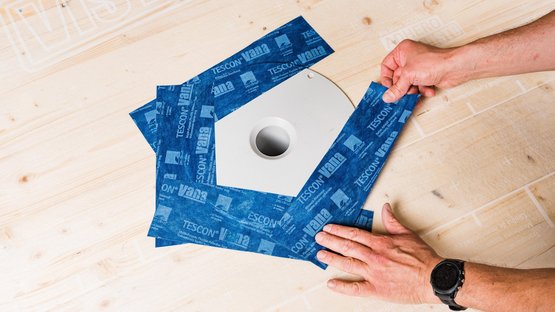
10. Seal ADHERO Floor Drain
ADHERO Floor Drain is used to drain water from surfaces and should be sealed using the TESCON VANA system adhesive tape with no folds or creases. The system adhesive tape should cover approx. 30 to 50 mm (1¼″ to 2″) of both the membrane and the ADHERO Floor Drain. Any water that is collected is to be drained from the building.

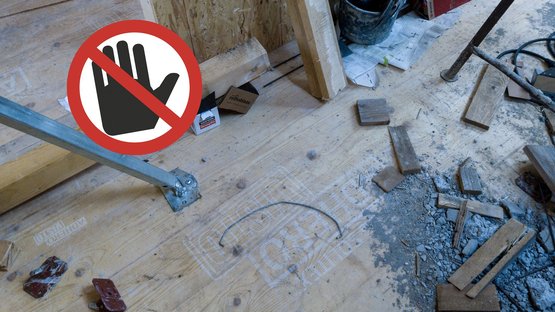
11. Working carefully
The purpose of this membrane should be explained to all parties involved in the construction project and these parties should be instructed to exercise the necessary care and to use the necessary protection (e.g. protective boards, protective mats). The membranes are intended for single use in accordance with the product data sheet. Small repairs can be carried out using the TESCON VANA adhesive tape. In the case of large-scale or mechanical damage, the membrane should be replaced.
Controlled drying out
To speed up drying out of any building structures or membranes that may have become damp, controlled drying of the construction area is recommended (accompanied by heating of the construction area, if necessary).
Disposal recommendations
The membranes are non-hazardous waste. Dispose of them in accordance with the locally applicable regulations. Please consult the safety data sheet.
