

SOLTEMPA
Installation steps on the building site

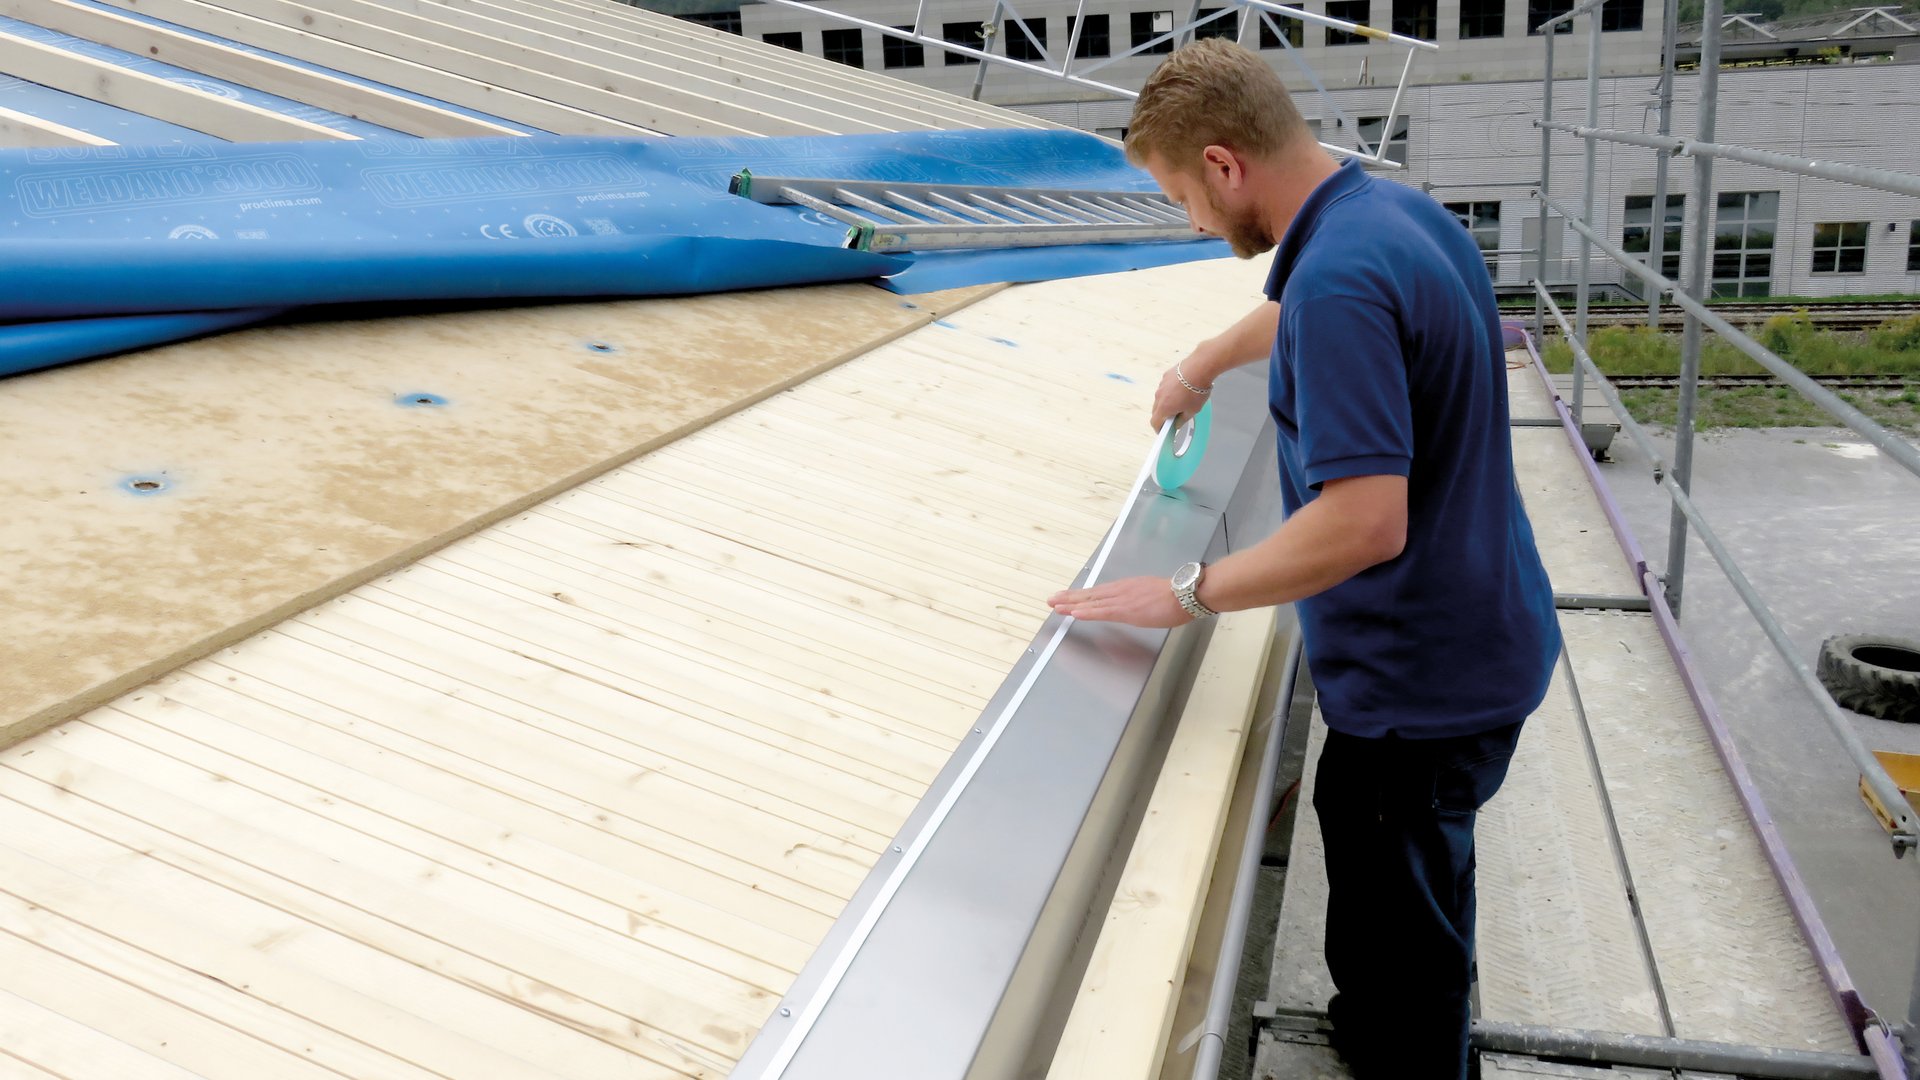
1a. Preparation and adhesive sealing with ORCON CLASSIC
Clean the eave flashing and stick the bottom edge of the SOLITEX WELDANO 3000 roofing underlay to the eave flashing using ORCON CLASSIC adhesive sealant.
If a PVC-coated eave flashing is used, it may be possible to homogeneously weld the roofing underlay membrane directly to the flashing. This should be checked in advance.
1b. Alternative: Adhesive sealing with ORCON MULTIBOND
The adhesive seal between the roofing underlay membrane and the eave flashing can also be implemented using ORCON MULTIBOND. To do so, first apply ORCON MULTIBOND to the eave flashing and then remove the release film.
1b. Alternative: Adhesive sealing with ORCON MULTIBOND
The adhesive seal between the roofing underlay membrane and the eave flashing can also be implemented using ORCON MULTIBOND. To do so, first apply ORCON MULTIBOND to the eave flashing and then remove the release film.
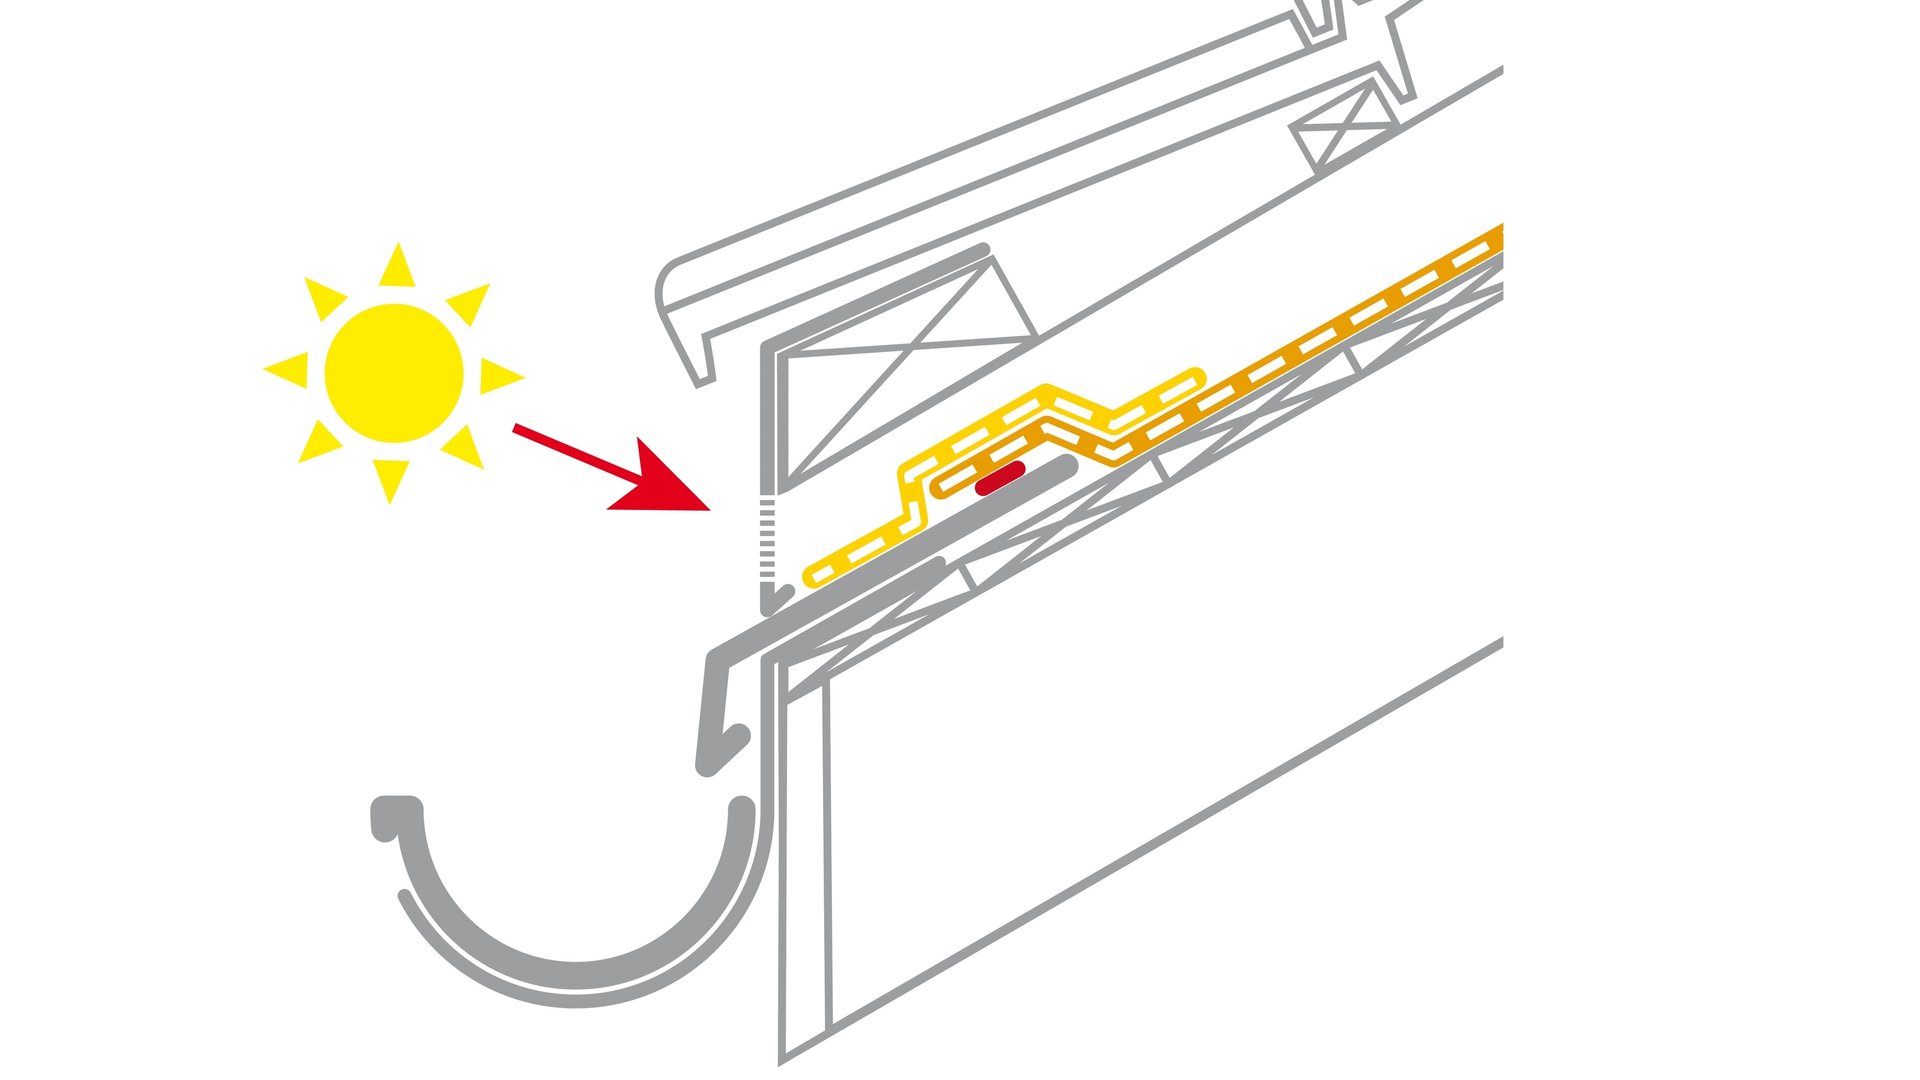
2. Typical cross-section: UV protection for the membrane at the eave
The SOLTEMPA full-surface self-adhesive strip is applied over the eave transition to provide UV protection in this area.
2. Typical cross-section: UV protection for the membrane at the eave
The SOLTEMPA full-surface self-adhesive strip is applied over the eave transition to provide UV protection in this area.
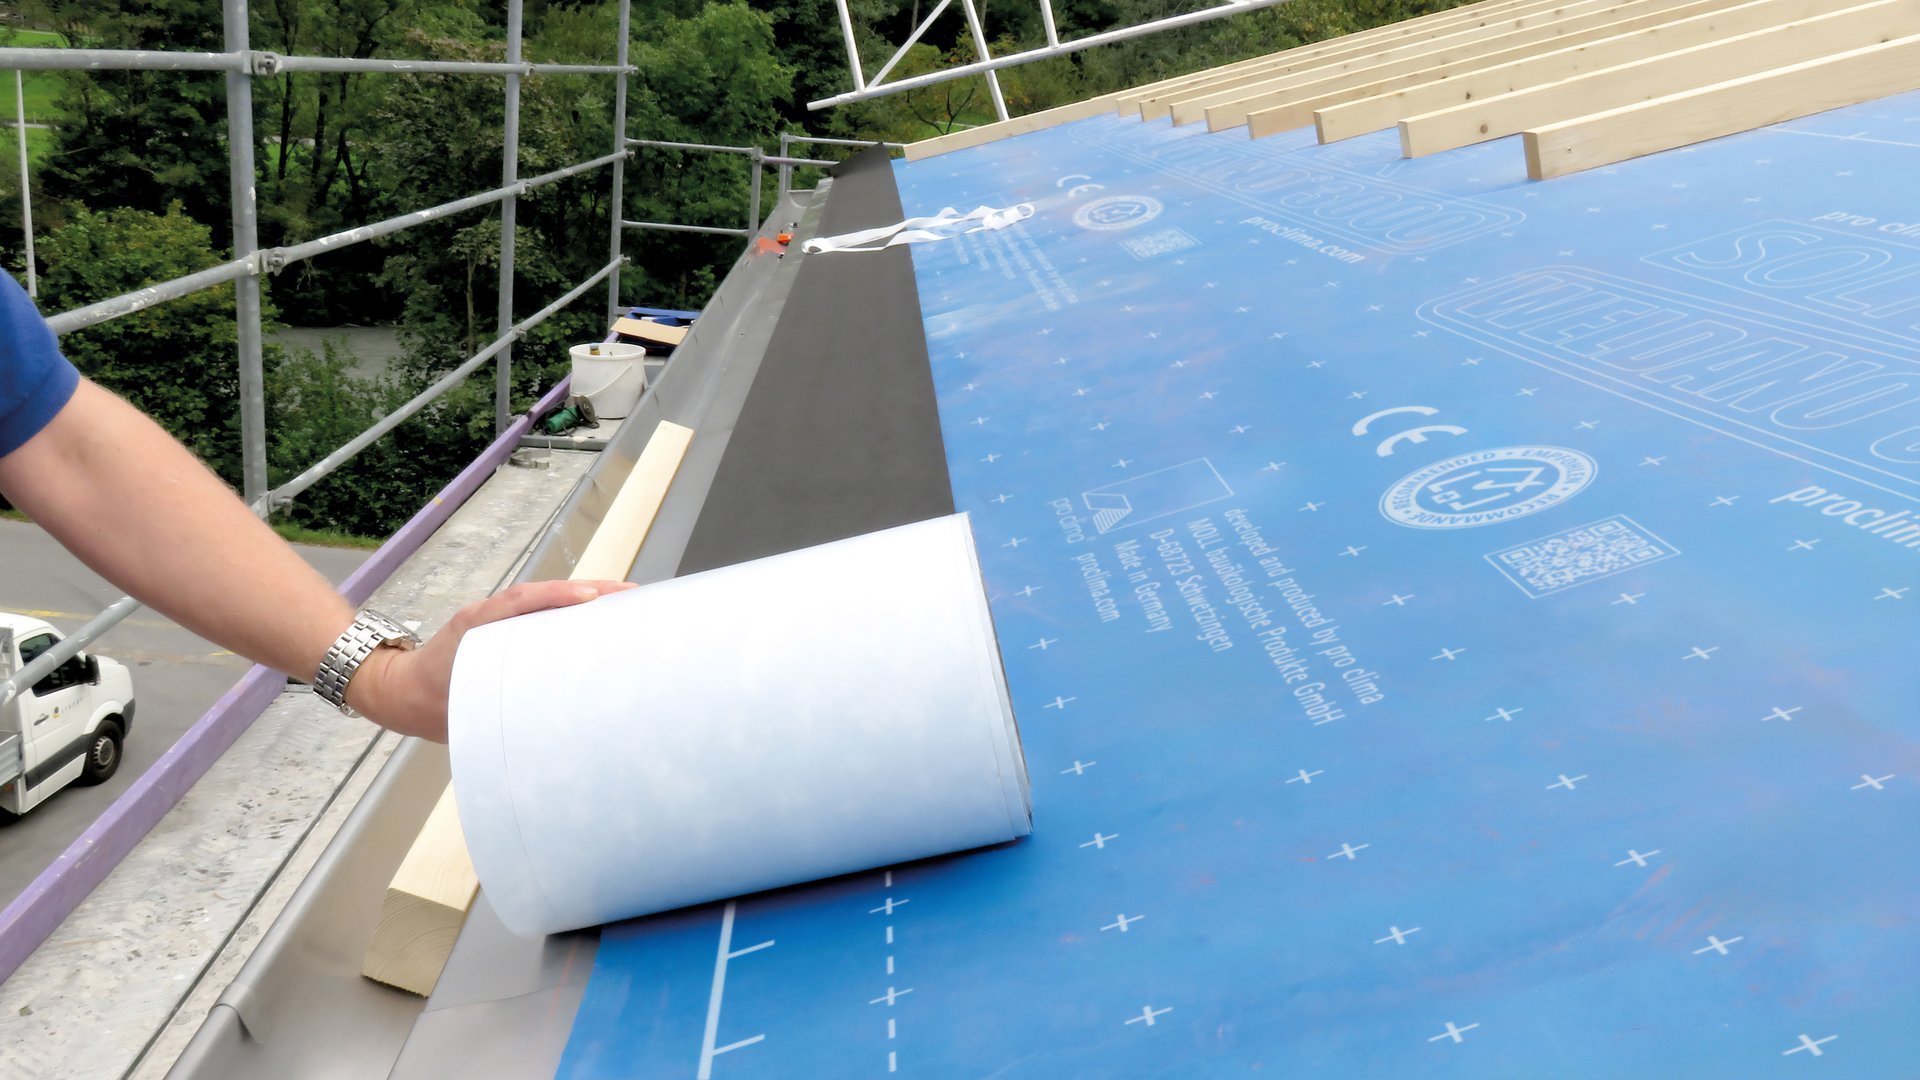
3. Eave transition with SOLTEMPA
Gradually apply the SOLTEMPA self-adhesive strip, ensuring that there are no folds or tension. Rub the strip firmly to secure the adhesive bond – e.g. using PRESSFIX XL.
If SOLTEMPA is applied onto SOLITEX WELDANO 3000 at the eave, the SOLTEMPA adhesive serves merely as a mounting aid. Permanent attachment must be implemented in a mechanical manner, e.g. by using counter battens.