

INTELLO X PLUS
Application for insulation between rafters

1. Install membranes
Roll out the membrane and fasten it using galvanised staples that are at least 10 mm (⅜″) wide by 8 mm (⁵⁄₁₆″) long at intervals of 10-15 cm (4″ to 6″) or, if blown-in insulation is to be installed, 5-10 cm (2″ to 4″). Install the membrane leaving an additional 4 cm (1⅝″) overlap at adjacent building structures so that an airtight bond can be applied here subsequently.
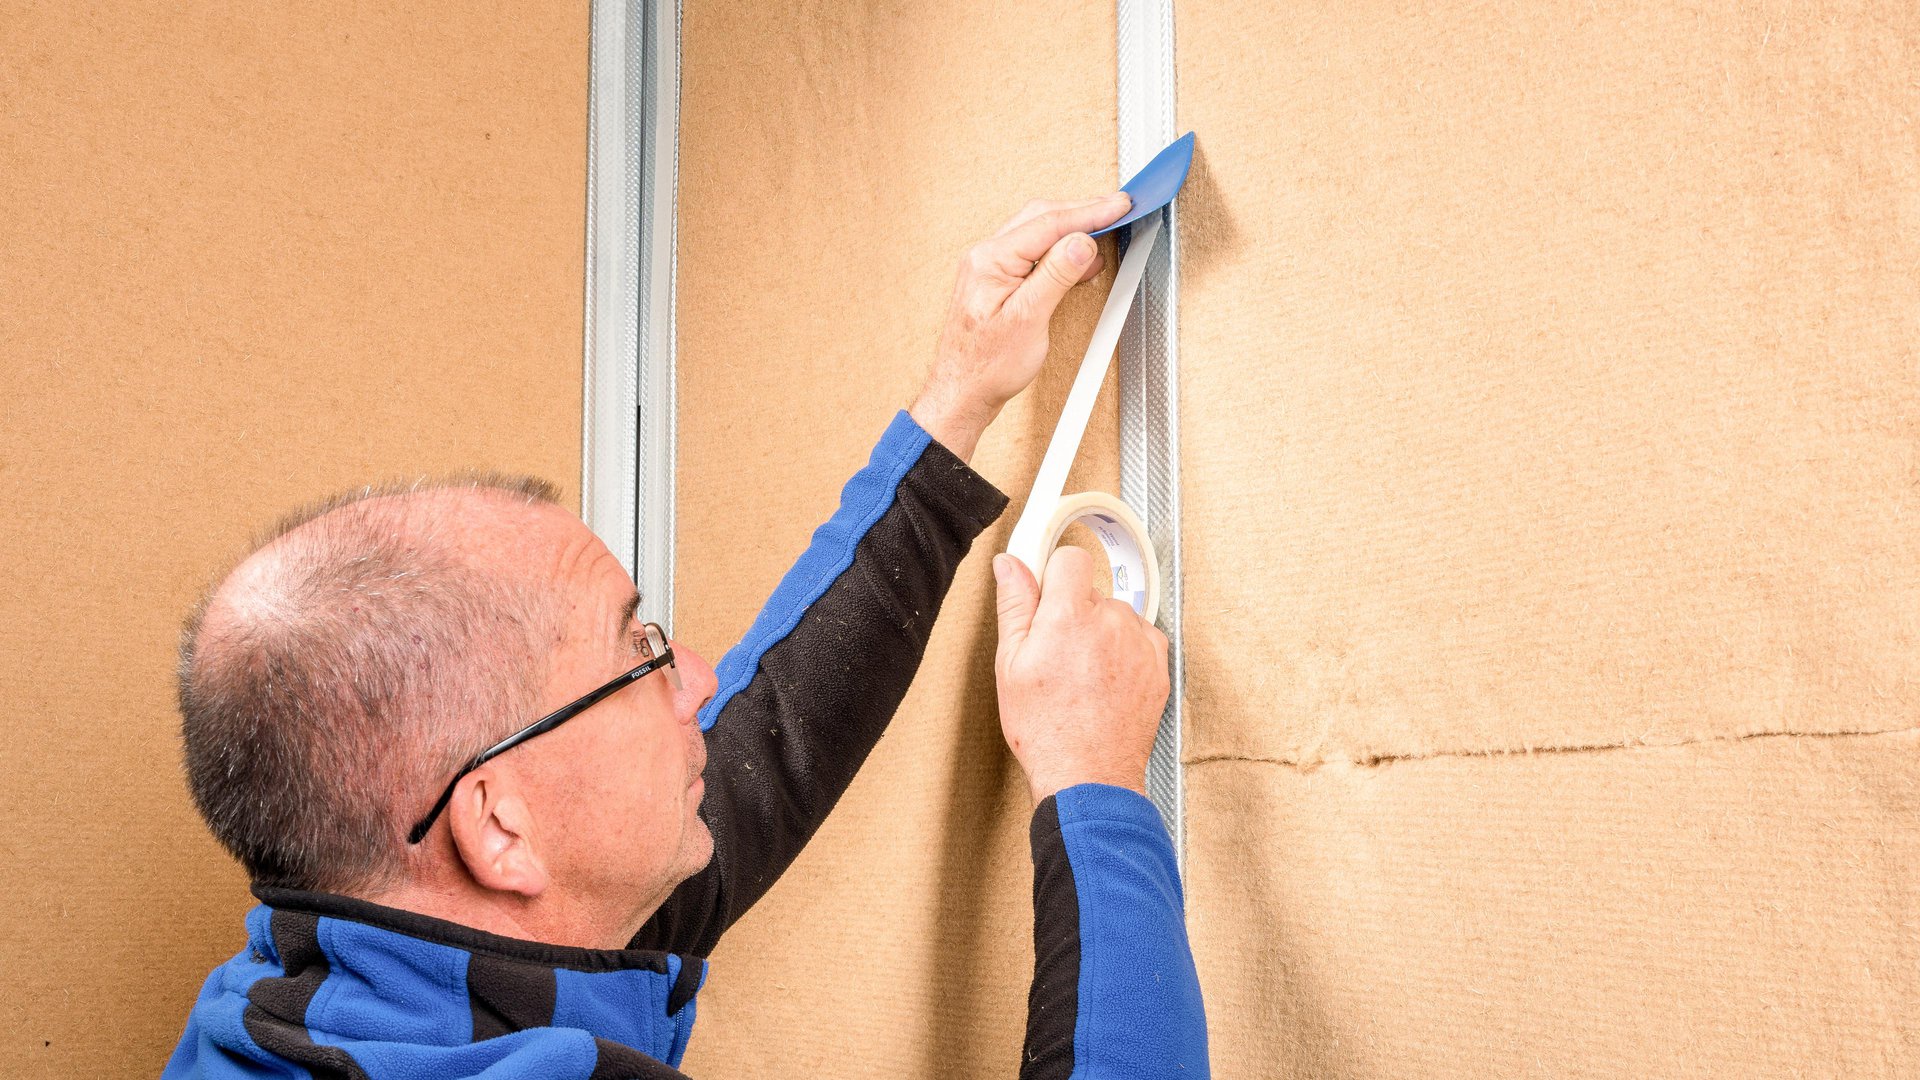
2. Fasten to stud wall frame members
Fastening of membranes to metal frame members on stud wall and ceiling structures using DUPLEX.
2. Fasten to stud wall frame members
Fastening of membranes to metal frame members on stud wall and ceiling structures using DUPLEX.
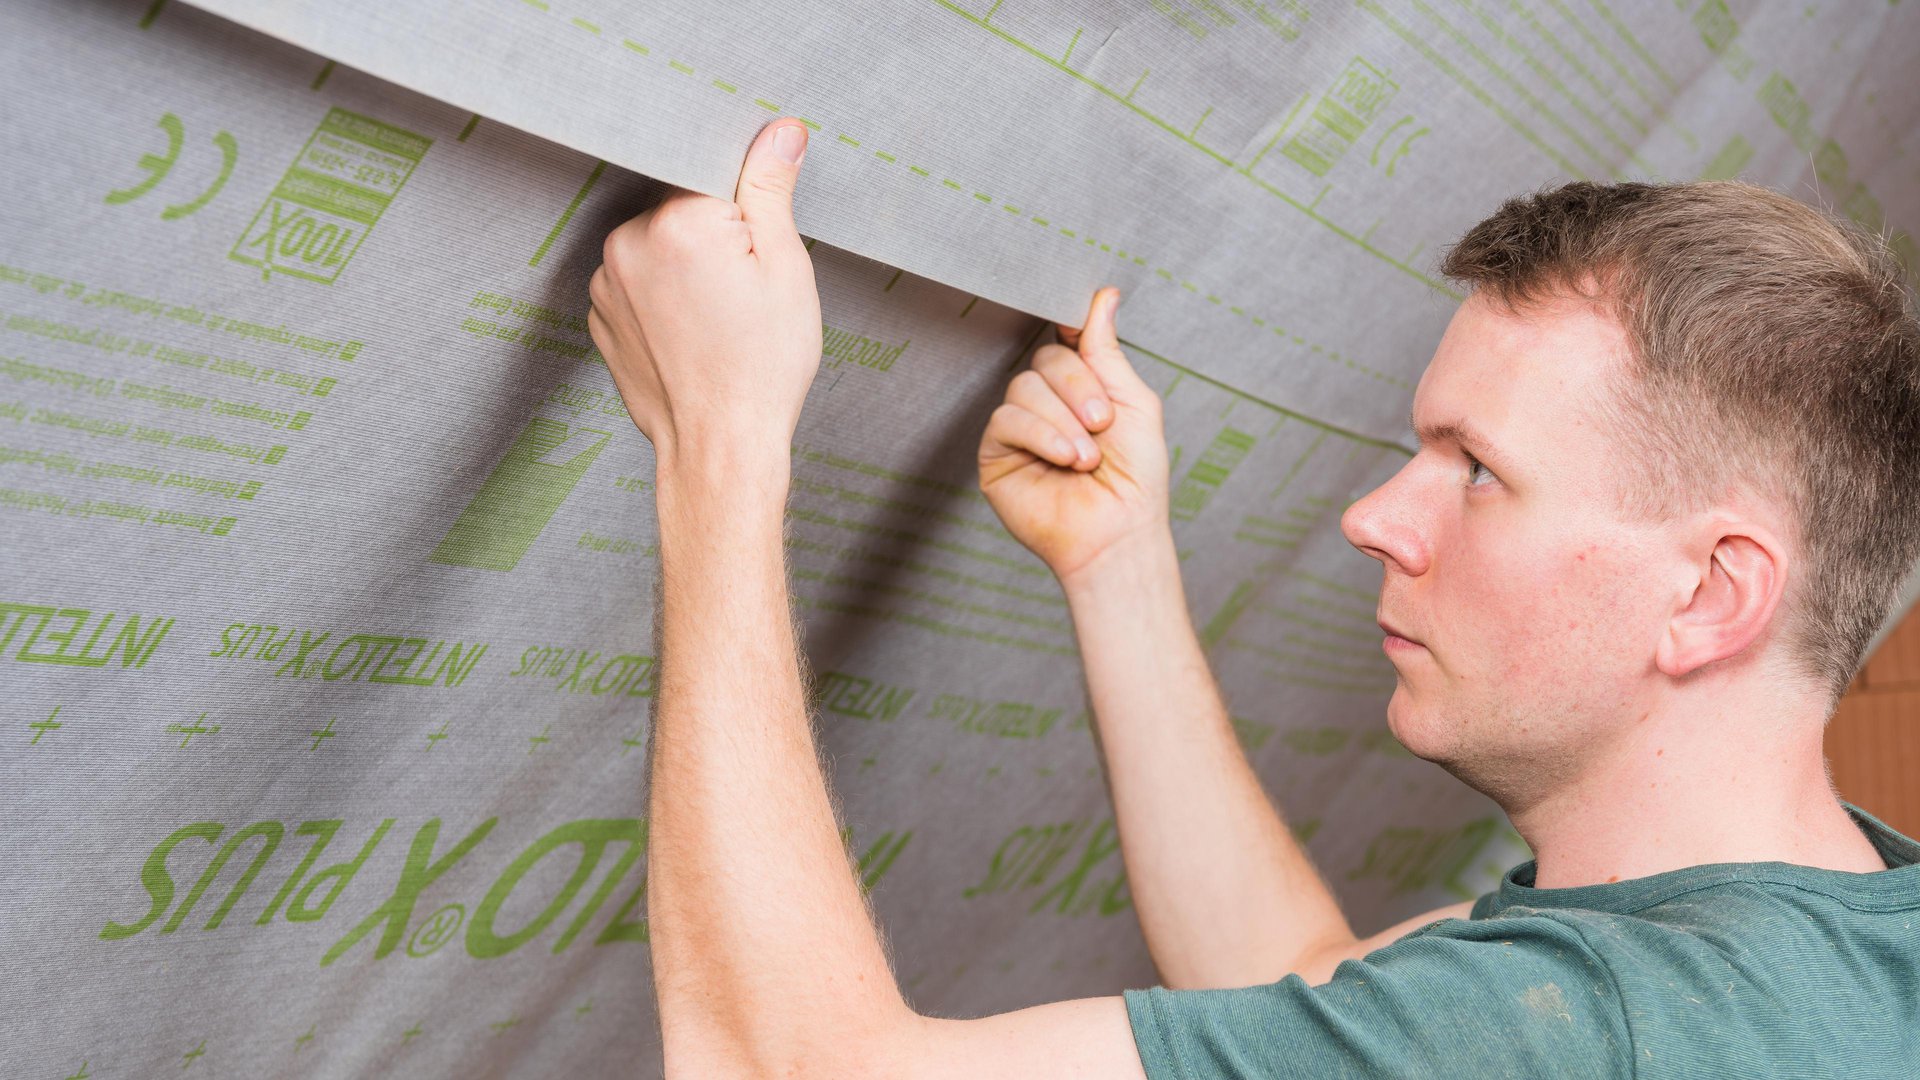
3. Overlap the membranes
Allow for an overlap of at least 10 cm (4″) between the membranes. The marking that is printed onto the membrane will serve as a guide here.
3. Overlap the membranes
Allow for an overlap of at least 10 cm (4″) between the membranes. The marking that is printed onto the membrane will serve as a guide here.

4. Clean the subsurface
Clean the subsurface (dry and free of dust, silicone and grease) before taping; carry out an adhesion test, if necessary.
4. Clean the subsurface
Clean the subsurface (dry and free of dust, silicone and grease) before taping; carry out an adhesion test, if necessary.
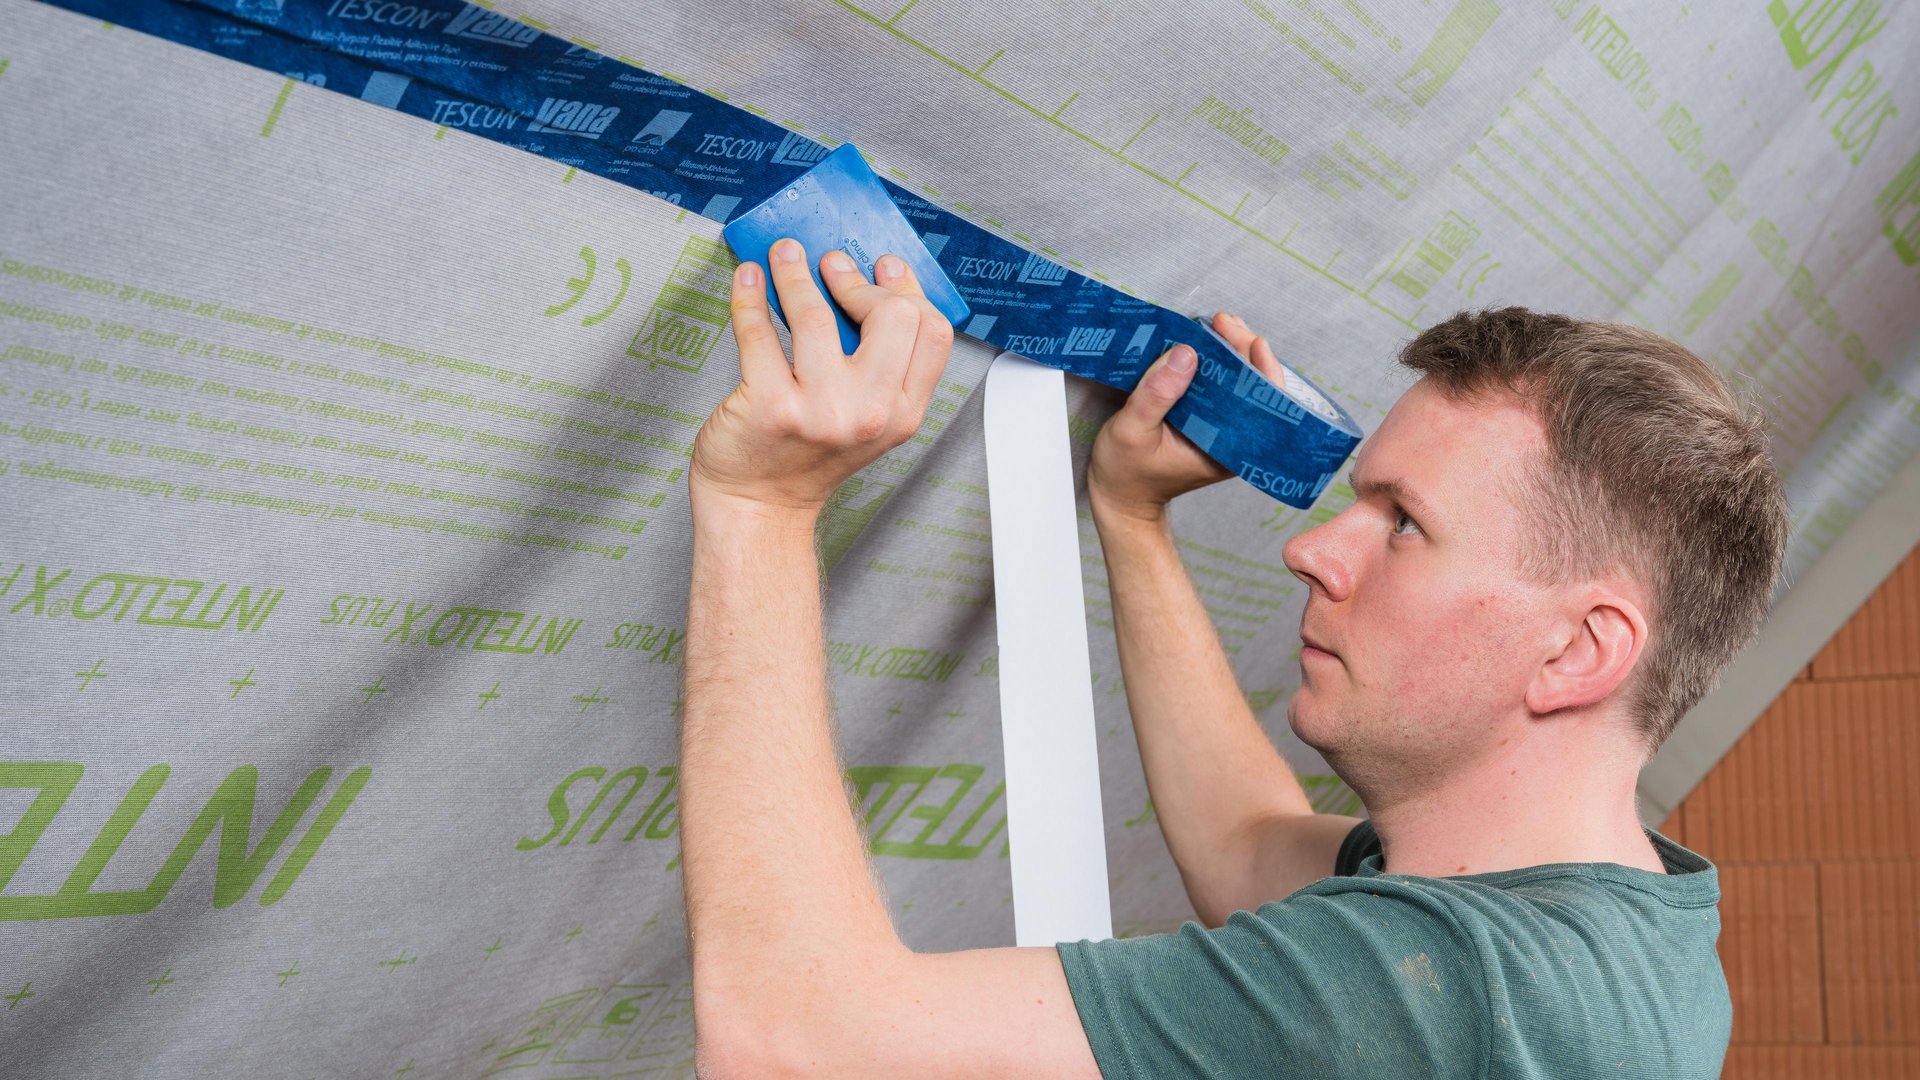
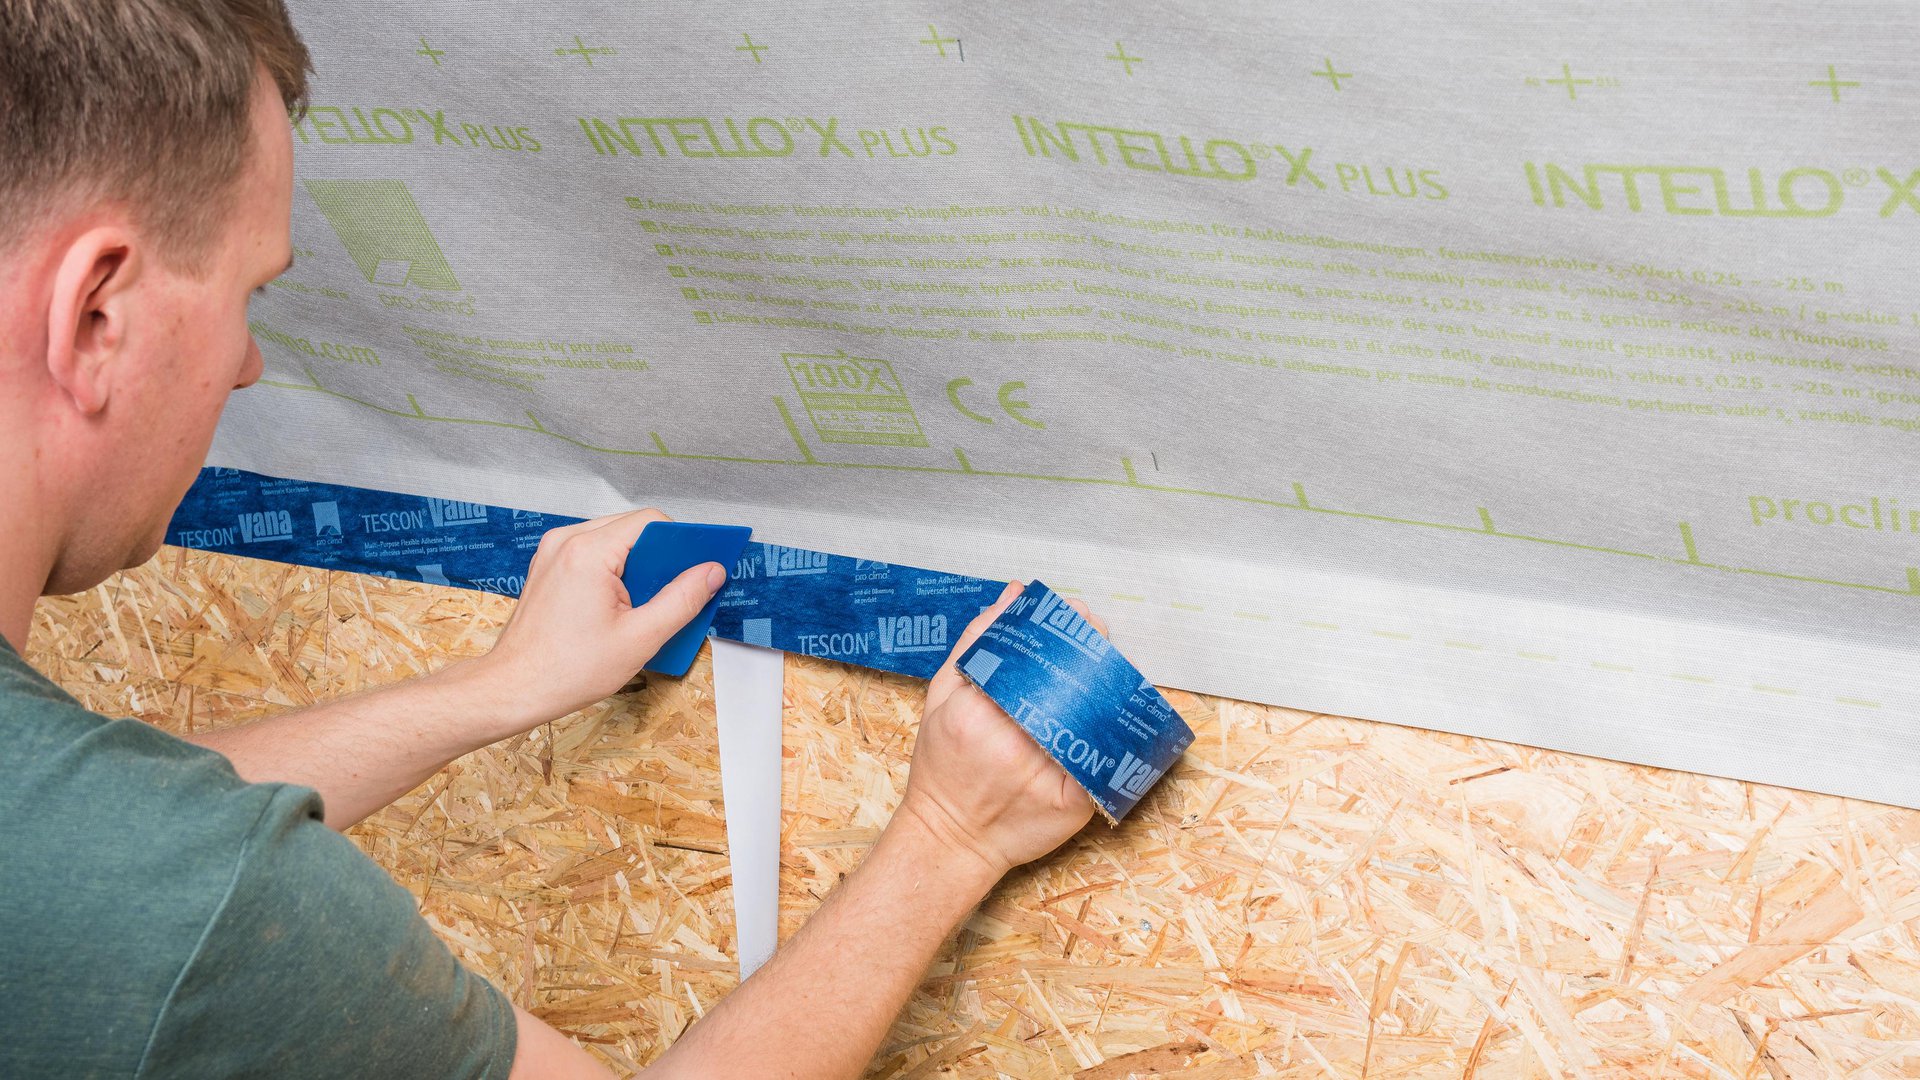
5a. Tape the overlaps
Centre the TESCON VANA system adhesive tape on the overlap and gradually stick it in place, ensuring that there are no folds or tension.
5a. Tape the overlaps
Centre the TESCON VANA system adhesive tape on the overlap and gradually stick it in place, ensuring that there are no folds or tension.
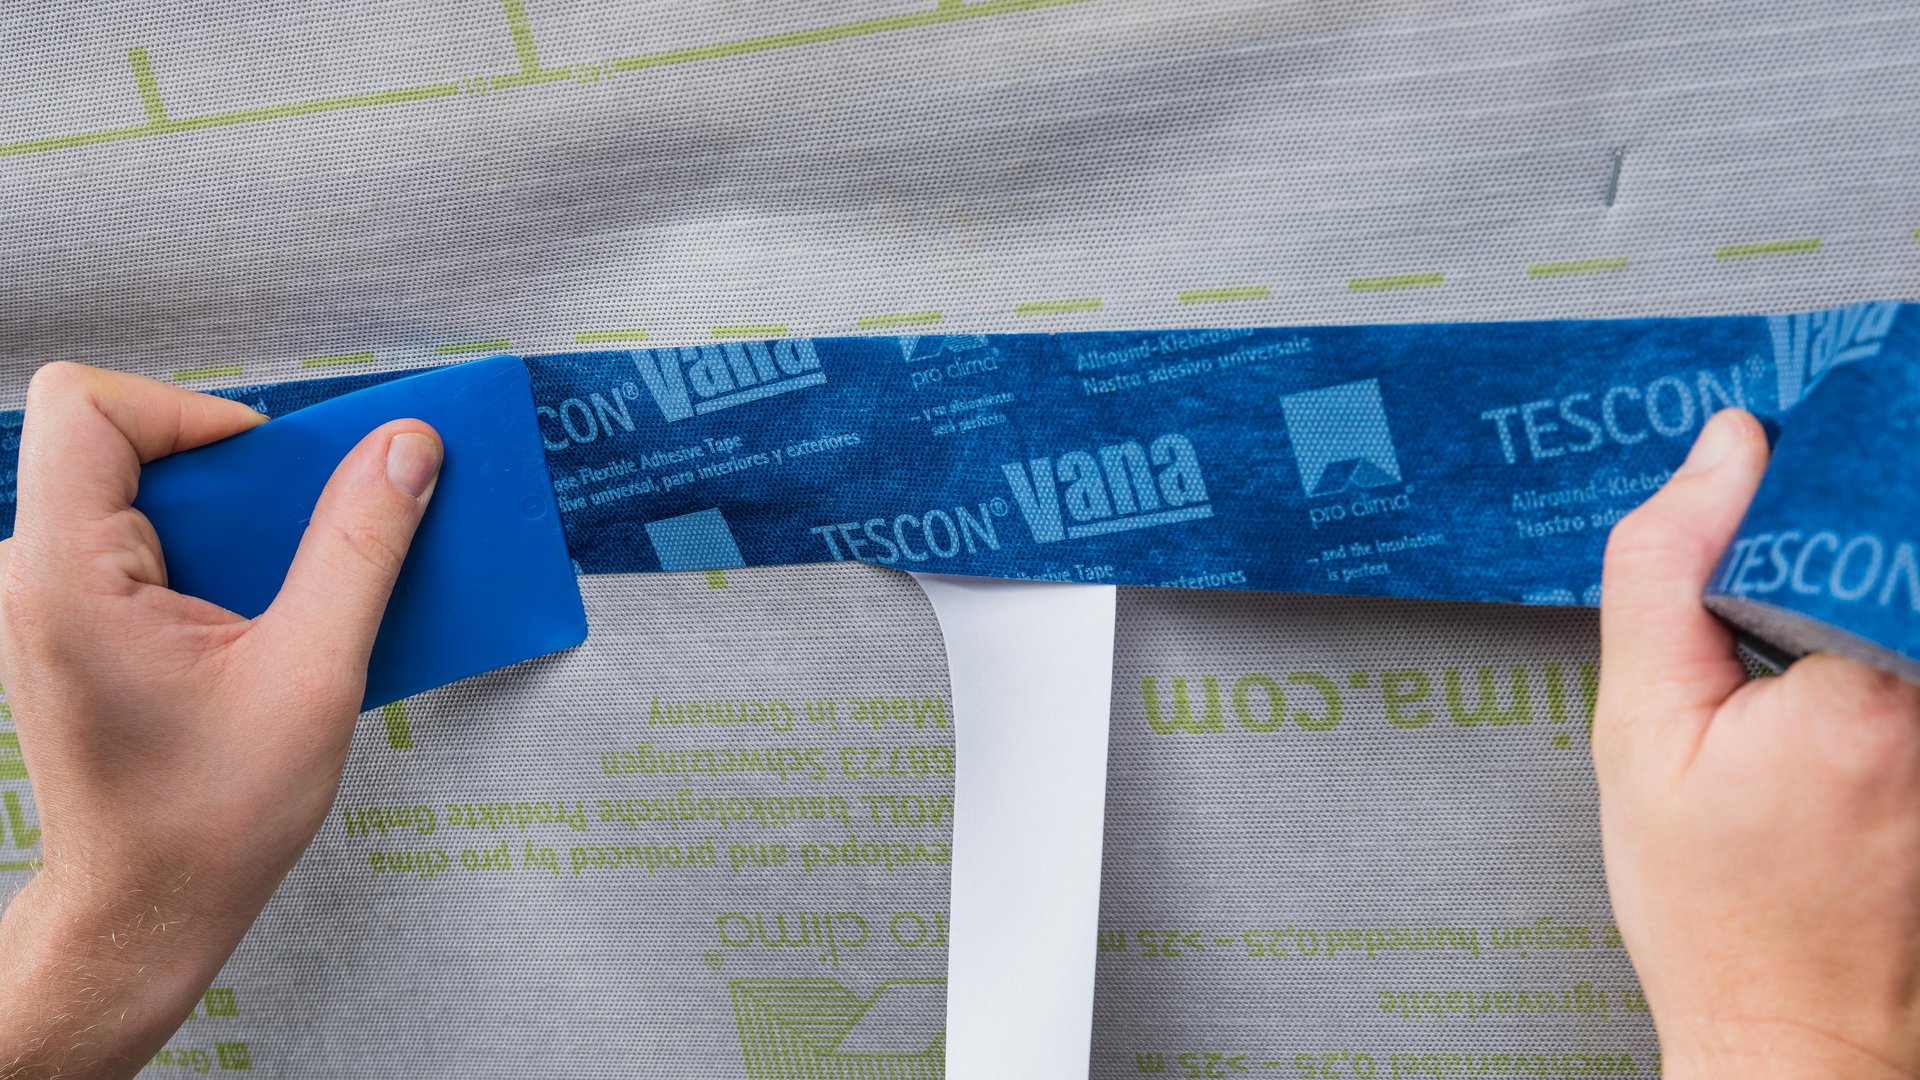
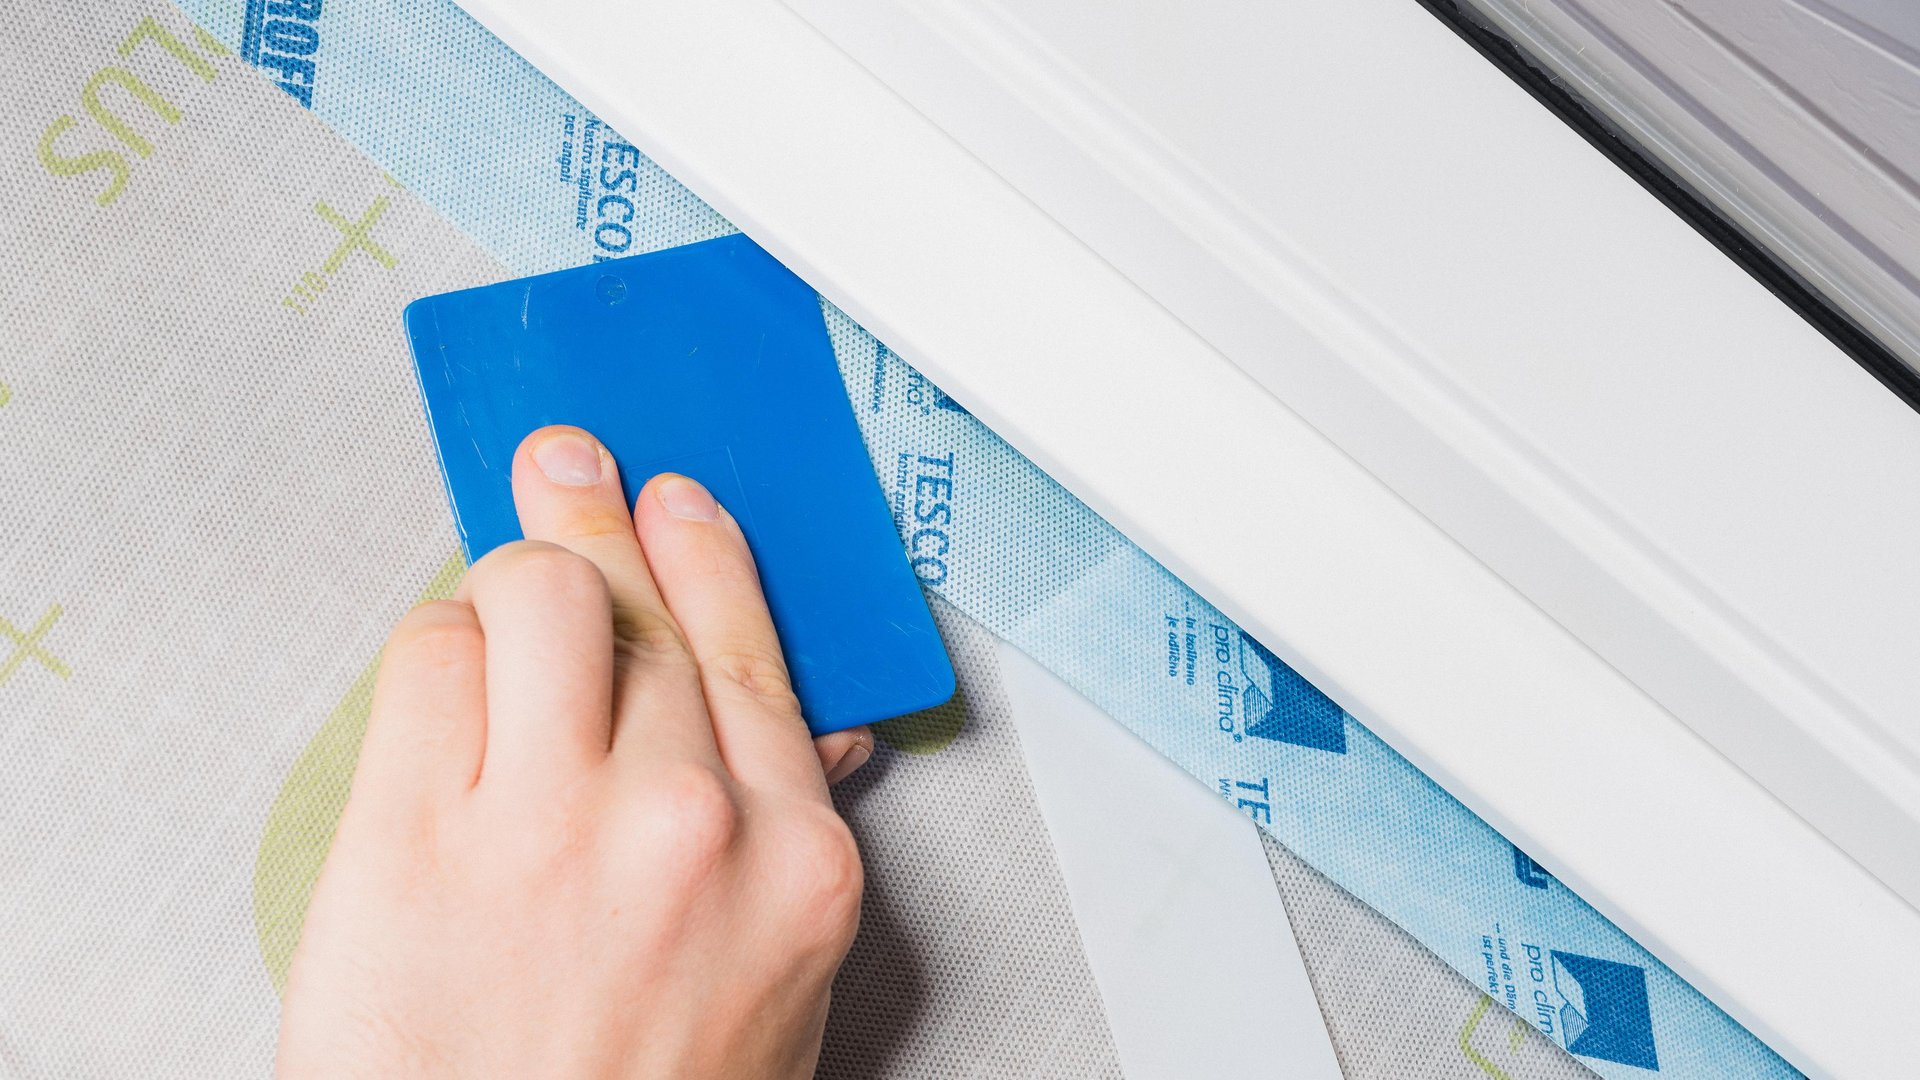
5b. Rub the taped joint firmly
Rub the tape firmly using the PRESSFIX to secure the adhesive bond. Ensure that there is sufficient resistance pressure.
5b. Rub the taped joint firmly
Rub the tape firmly using the PRESSFIX to secure the adhesive bond. Ensure that there is sufficient resistance pressure.
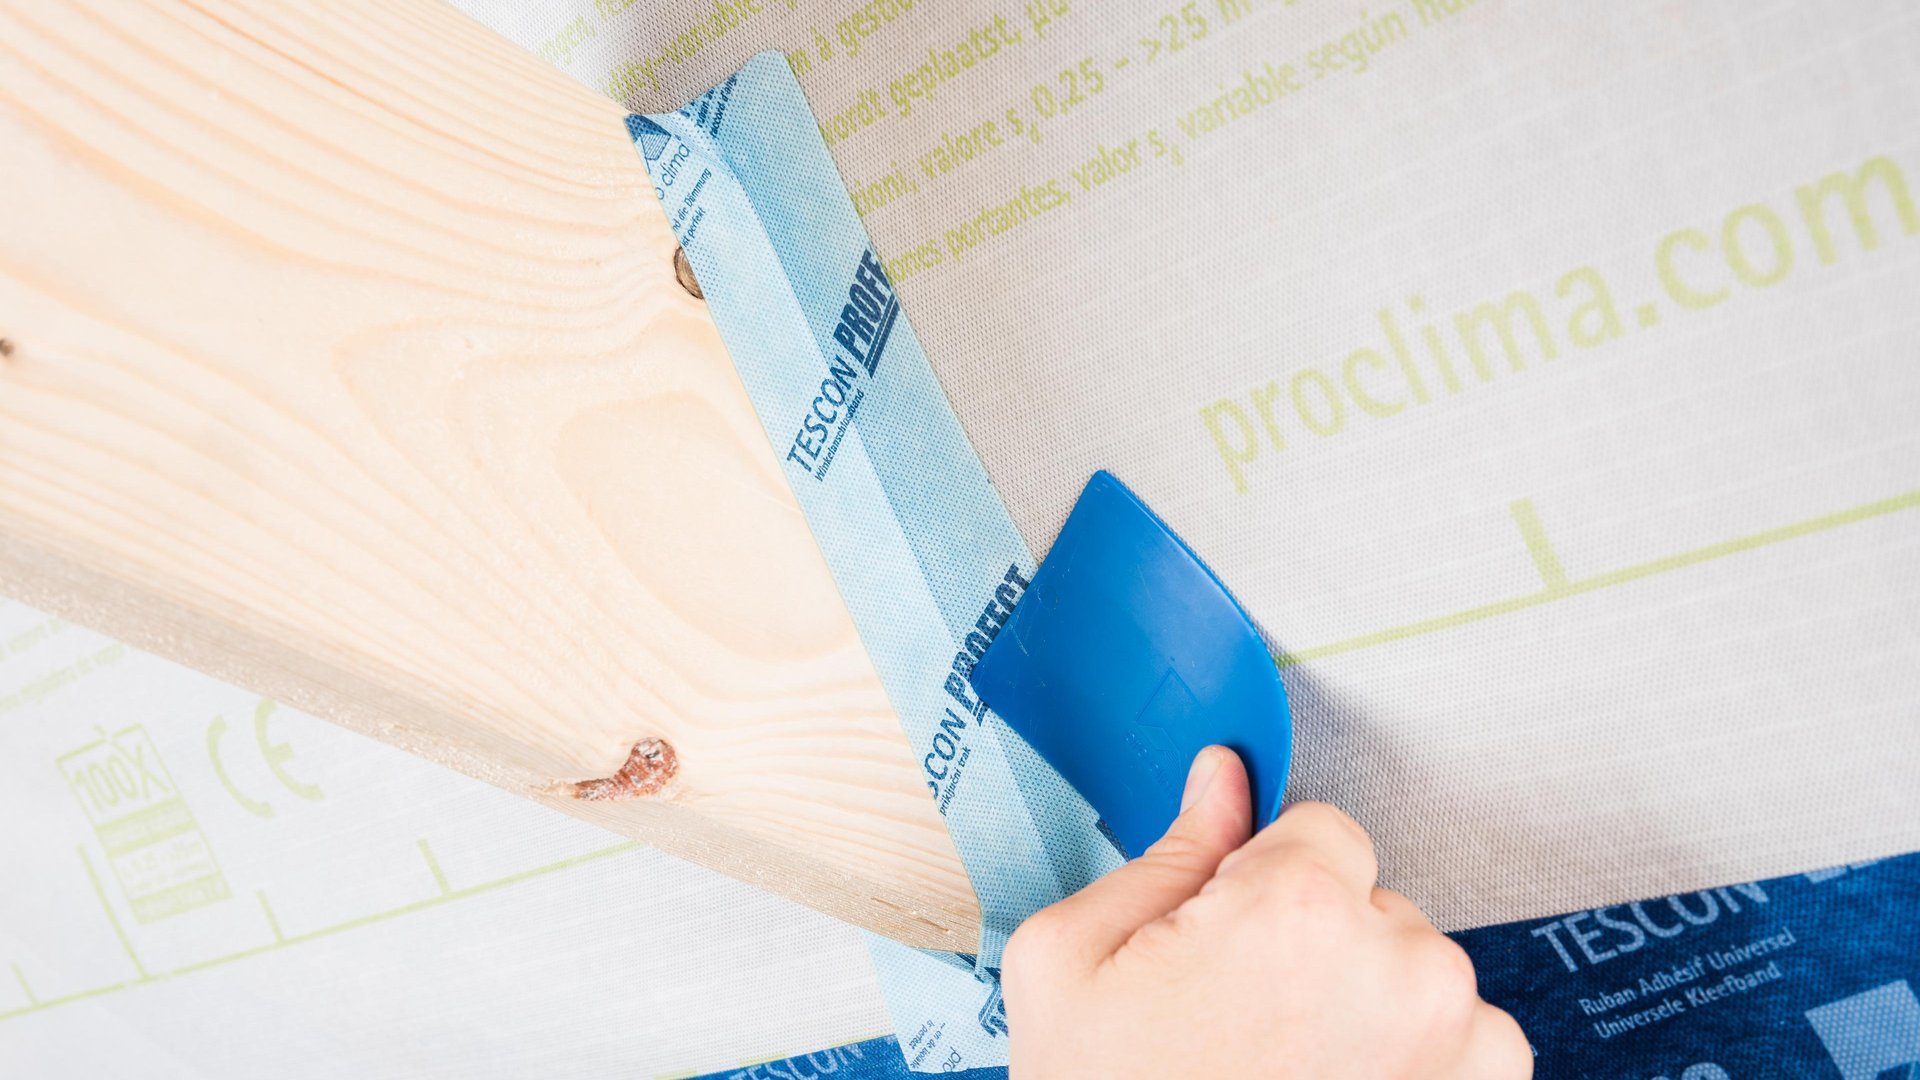
6. Sealing to smooth, non-mineral subsurfaces
… (e.g. knee walls made of wood-based panels) should also be implemented using TESCON VANA system adhesive tape.
Centre the tape and gradually stick it in place, ensuring that there are no folds or tension. Rub the tape firmly using the PRESSFIX to secure the adhesive bond.

7. Sealing to rough or mineral subsurfaces
Clean the subsurface. Apply a line of ORCON F adhesive sealant of at least d = 5 mm (³⁄₁₆″), or more in the case of very rough subsurfaces if necessary. Place INTELLO X onto the adhesive bed, leaving slack to allow for expansion. Do not press the adhesive completely flat.
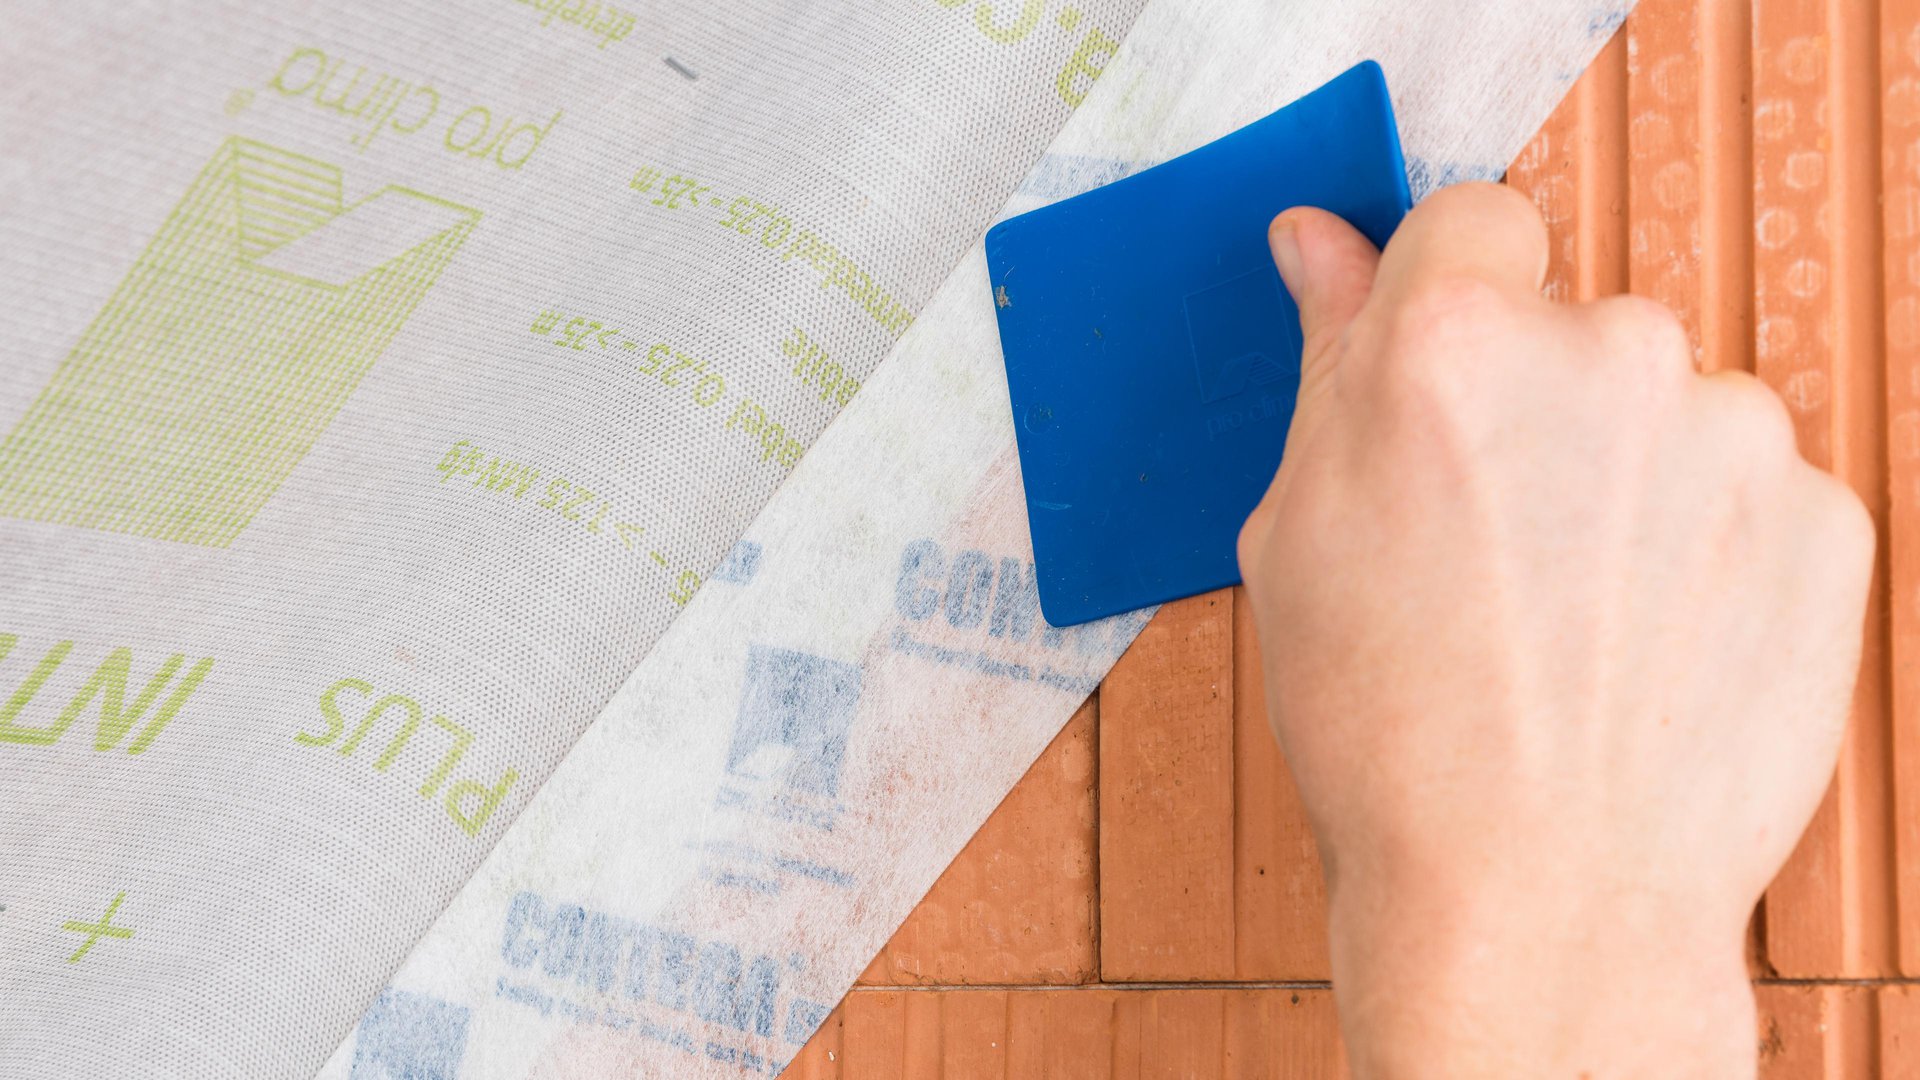
8a. Alternative: Sealing to mineral subsurfaces
Position ORCON MULTIBOND on the subsurface, roll it out and gradually stick it to the subsurface. Gradually remove the release film.
8a. Alternative: Sealing to mineral subsurfaces
Position ORCON MULTIBOND on the subsurface, roll it out and gradually stick it to the subsurface. Gradually remove the release film.
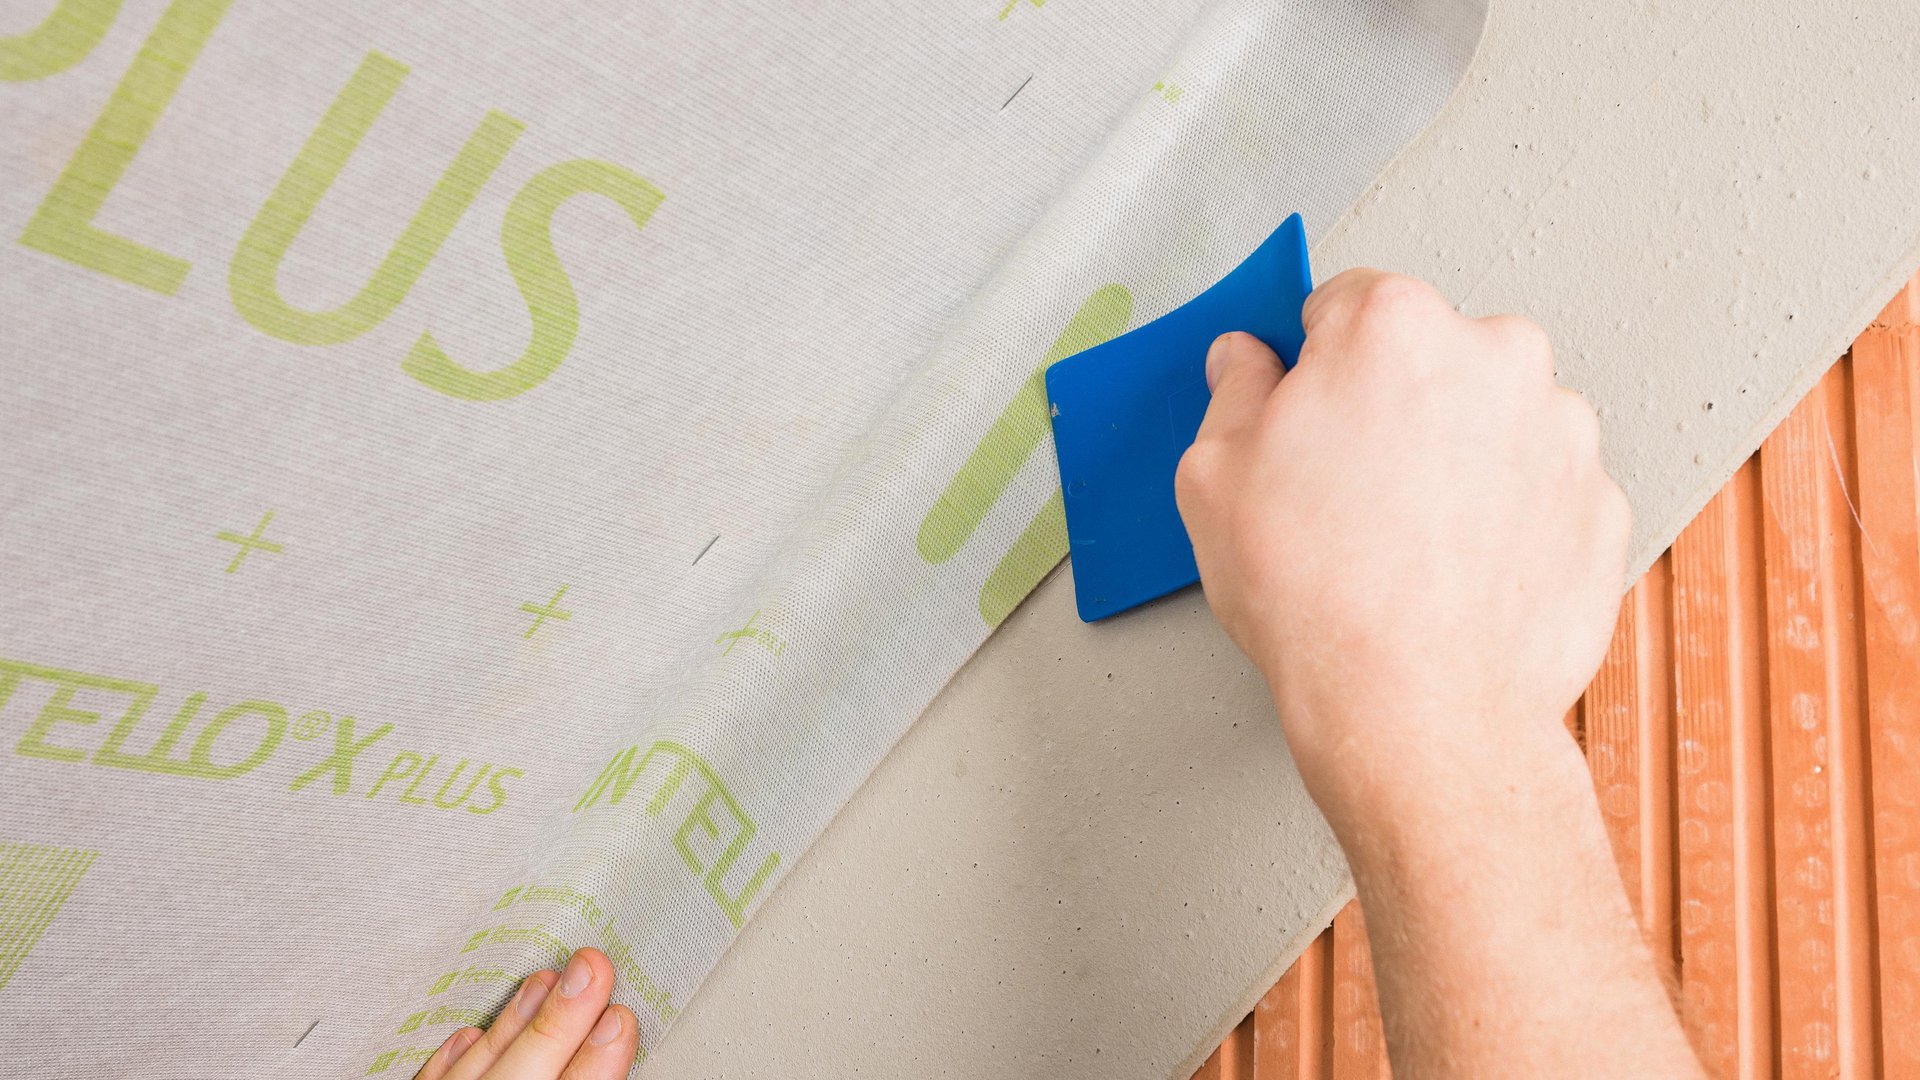
8b. Stick the membrane / Rub the joint firmly
Apply the membrane onto the adhesive strip, leaving slack for expansion so as to allow for relative motion between components. Rub firmly to secure the adhesive bond using the PRESSFIX. Ensure that there is sufficient resistance pressure.
8b. Stick the membrane / Rub the joint firmly
Apply the membrane onto the adhesive strip, leaving slack for expansion so as to allow for relative motion between components. Rub firmly to secure the adhesive bond using the PRESSFIX. Ensure that there is sufficient resistance pressure.
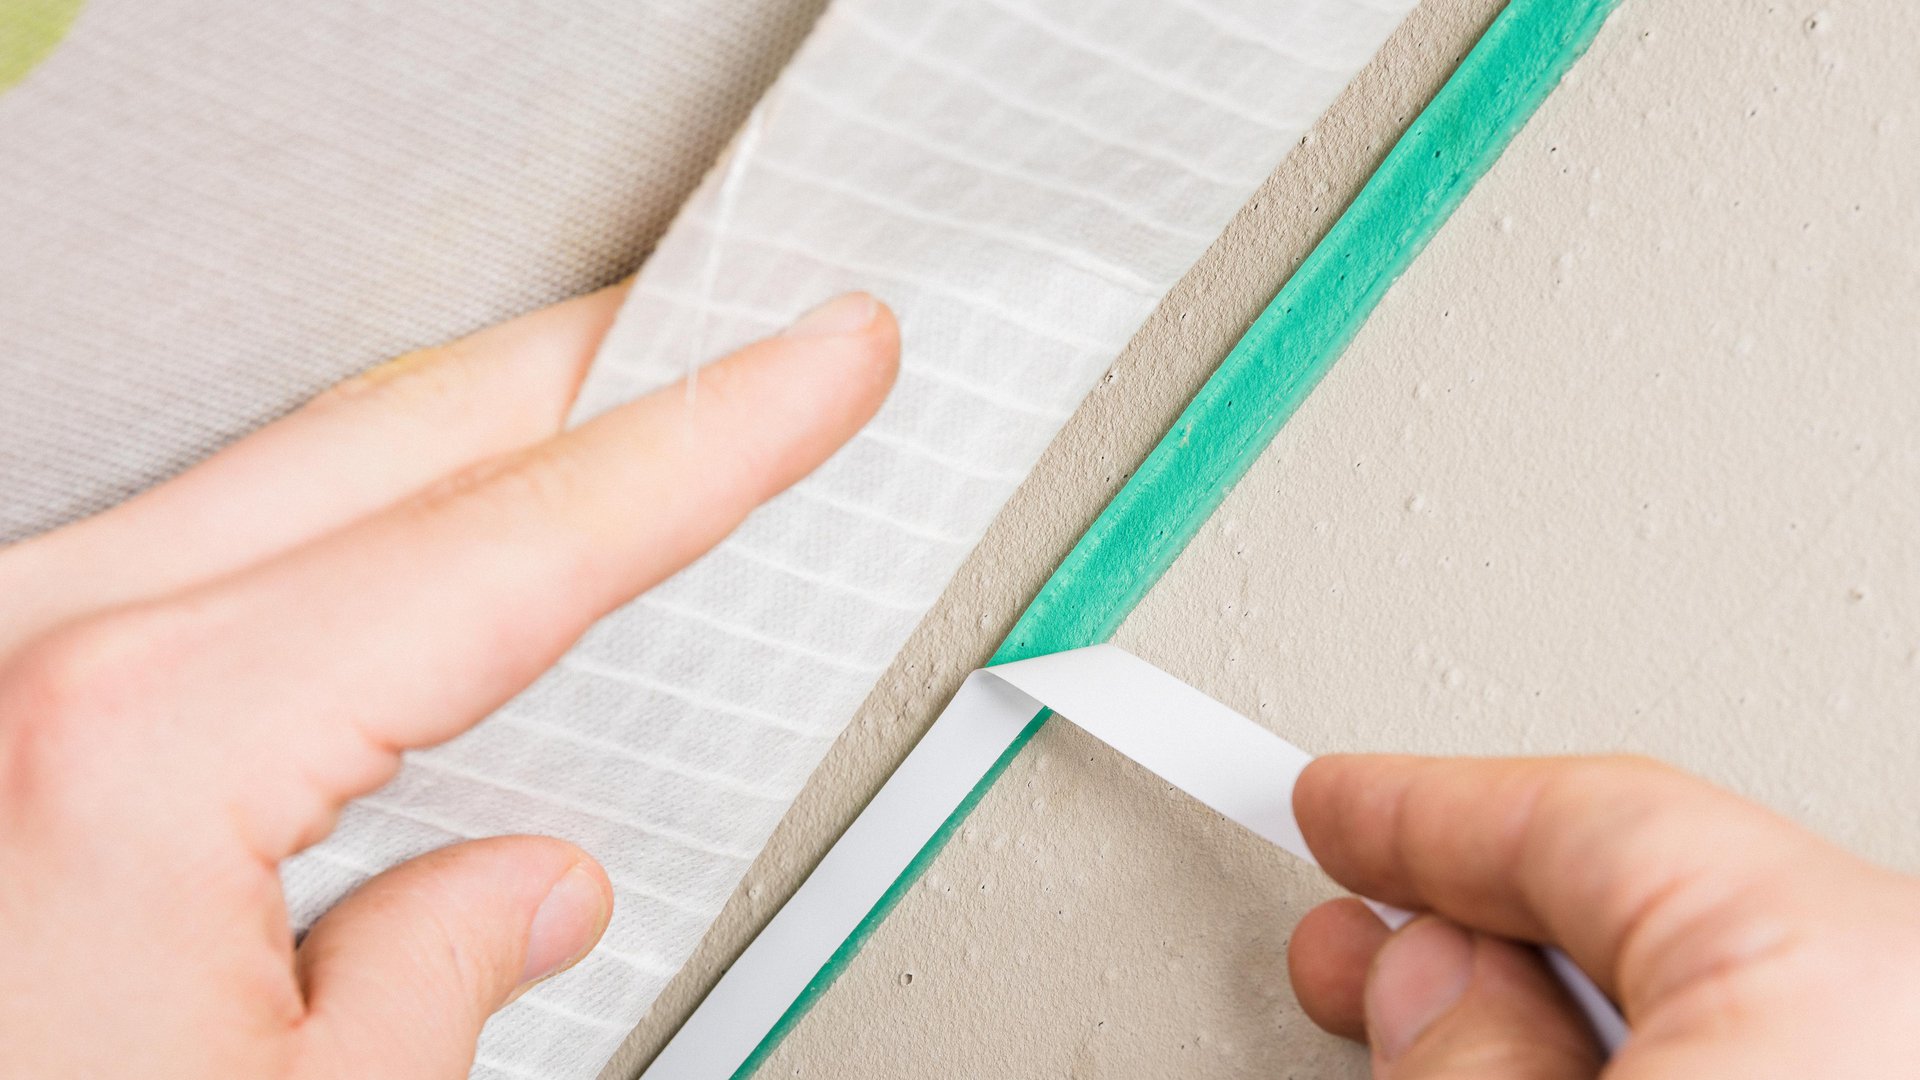
9. Sealing to unplastered subsurfaces
Guide the vapour control membrane into position. Leave slack for expansion so as to allow for relative motion between components.
Remove all release films from CONTEGA SOLIDO SL or CONTEGA SOLIDO IQ. Centre the tape and gradually stick it in place. Rub the tape firmly using the PRESSFIX to secure the adhesive bond.
To achieve airtightness, plaster over the masonry and sealing tape.
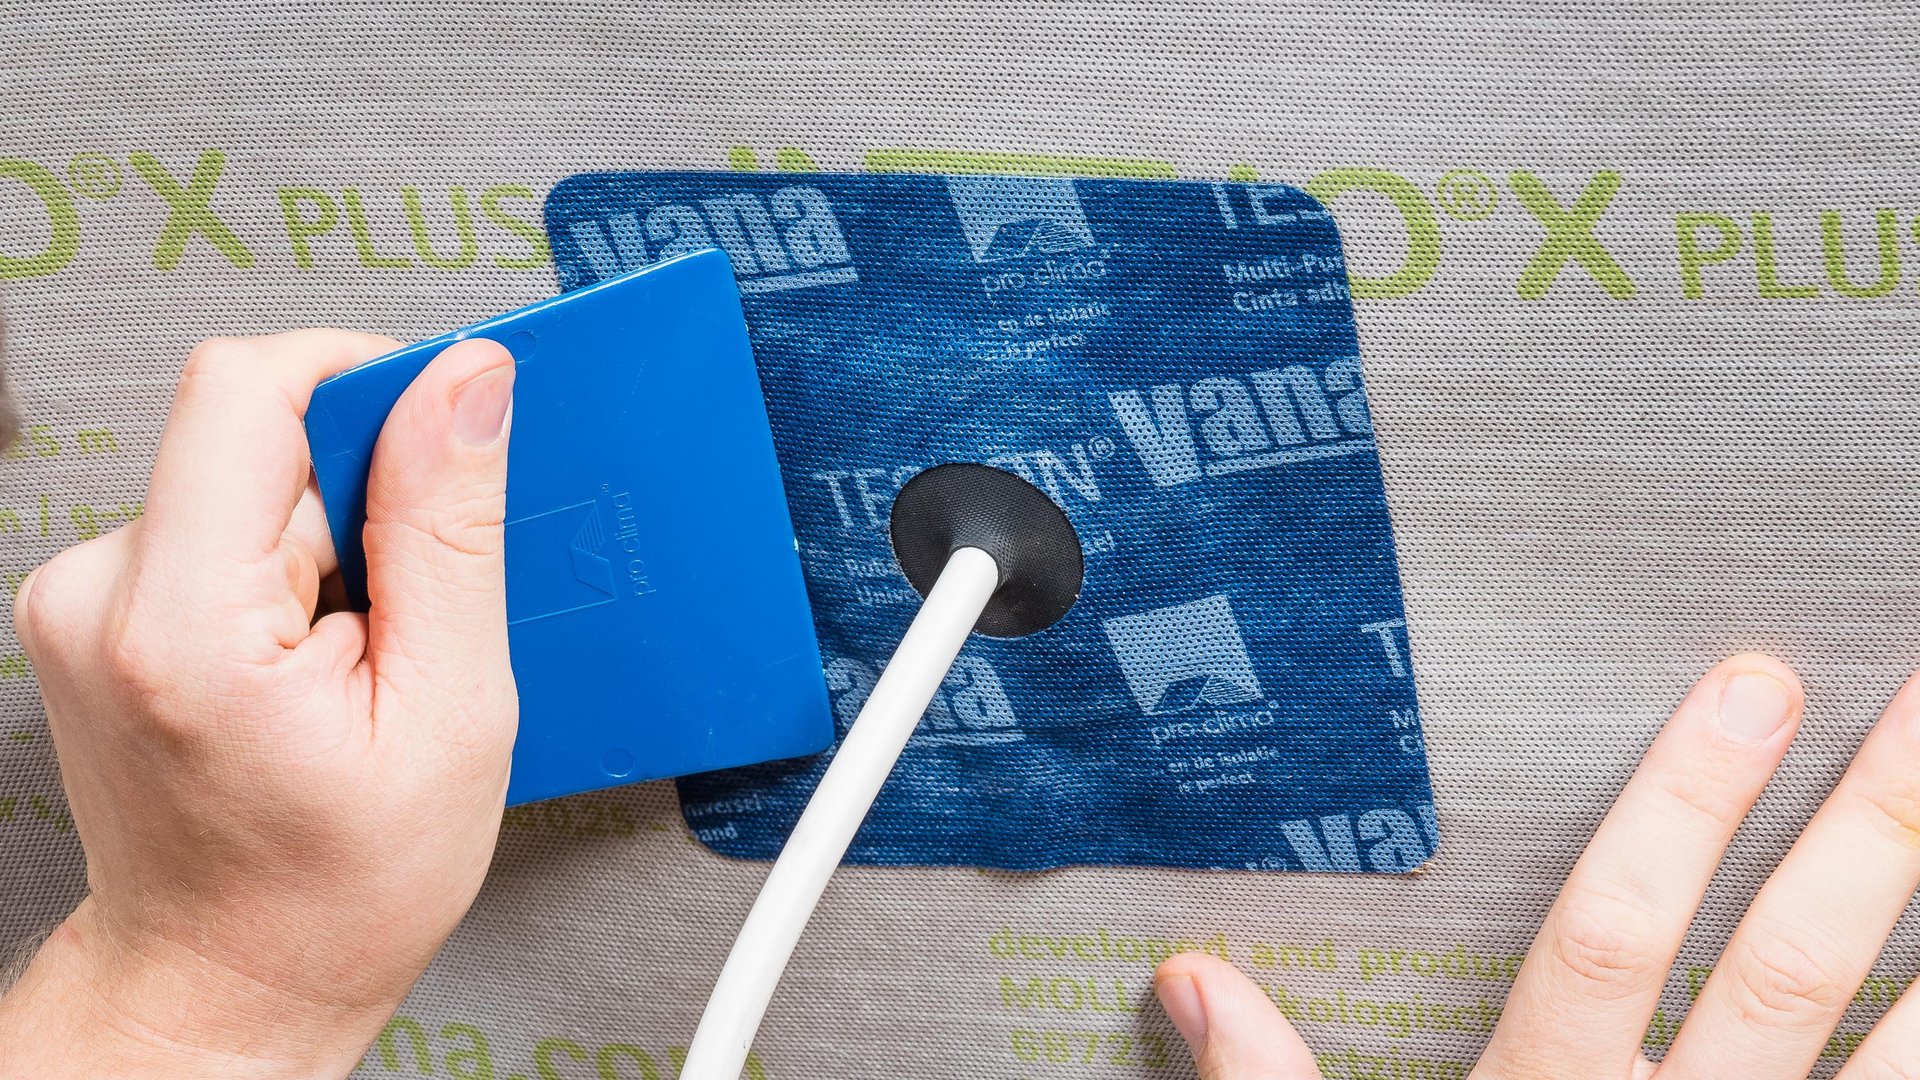
10a. Sealing around cables
Place a KAFLEX cable gasket over the cable and stick to the membrane. The cable gaskets are self-adhesive.
10a. Sealing around cables
Place a KAFLEX cable gasket over the cable and stick to the membrane. The cable gaskets are self-adhesive.
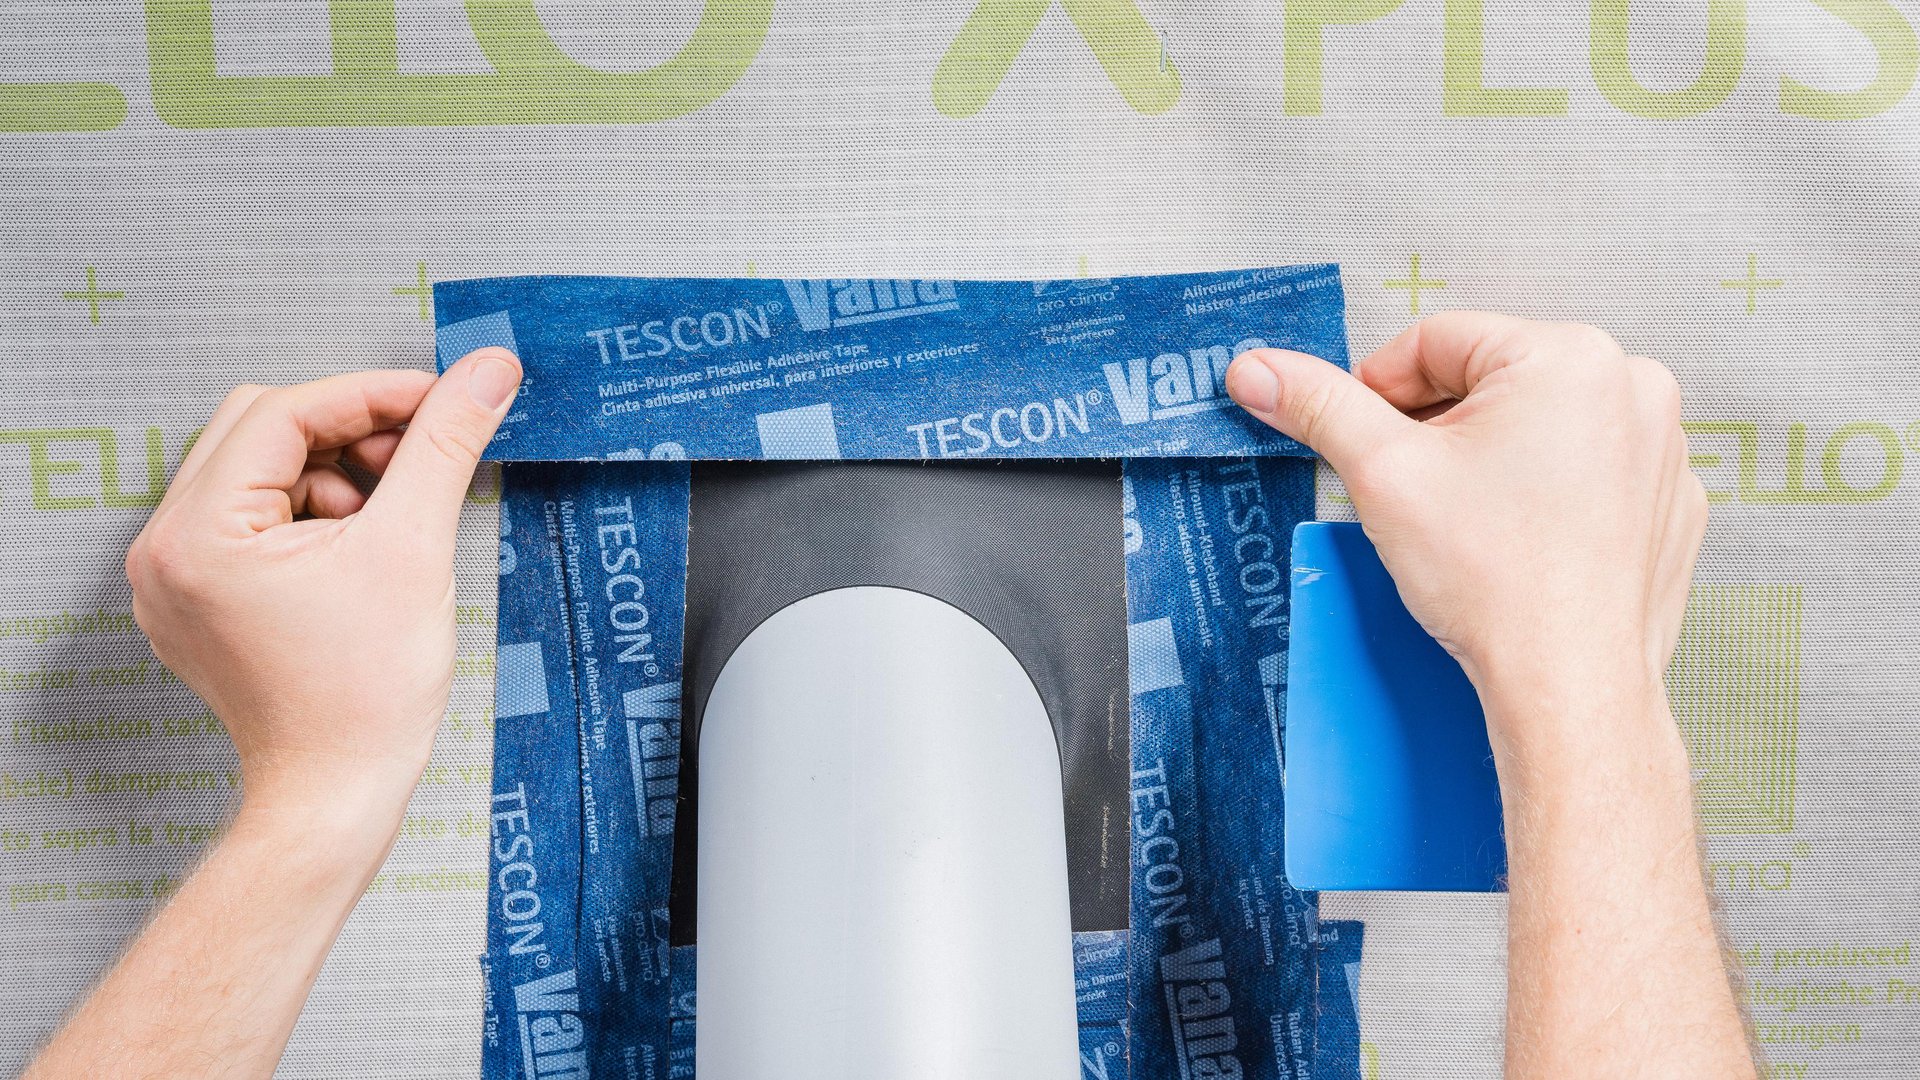
10b. Sealing around pipes
Place a ROFLEX pipe grommet over the pipe and stick to the membrane using TESCON VANA.
10b. Sealing around pipes
Place a ROFLEX pipe grommet over the pipe and stick to the membrane using TESCON VANA.
11. Corner sealing
Guide TESCON PROFECT pre-folded corner sealing tape into the corner while the release film is still in place and stick the first independent adhesive strip. Then remove the release film and stick the second independent adhesive strip.
11. Corner sealing
Guide TESCON PROFECT pre-folded corner sealing tape into the corner while the release film is still in place and stick the first independent adhesive strip. Then remove the release film and stick the second independent adhesive strip.
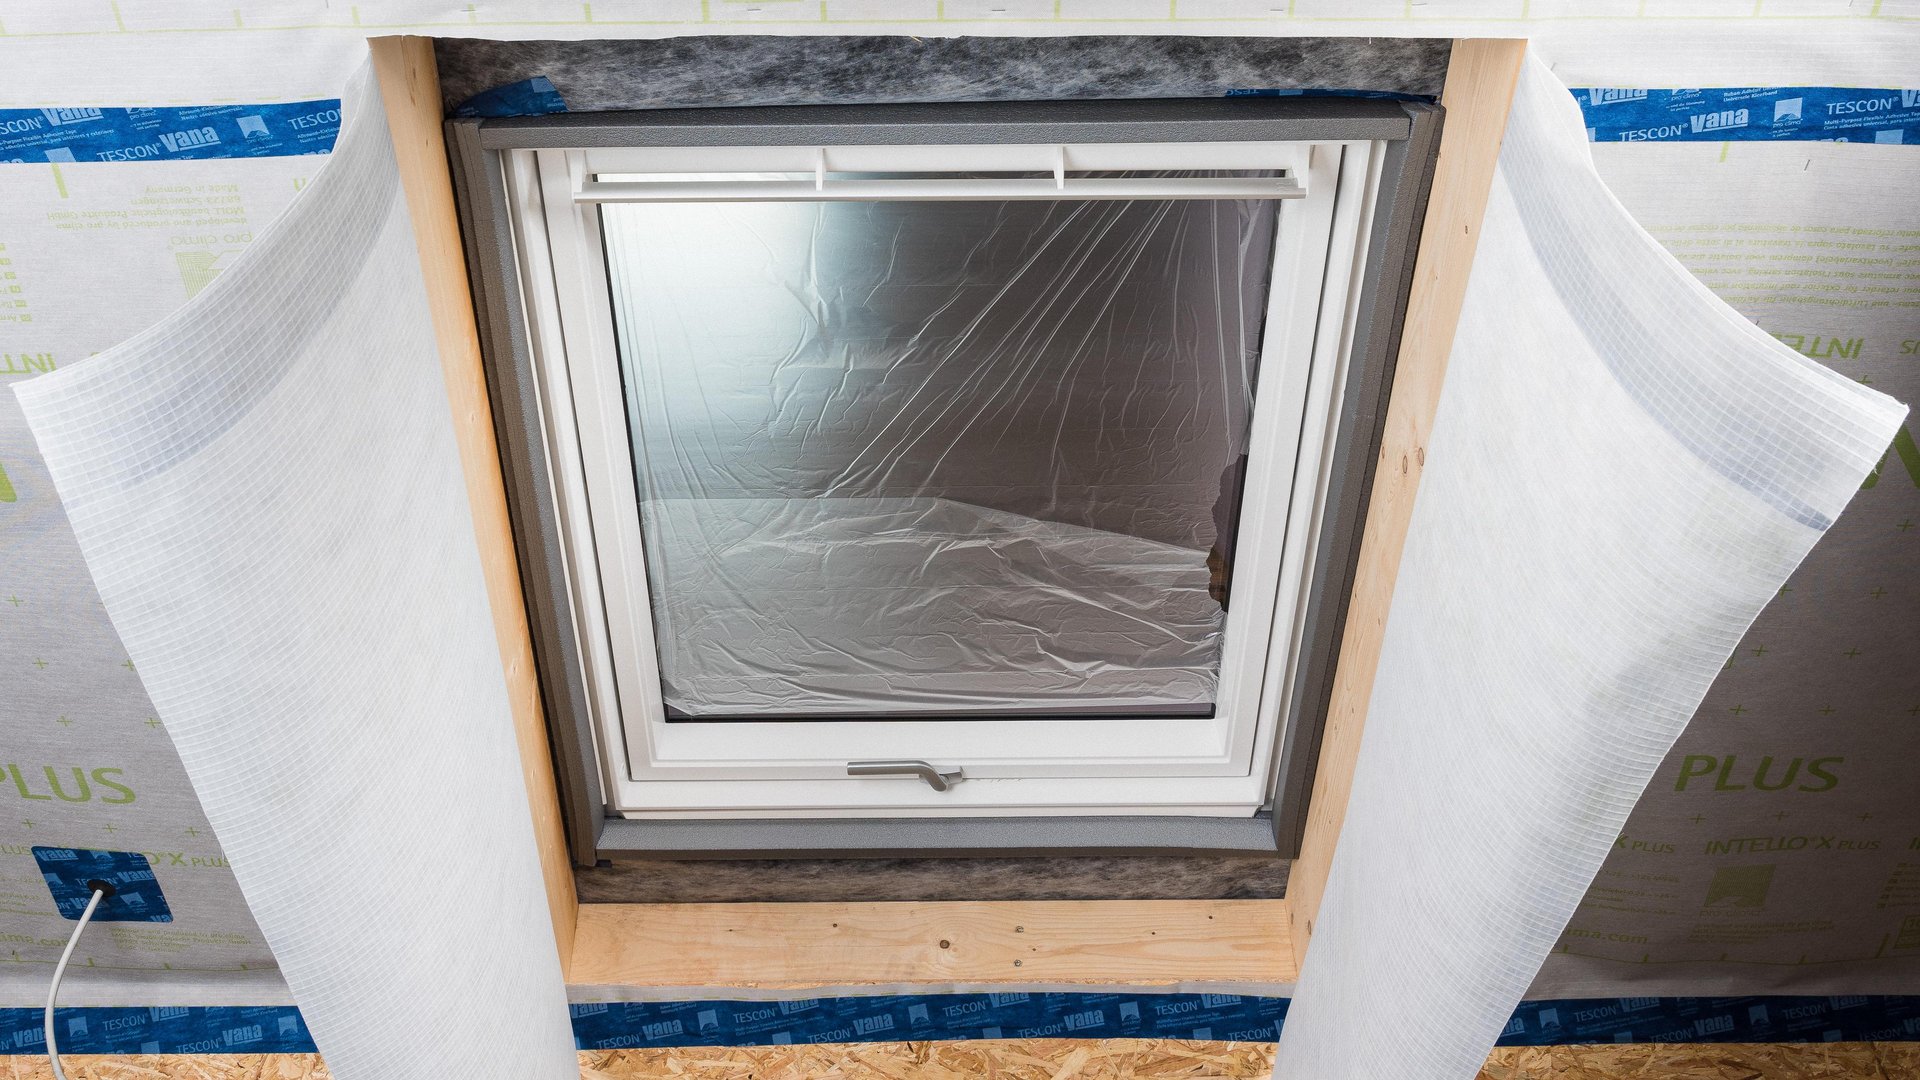
12. Skylights: Cut the membrane
Cut the membrane in such a way that it can be guided into the reveals around the skylight.
12. Skylights: Cut the membrane
Cut the membrane in such a way that it can be guided into the reveals around the skylight.
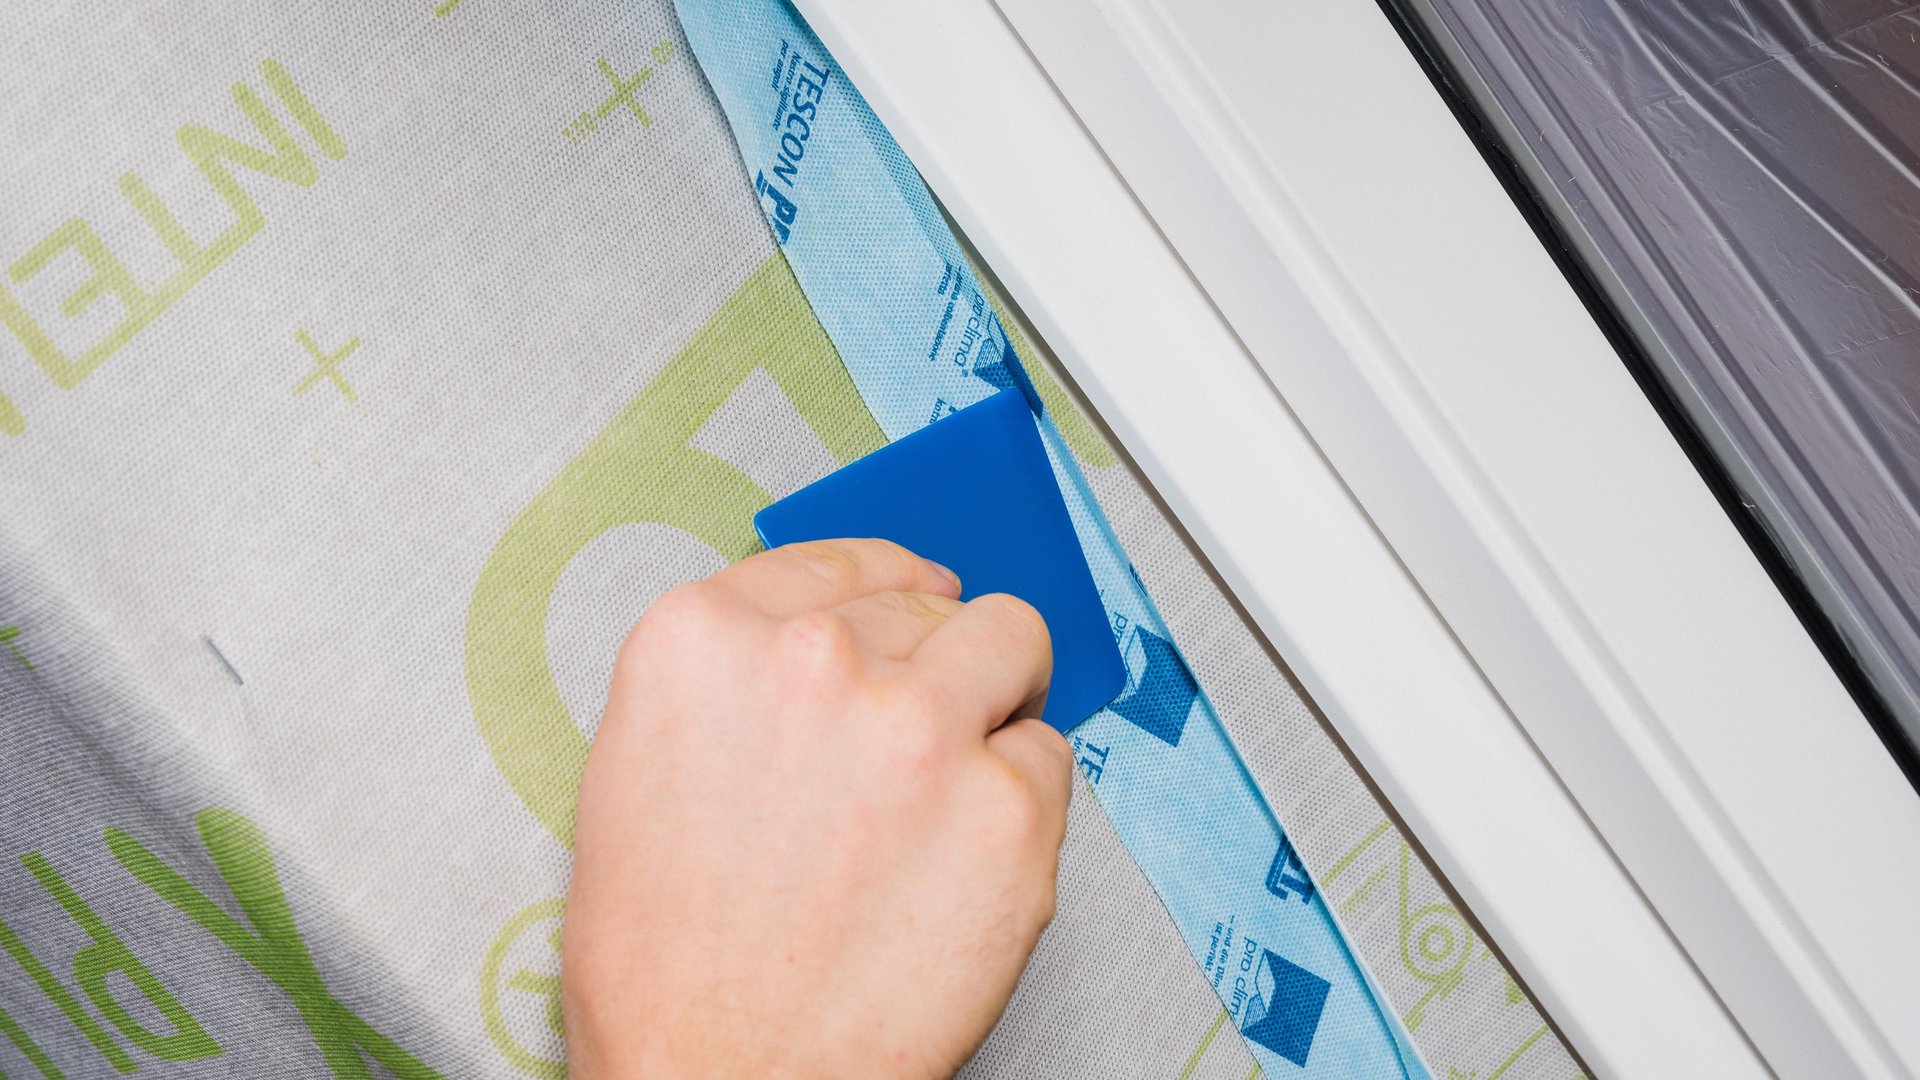
13. Stick the membrane around the skylight
Guide TESCON PROFECT pre-folded corner sealing tape into the opening for the skylight while the release film is still in place and then stick the first independent adhesive strip. The PRESSFIX application tool is a helpful aid when carrying out this step.
13. Stick the membrane around the skylight
Guide TESCON PROFECT pre-folded corner sealing tape into the opening for the skylight while the release film is still in place and then stick the first independent adhesive strip. The PRESSFIX application tool is a helpful aid when carrying out this step.
14. Stick to the membrane
Then remove the release film and stick the second independent adhesive strip to the INTELLO X membrane. Rub firmly using the PRESSFIX application tool to secure the adhesive bond.
14. Stick to the membrane
Then remove the release film and stick the second independent adhesive strip to the INTELLO X membrane. Rub firmly using the PRESSFIX application tool to secure the adhesive bond.
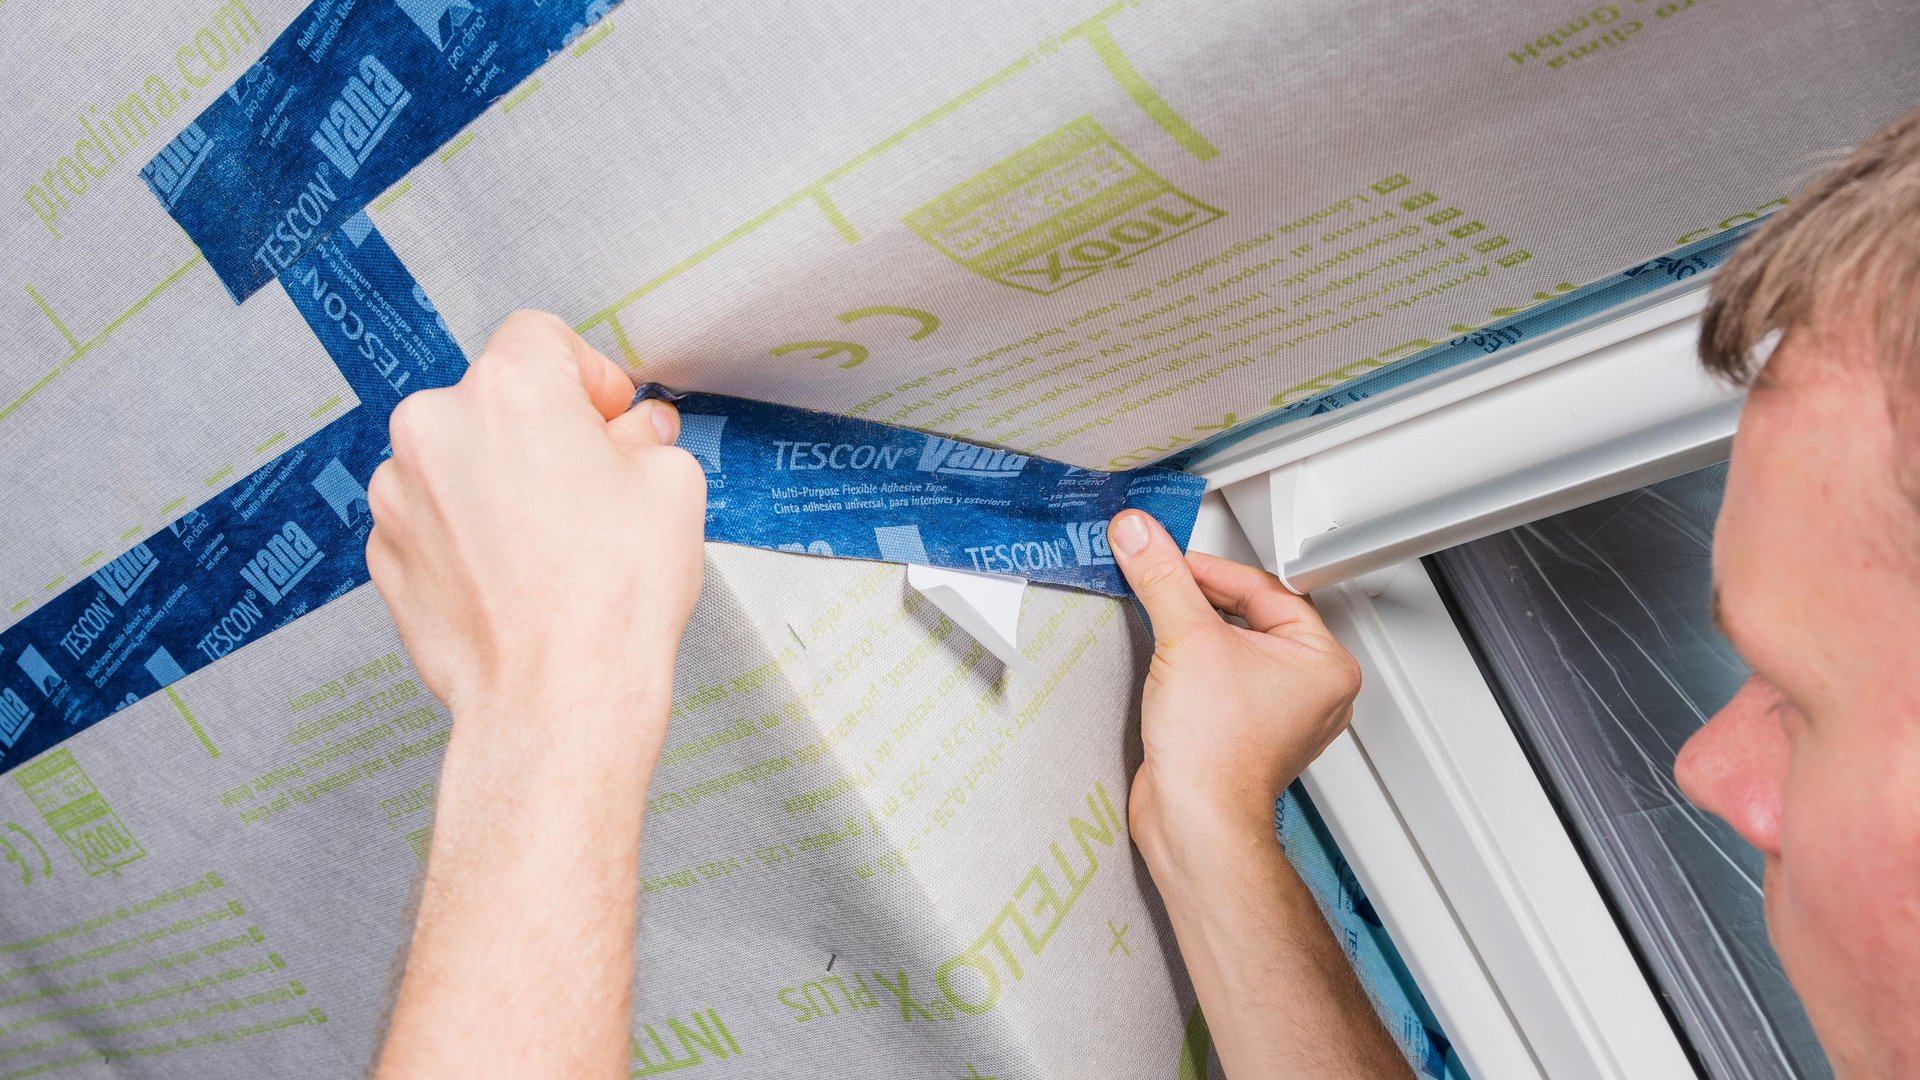
15. Apply tape in an airtight manner around the entire reveal
Install membrane pieces to the top and bottom reveals and stick these in a step-by-step manner using TESCON VANA system adhesive tape, ensuring that there are no folds or tension (PRESSFIX).
15. Apply tape in an airtight manner around the entire reveal
Install membrane pieces to the top and bottom reveals and stick these in a step-by-step manner using TESCON VANA system adhesive tape, ensuring that there are no folds or tension (PRESSFIX).
16. Laths
Apply laths (e ≤ 50 cm; 1’ 8″) to support the weight of the insulation material.
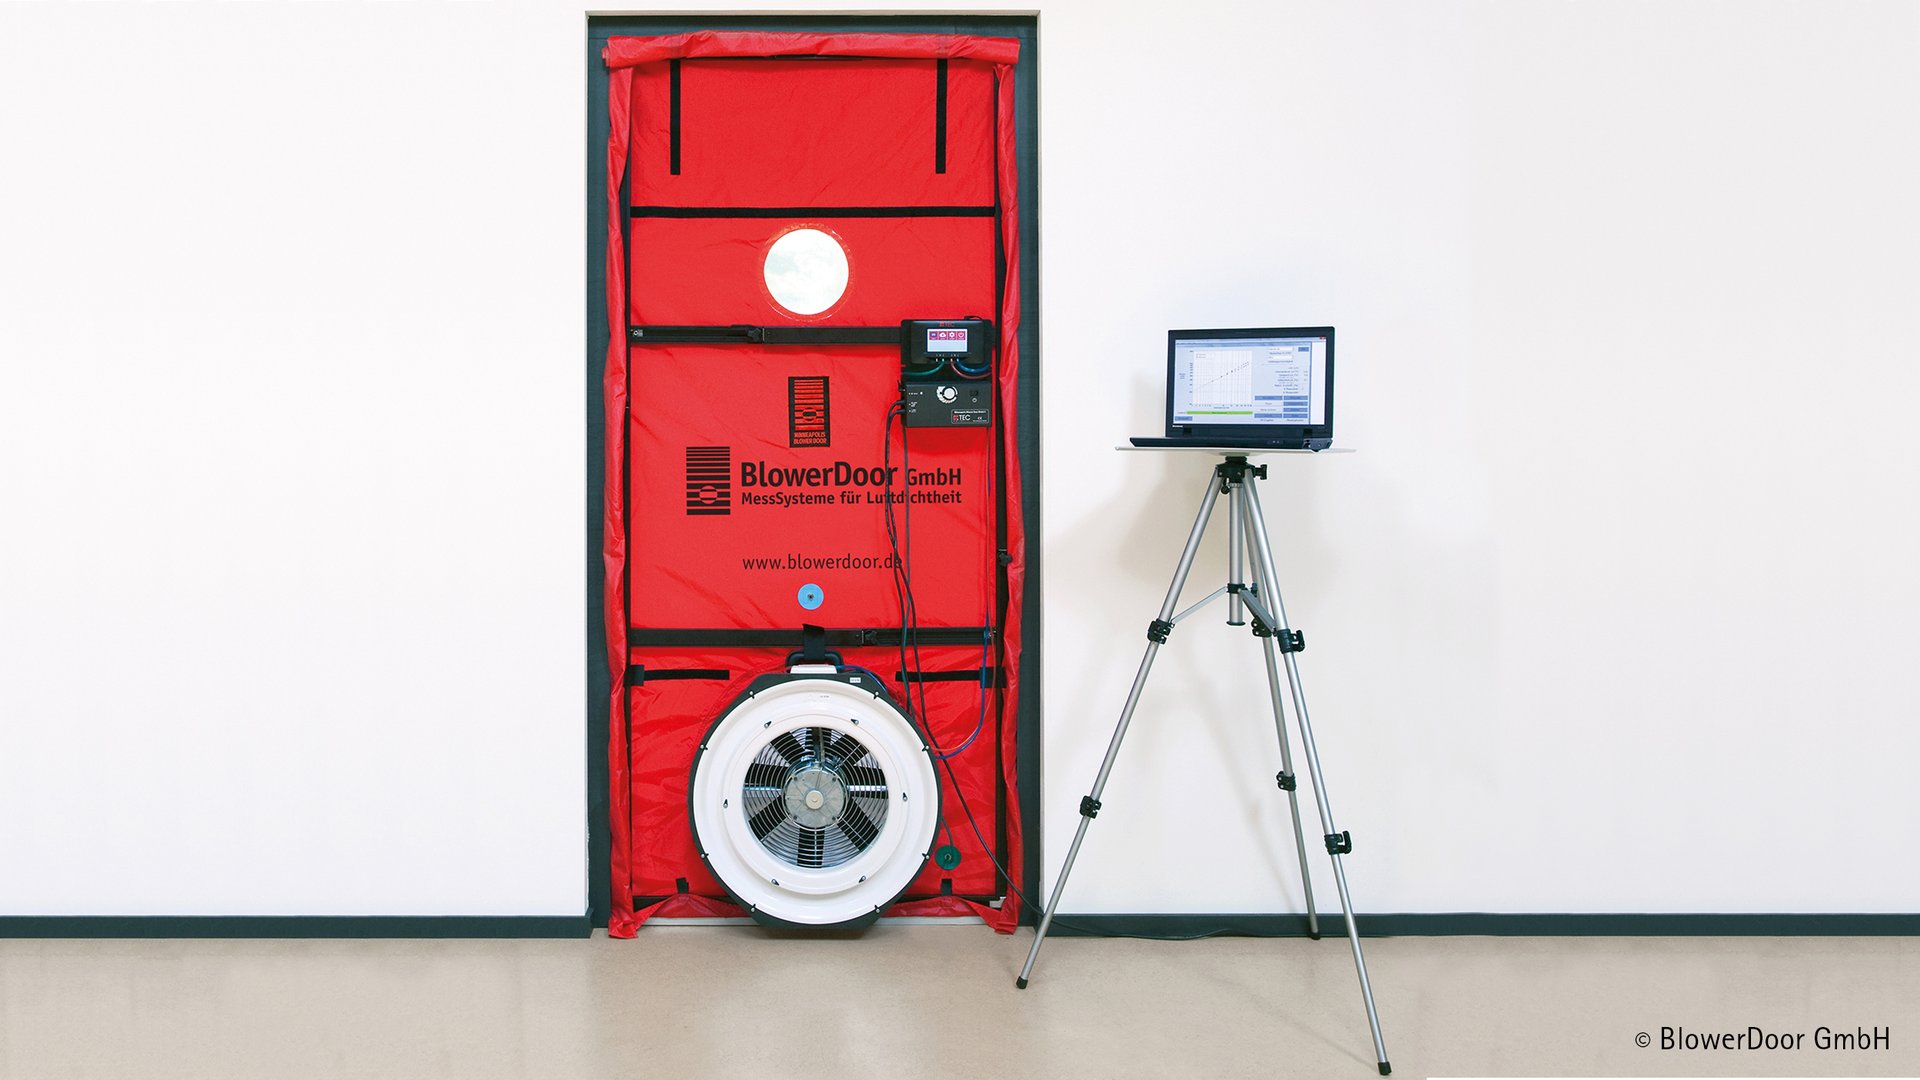
17. Quality assurance
It is recommended that airtightness should be checked using a blower door test.
17. Quality assurance
It is recommended that airtightness should be checked using a blower door test.