Installation steps: 2. Window already installed

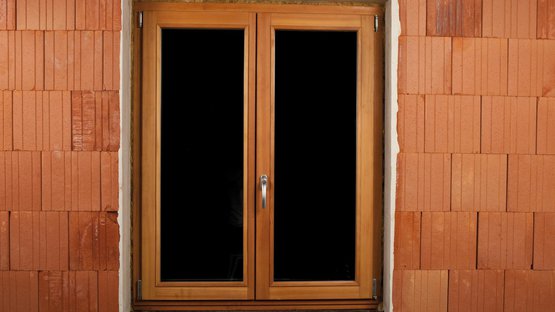
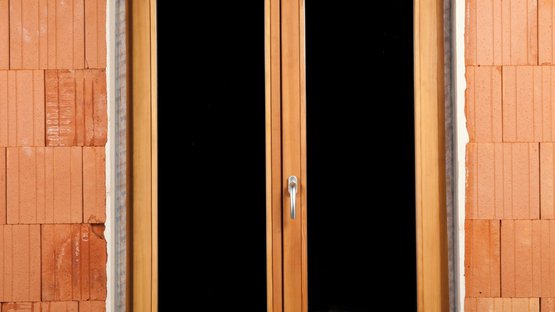
1. Window in masonry or timber structure
CONTEGA SOLIDO SL-D is to be applied subsequently to an already mounted window.
1. Window in masonry or timber structure
CONTEGA SOLIDO SL-D is to be applied subsequently to an already mounted window.

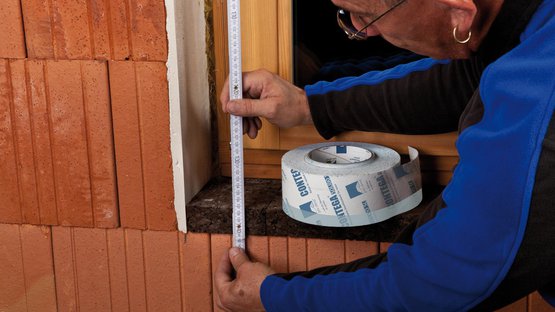
2. Cut the window-sealing tape to length
Add approx. 4 cm (1 5/8") to the height of the frame and cut this length of CONTEGA SOLIDO SL-D.
2. Cut the window-sealing tape to length
Add approx. 4 cm (1 5/8") to the height of the frame and cut this length of CONTEGA SOLIDO SL-D.

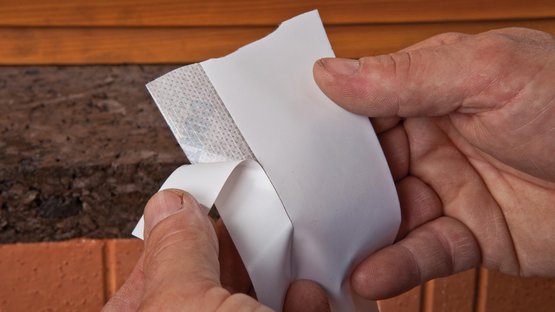
3. Remove the first release film strip
Remove approx. 5 - 10 cm (2" - 4") of the narrow release film strip on the membrane side (unprinted side).
3. Remove the first release film strip
Remove approx. 5 - 10 cm (2" - 4") of the narrow release film strip on the membrane side (unprinted side).

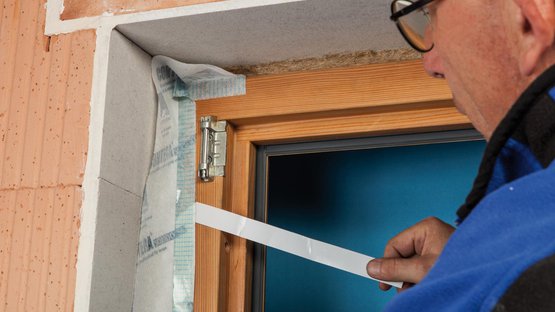
4. Stick to the frame
Start applying the tape in the corner area of the frame. First position approx. 2 cm (3/4") of the tape on the horizontal part of the frame and stick the adhesive strip to the frame. Guide the tape around the frame corner and stick the tape to the vertical part of the frame. Gradually remove the release film while doing so.

5. Stick to the reveal, allowing for slack
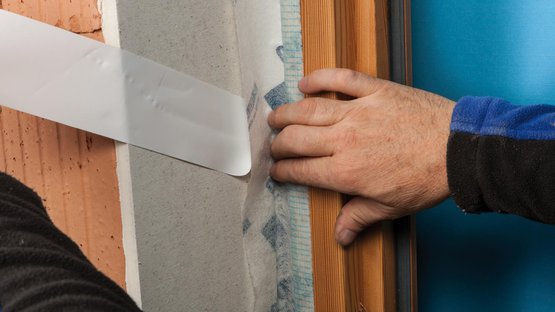
Remove the second (wide) release film strip and gradually stick the tape in place on the reveal. Start sticking the reveal in the corner area. Leave slack for expansion so as to allow for relative motion between components. Stick the tape as far as the next corner area.

6. Stick the tape all around the window
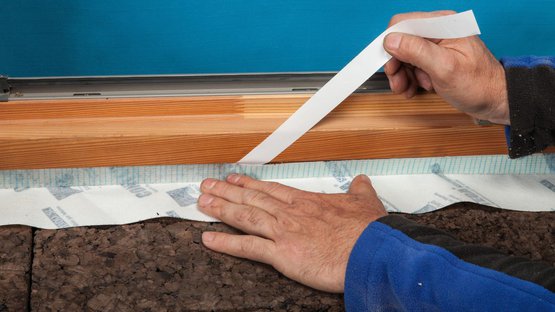
Continue sticking the rest of the window (frame and reveal) in the same manner. The adhesive bond must be airtight all around with no interruptions.
6. Stick the tape all around the window
Continue sticking the rest of the window (frame and reveal) in the same manner. The adhesive bond must be airtight all around with no interruptions.

7. Stick the corners
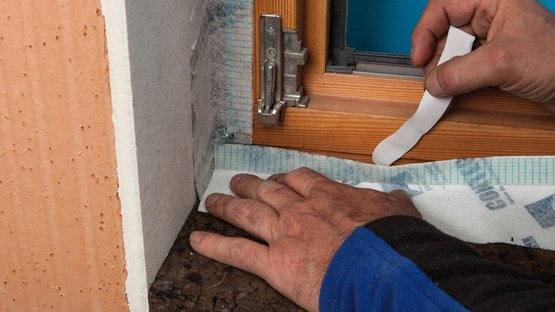
Apply the tape with an overlap of at least 2 cm (3/4") in the corner areas.
7. Stick the corners
Apply the tape with an overlap of at least 2 cm (3/4") in the corner areas.

8. Rub to secure the adhesive bond
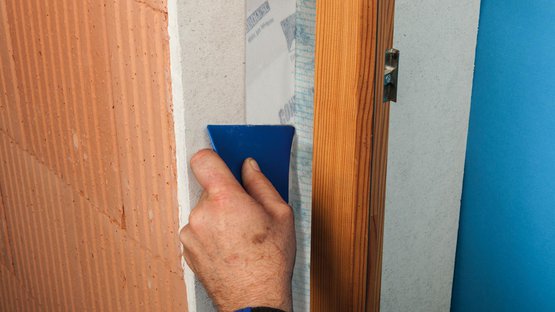
Rub the tape firmly onto the frame and reveal to secure the adhesive bond using the pro clima PRESSFIX application tool, for example.
Tip: The width of the application tool can be adapted as needed.
8. Rub to secure the adhesive bond
Rub the tape firmly onto the frame and reveal to secure the adhesive bond using the pro clima PRESSFIX application tool, for example.
Tip: The width of the application tool can be adapted as needed.

9. You’re finished!
The airtight joint is now complete, and CONTEGA SOLIDO SL-D can now be plastered over.
9. You’re finished!
The airtight joint is now complete, and CONTEGA SOLIDO SL-D can now be plastered over.
