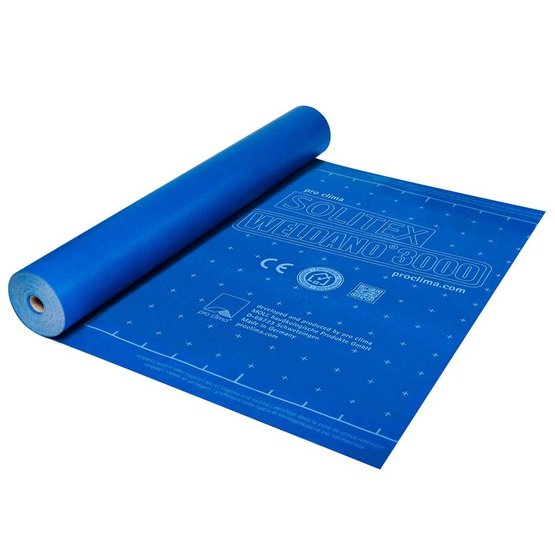
Diffusion-open, weldable roofing underlay membrane
Advantages
- Reliable seam sealing: homogeneously weldable
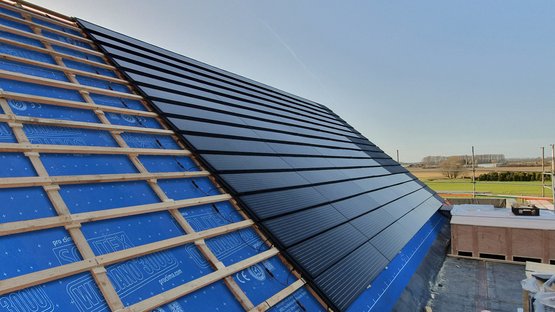
- Suitable for use under roof-integrated solar panels
- Excellent occupational safety: non-slip and abrasion-resistant surface
- Suitable as a roofing underlay to meet the most stringent requirements
- Maximum protection: diffusion-open, rainproof against driving rain, and highest hail-resistance HR 5 (Swiss VKF/AEAI directive) and as per EN 13583
- Easy to work with: robust with extremely high tear-resistance
- Also keeps structural elements dry during the construction phase: excellent protection against driving rain thanks to monolithic functional film
- Cutting and welding service available for SOLITEX WELDANO 3000
Areas of application
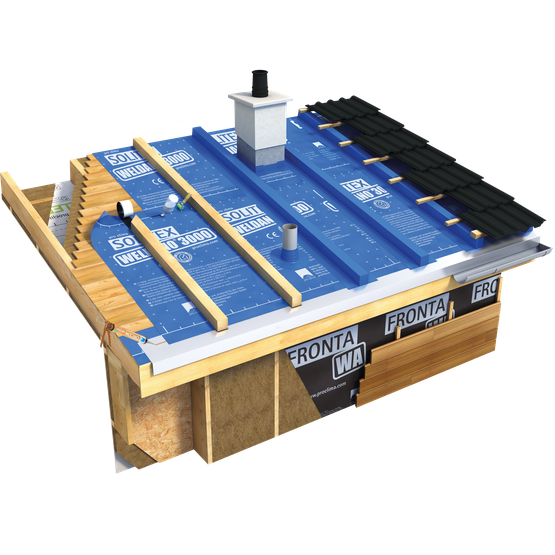
For use as a 3-ply diffusion-open, homogeneously weldable, rainproof/watertight roofing underlay membrane. Suitable for installation over pressure-resistant subsurfaces, e.g. timber sheathing, wood-based panels and wood-fibre underlay panels. Particularly suitable for use underneath roof-integrated solar panels.
Installation instructions
Substrate
Suitable for installation on firm subsurfaces that provide sufficient pressure resistance when using a roller to press down on the welding bond, e.g. timber sheathing, wood-based panels and wood-fibre underlay panels. The subsurface must be dry, free of frost, clean and free of any sharp-edged or pointed objects. There must be no water-repellent substances (e.g. grease or silicone) on the membranes. Before welding is carried out, SOLITEX WELDANO 3000 should be wiped clean with a cloth. It is recommended that spot checks be performed to test the strength of the welded joints.
General conditions
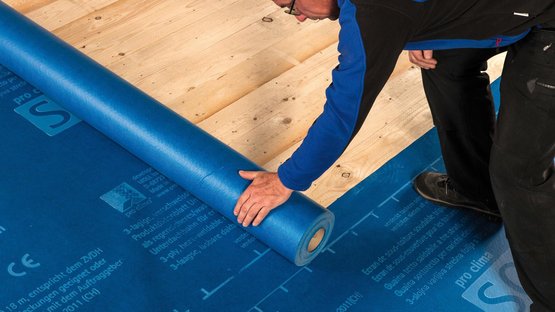
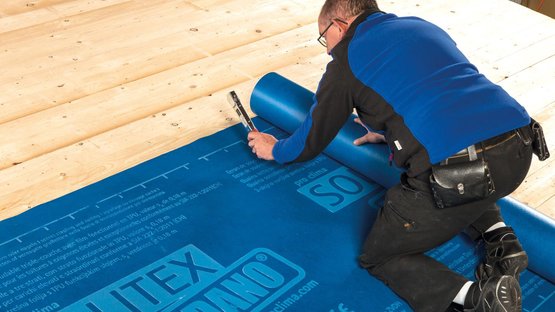
SOLITEX WELDANO 3000 is to be installed horizontally (parallel to the eave). Unhindered drainage of water must be ensured. Cross joints are to be avoided. If membrane joints are necessary, they should be offset with respect to each other.
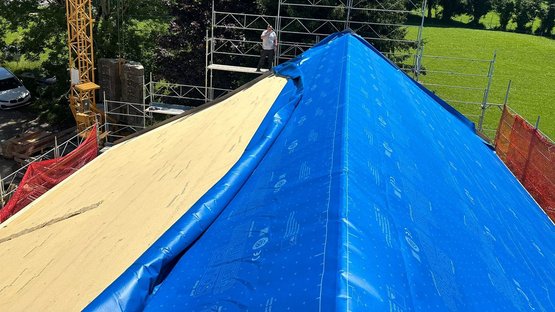
When used to protect building structures during the construction phase, SOLITEX WELDANO 3000 roofing underlay membranes can be subjected to outdoor exposure for up to 6 months in Central and Northern Europe and in Canada and the northern United States, and up to 4 months in Southern Europe, the rest of the United States and the rest of the world – e.g. as a temporary covering in accordance with the German ZVDH regulations. The roof pitch must be at least 3° (0.6:12). National regulations should be taken into account here.
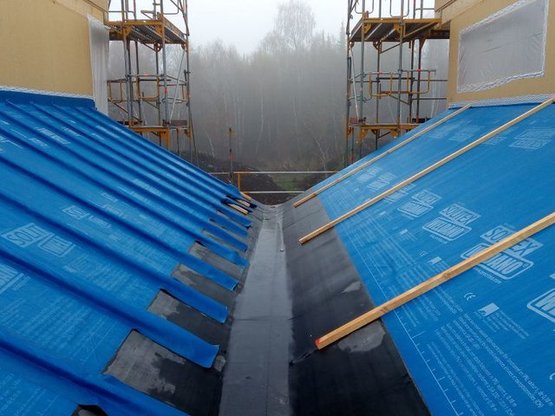
Fasteners should not be applied on flat surface areas or in areas where water run-off is collected (e.g. in roof valleys). We recommend the use of corrosion-resistant fasteners.
The membrane edges are to be welded using the WELDANO TURGA (HS) system solvent welding agent or a hot air gun. The welding area must be dry and free of frost, dust and grease. If there is dirt (e.g. oil) on the surface, moisten a cloth lightly with WELDANO TURGA (HS) system solvent welding agent and use it to clean off this dirt. Both sides of the membrane can be welded and are suitable as upper layers. Welding with a solvent welding agent can be carried out at temperatures above 0 °C / 32 °F. Please observe the hazard notices on the container.
If a hot air gun is being used, we recommend a temperature of around 220 to 280 °C (430 to 530 °F) depending on the ambient temperature and wind conditions. Test this setting by carrying out a test weld on a sample piece of membrane. A 40 mm (1.6″) nozzle width has been found to be suitable in practice for welded joints between surface membranes. A 20 mm (¾″) nozzle may be more suitable in certain cases for more intricate joints.
Note: If membranes that have been subjected to 2 months of outdoor exposure are to be welded, the exposed membrane surface must be gently roughened using sandpaper (150 - 250 grade) to remove a film depth of around 2-3 μm (0.08-0.12 mil) so that a reactive surface is accessible again. This applies both for hot-air welding and for solvent welding using WELDANO TURGA (HS).
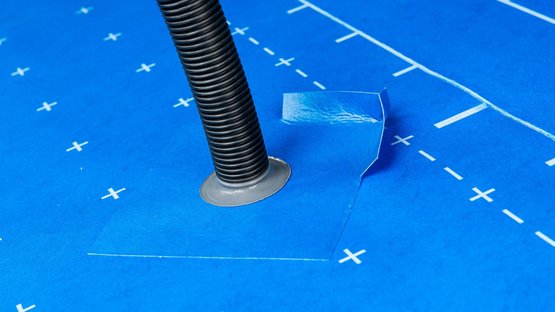
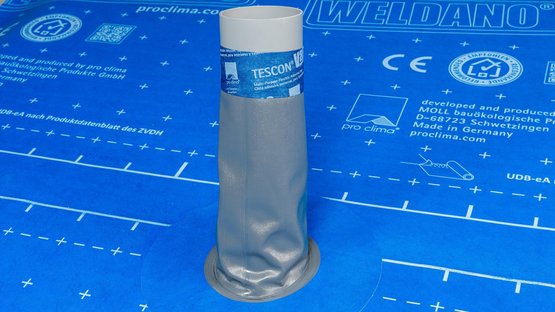
The WELDANO ROFLEX MODI pipe grommets are suitable for pipe diameters from 30 mm to 360 mm (1³⁄₁₆″-14³⁄₁₆″) for roof pitches greater than 5° (1:12).
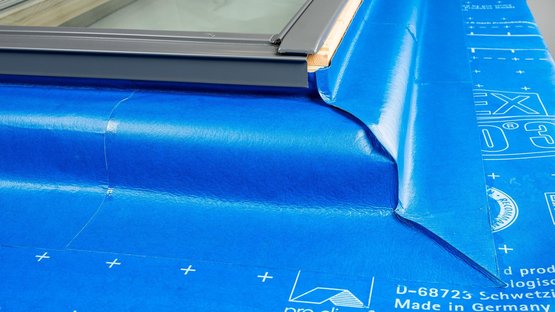
As an alternative to the use of the WELDANO ROFLEX, WELDANO INVEX or WELDANO INCAV system shaped elements, these elements can also be made by cutting appropriate shapes out of SOLITEX WELDANO 3000 membranes.
Important: The enclosed counter battens on the waterproof roofing underlay must be dry and chamfered on their upper side (≥ 3 mm; 120 mils) when they are installed. Ideally, structural timber should be used.
Additional technical information for Germany:
Depending on the requirements demanded of the roofing underlay when used as an additional measure, the roofing underlay can be installed to be rainproof or watertight (in accordance with ZVDH). Rainproof roofing underlay: The counter battens are installed over the roofing underlay membrane. Waterproof roofing underlay: The counter battens are integrated into the sealing layer. The roofing underlay membrane is installed over the counter battens here or else SOLITEX WELDANO-S 3000 sealing strips are fitted over the counter battens and welded to the roofing underlay membrane on both sides.
Ridge ventilation is permitted in the case of a rainproof roofing underlay. The roofing underlay membrane should then stop 30 mm (1.2″) before the apex of the ridge. Cover the ventilation opening with a membrane strip over the counter batten along the ridge axis. Ridge ventilation is not permitted in the case of a waterproof roofing underlay.
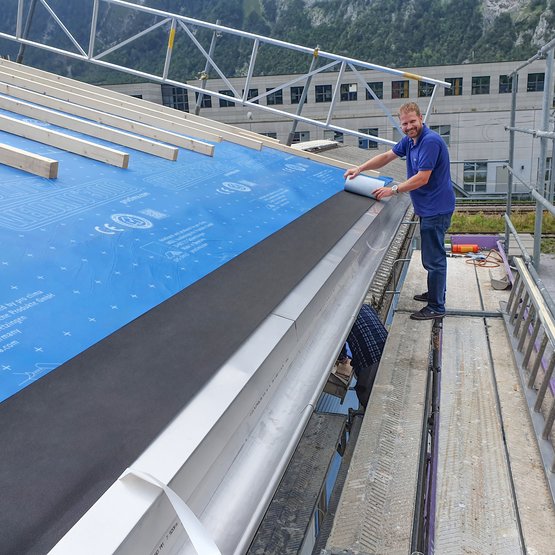
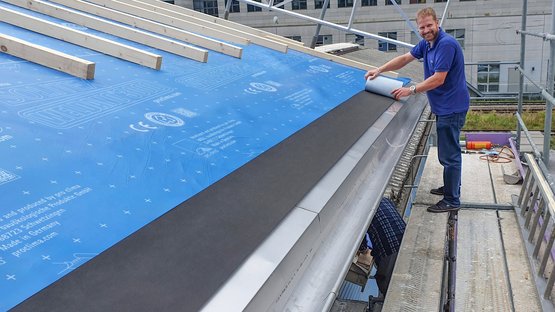
The SOLITEX WELDANO 3000 roofing underlay membrane is to be sealed in a windproof and waterproof manner at the eave flashing. The eave flashing can be installed as a drip board under the gutter or as a guide board that guides water into the gutters.
To protect the roofing underlay membrane from direct sunlight on a permanent basis, the width of the guide board should be selected appropriately depending on the roof pitch and orientation of the building structure or else it should be installed with an eave membrane to provide UV protection, e.g. SOLTEMPA.
SOLITEX WELDANO® cutting and welding service
Seal your roofs tight even more quickly and easily
Do you have a roof structure that is to be installed with a roofing underlay membrane that is homogeneously welded together? If so, you no longer need to worry about the joining and cutting of the individual membranes.
For roof areas of 50 m² and greater, pro clima will prepare your SOLITEX WELDANO 3000 roofing underlay membrane for you: in an automated, highly effective manner with reliable seal tightness and at a fair price. This saves valuable installation time on site and makes you less dependent on weather conditions.
Please simply send us your roof drawing/description by e-mail when submitting your enquiry. Alongside standard roof shapes such as L-shapes and rectangles, we can also carry out pre-welding for special roof shapes such as those with roof features involving valleys.
Advantages
- Faster installation thanks to time savings on the building site
- Sheets that are cut, welded and delivered specifically for your project
- Reliable, uniform quality of work thanks to machine-welded seams
- Less dependency on building site conditions: no welding in the wet, faster protection against weathering
- Available for roof areas of 50 m² and greater
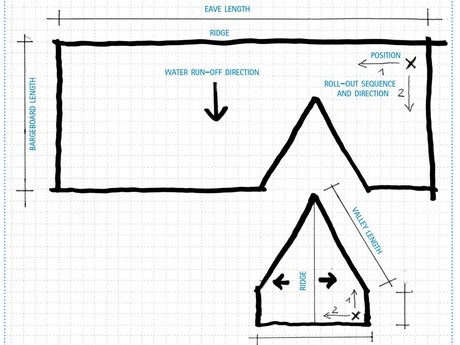
1. Your roof design
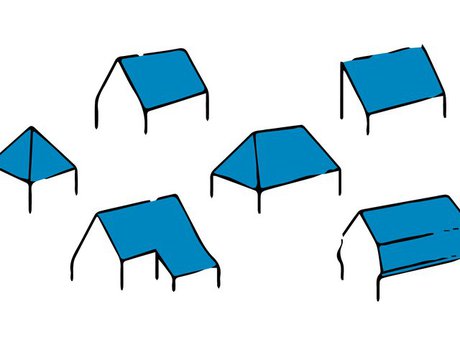
What type of roof is involved? Gable roof, pitch roof, tented roof, etc. Please specify the type of roof and provide an outline sketch of the roof with the actual lengths and surface areas. Please also take into account special structures such as adjacent valleys, etc.
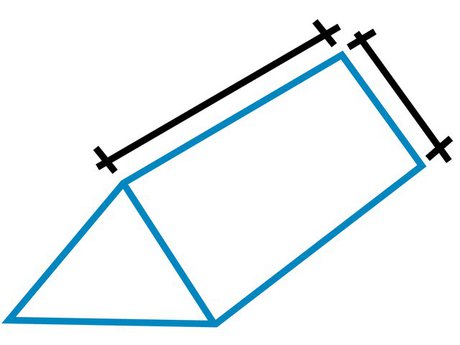
2. Specification of eave length and bargeboard length
Please specify in your drawing the dimensions of the bargeboards and eaves and all dimensions – e.g. valley lengths – to be taken into account in determining the surface area.
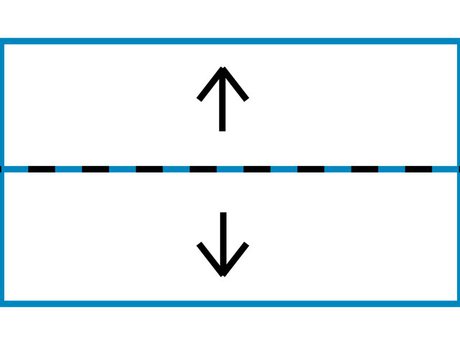
3. Specification of ridge position and water run-off direction
Please indicate on your drawing the position of the ridge with a line and the water run-off direction with a direction arrow.
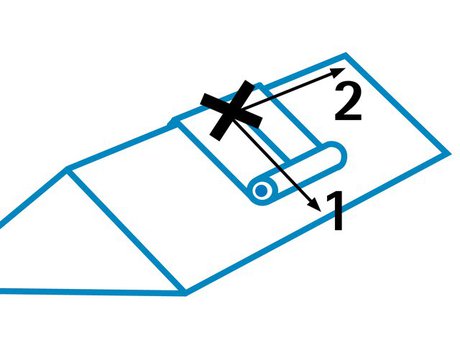
4. Specification of positioning and roll-out direction (longitudinal and perpendicular)
The pre-fabricated sheeting is generally delivered to your building site as a package that is rolled in two directions.
Have you planned a specific roll-out position, direction and sequence? If so, please mark the positioning point with a cross. Ideally, you should indicate the sequence of roll-out directions with arrows and sequential numbering (1, 2).
This example will serve as a guide.
Order and inquiry form:
This form is available here: Downloads
pro clima on the outside ... and it's a wrap!
Weathertightness with pro clima
Find out more about pro clima's system solutions and products for sealing your building envelope on the outside - with roofing underlay membranes, breather membranes for facades, protective membranes for timber structures during the construction phase, and a full range of sealing tapes, sealants and accessories.


